Microsoft ADFS SSO
Squadcast supports SAML 2.0 based Single Sign On (SSO) login for Microsoft Active Directory users and you can set it for your organisation by following this integration guide.
Pre-requisites
-
Account Owner / Administrator account in Squadcast
-
A valid Squadcast subscription (Enterprise)
1. Only an Account owner or a User with Extension permission can enable and configure Microsoft ADFS SSO for an organisation in Squadcast.
2. Once enabled, only the Account owner can use email-password based login by default although it can be configured to enable email based login for Administrators as well.
Setup Instructions
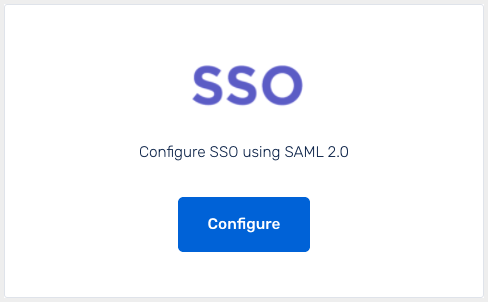
(1) Login to app.squadcast.com and navigate to the Settings > Extensions. Click the Configure button under SSO.
(2) In the opened modal, select the Microsoft ADFS from the dropdown and click Show configuration guide for Custom SAML 2.0.
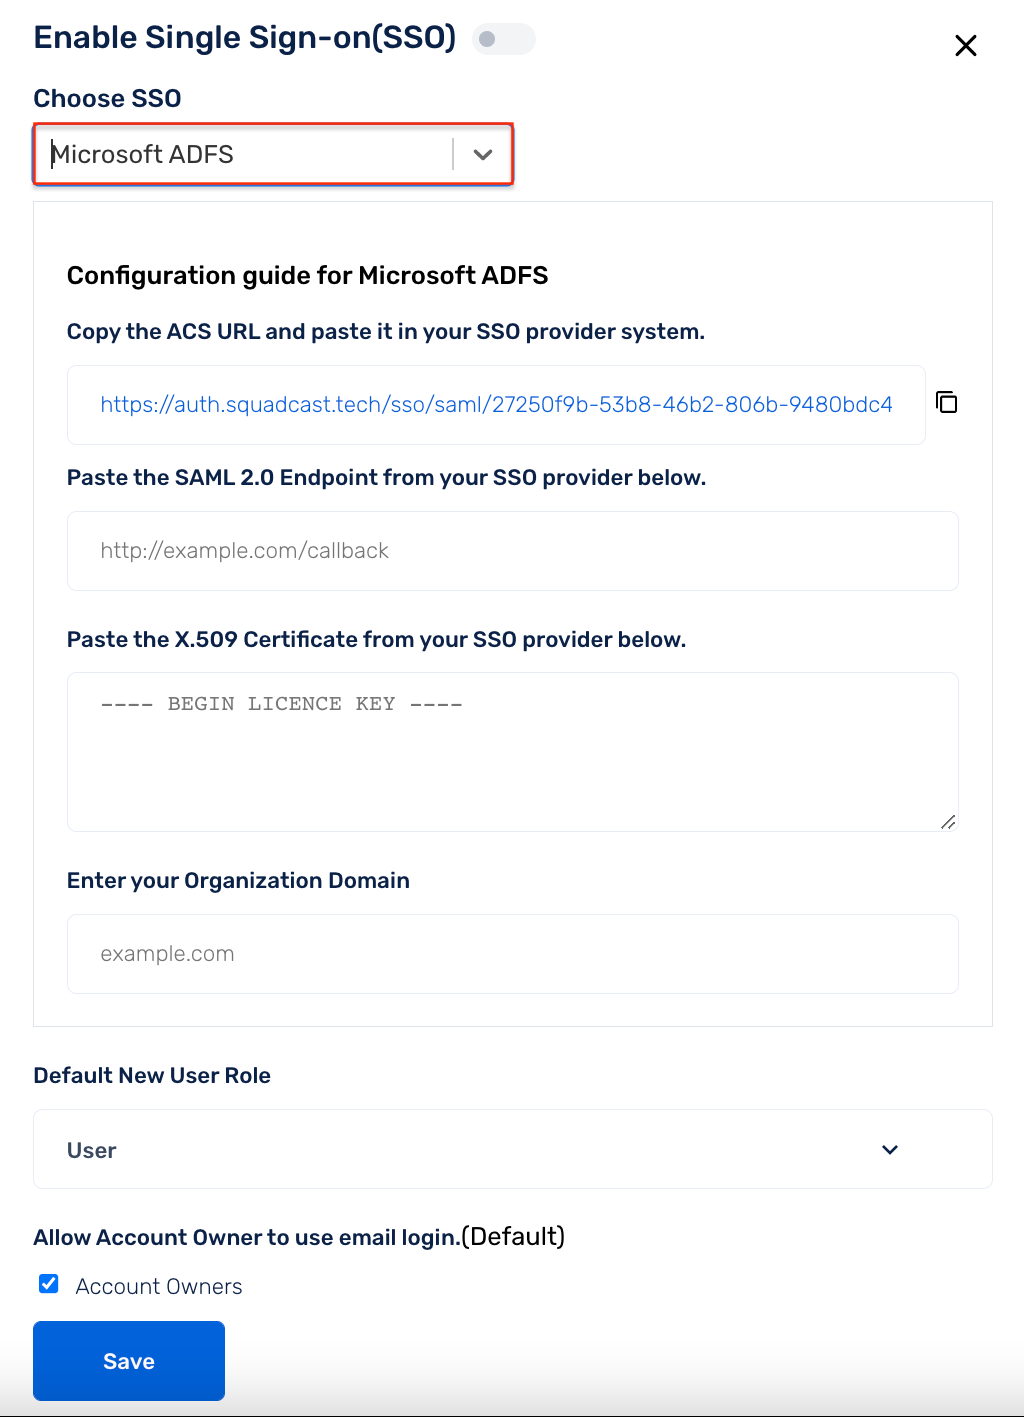
(3) As given in the displayed guide, copy the ACS url . Then log in to your server and go to Server Manager.
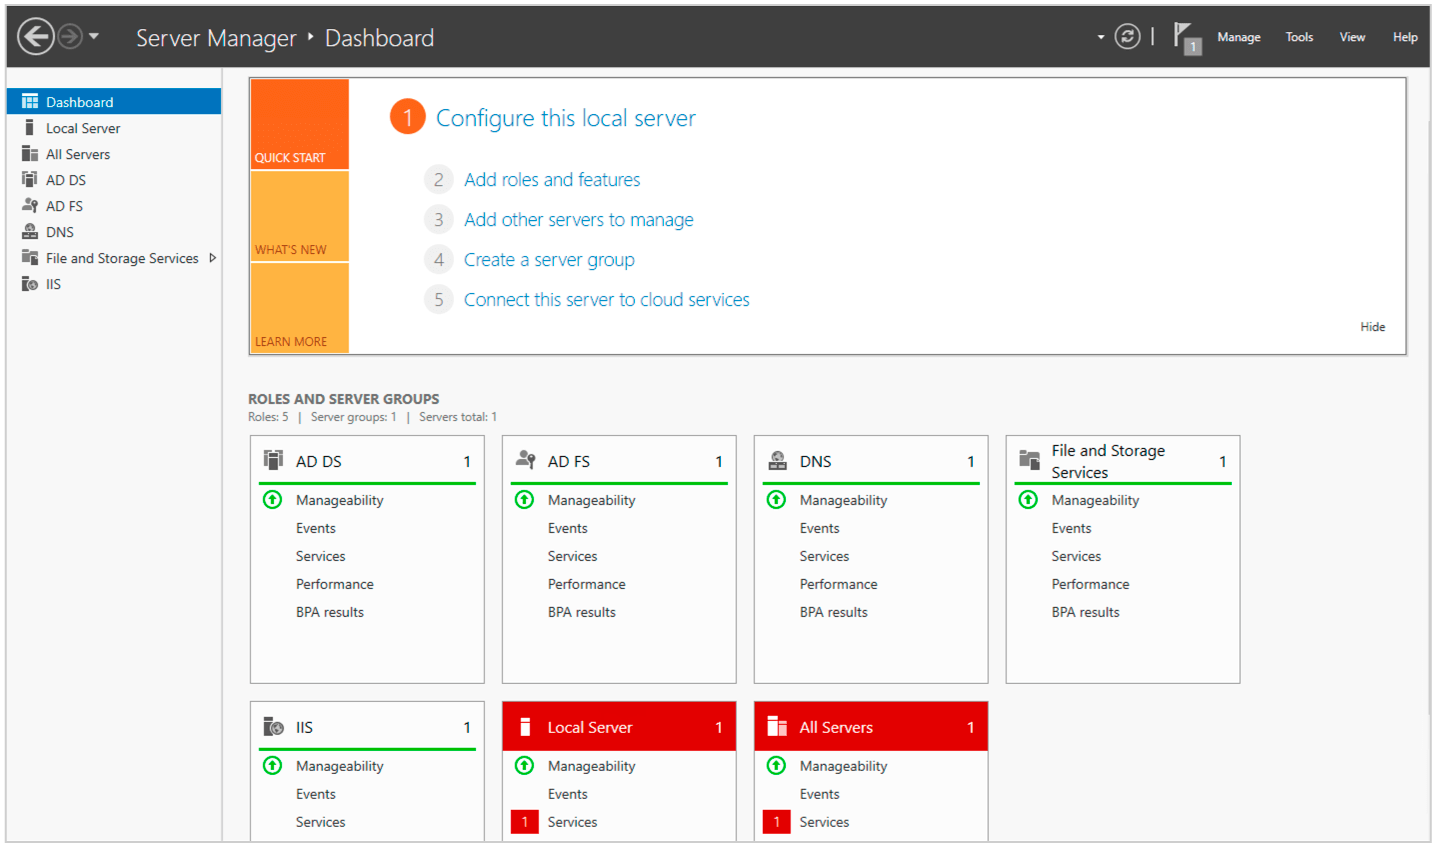
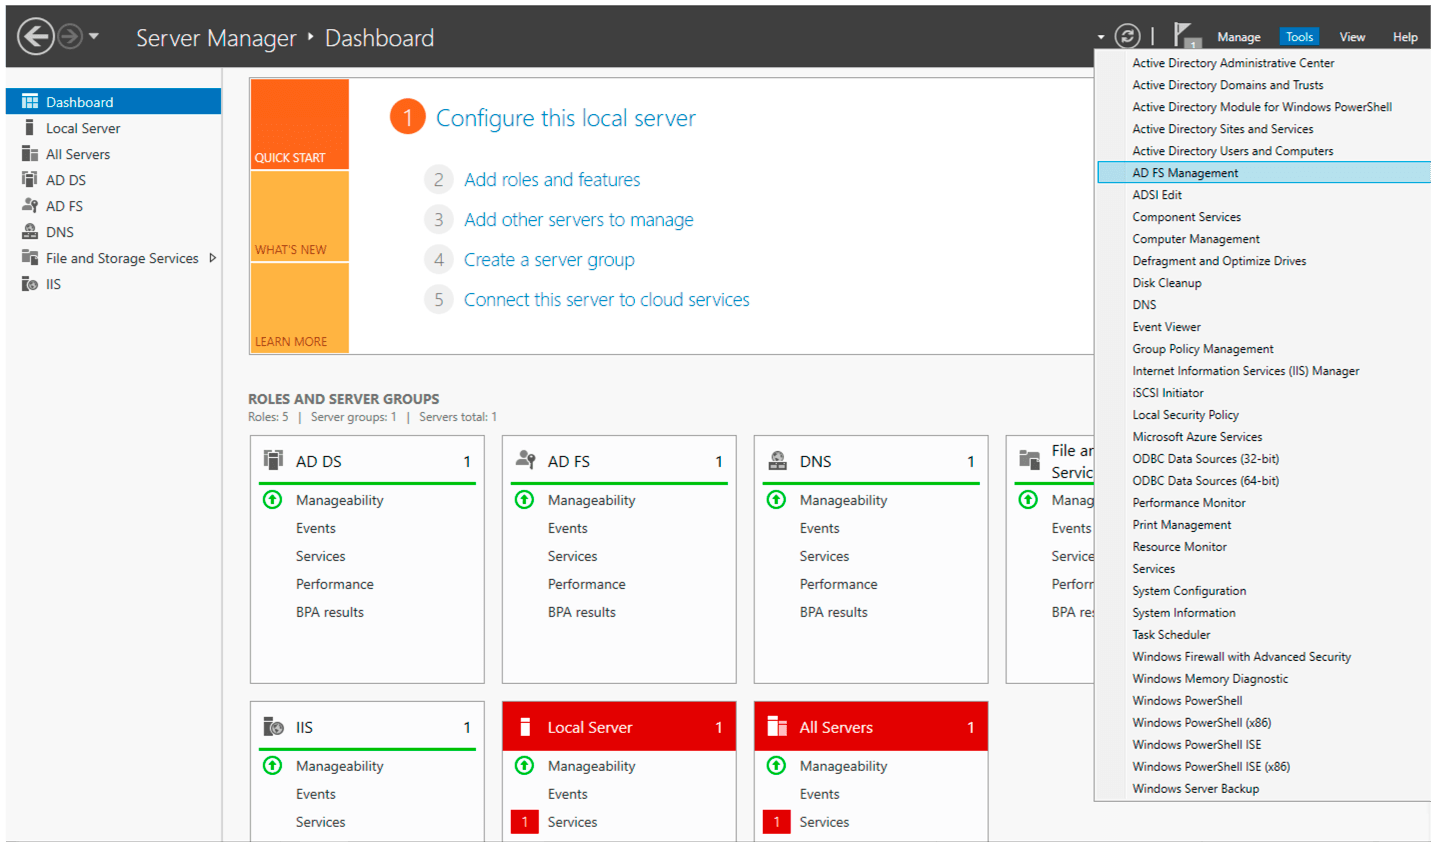
(4) Go to Tools -> ADFS Management
(5) Click on Add Relying Party Trust.
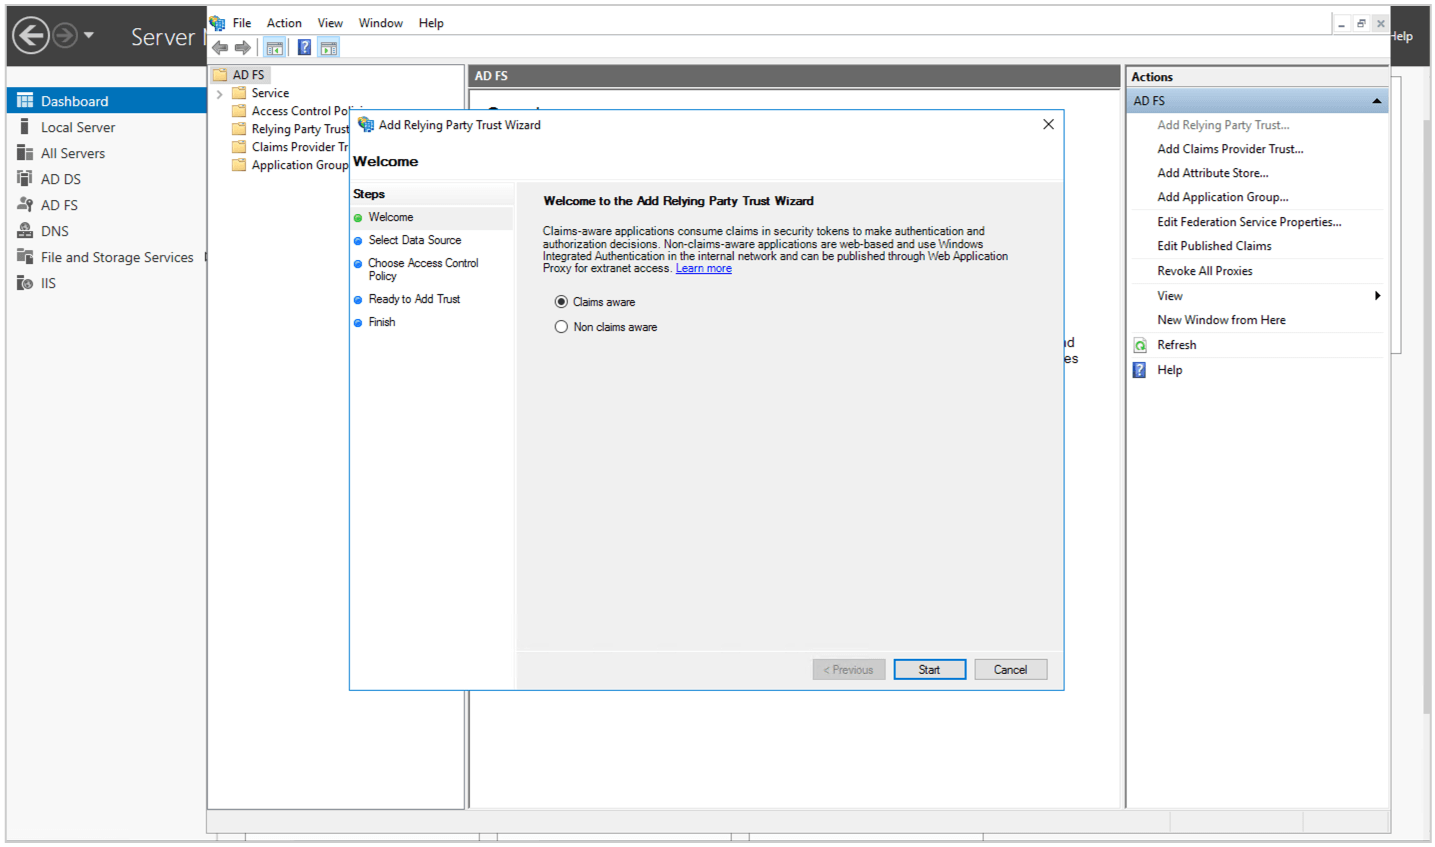
(6) Select Claims Aware and click Start.
(7) Select Enter data about the relying party manually and click Next
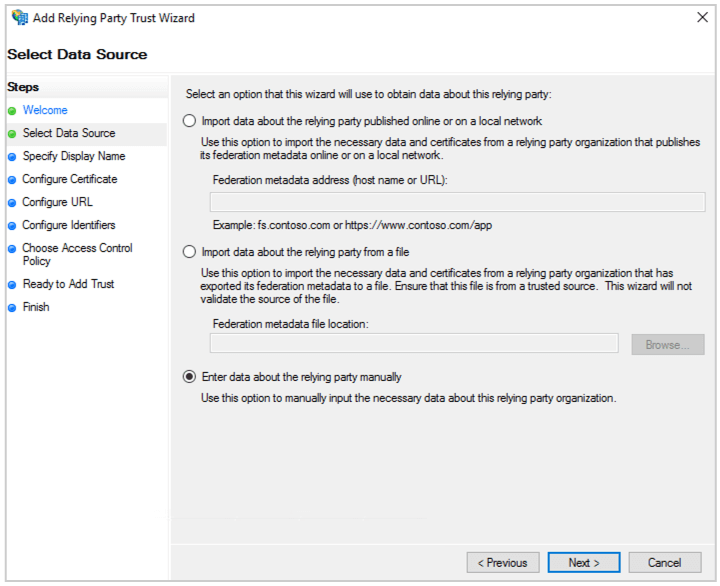
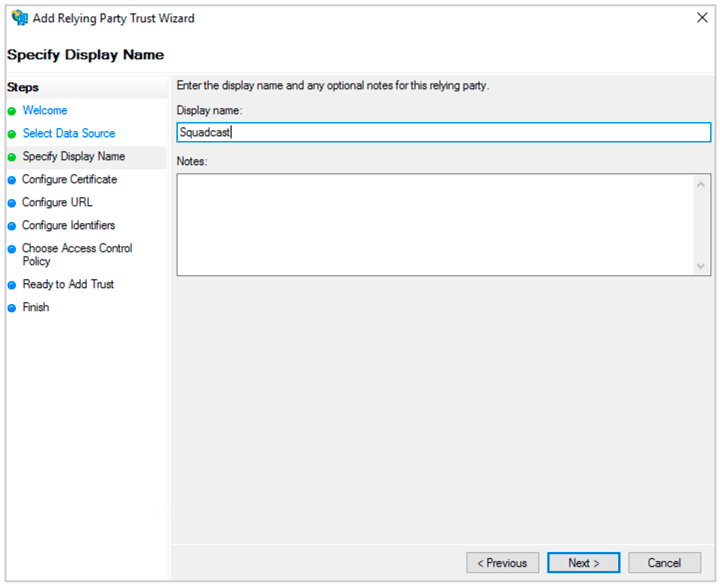
(8) Enter the Display name. Click Next.
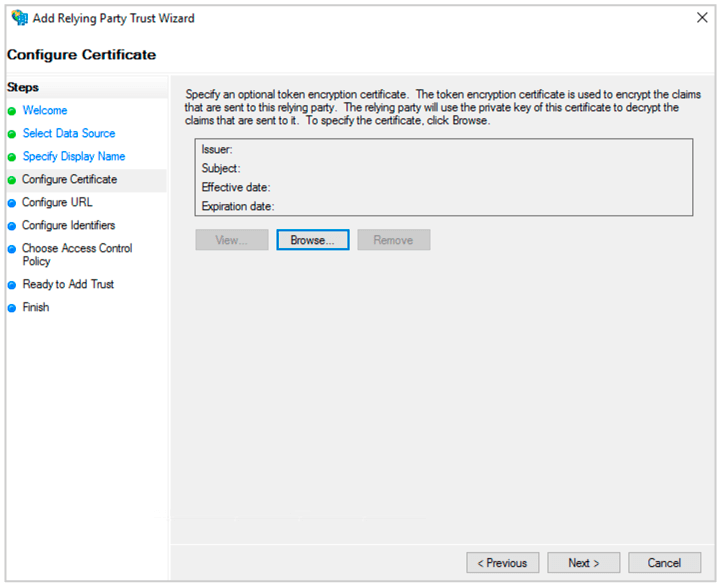
(9) Select Configure Certificate and click Next.
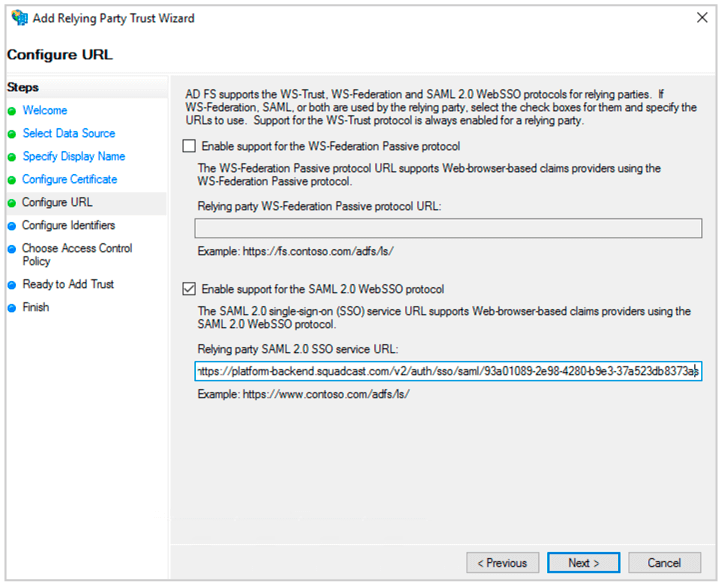
(10) Select Enable Support for the SAML 2.0 Web SSO protocol. Enter the ACS url you copied from Squadcast. Click Next.
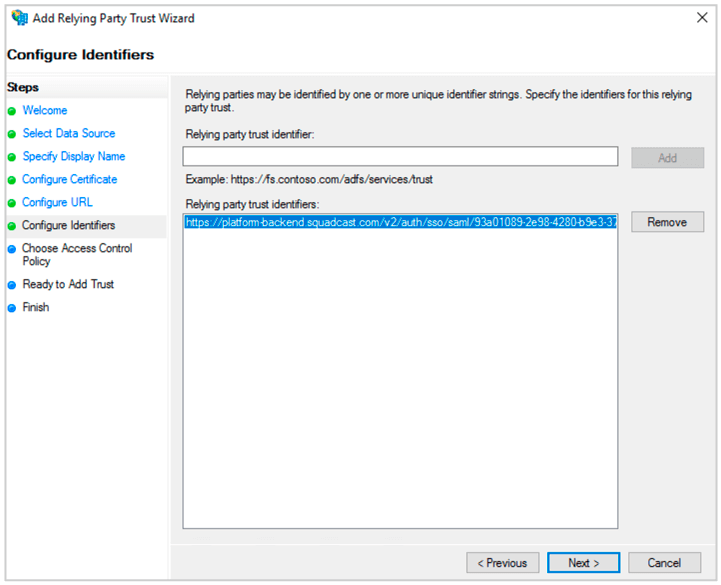
(11) Paste the ACS url in Relying party trust identifier. Click Add. Then click Next.
(12) Select Access Control Policy. Click Next.

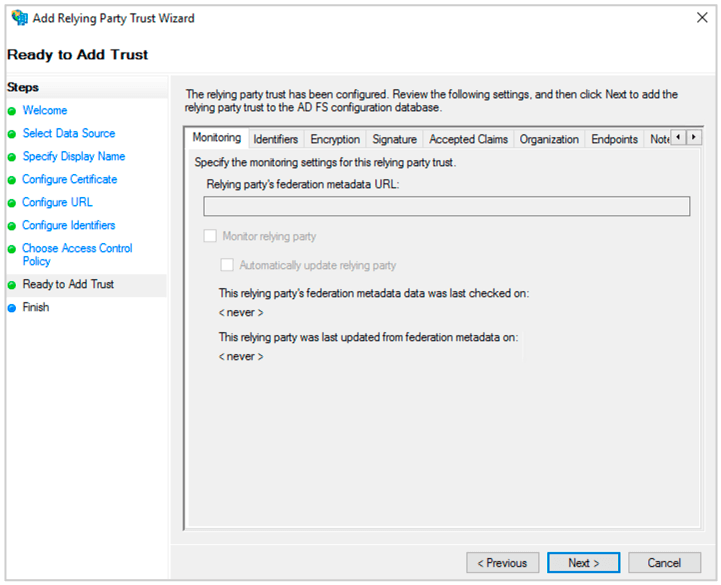
(13) In Ready to Add Trust. Click Next. Then Click Close.
(14) Click Edit Claim Insurance Policy.

(15) Click Add Rule.
(16) Select Send LDAP Attributes as Claims. Click Next.
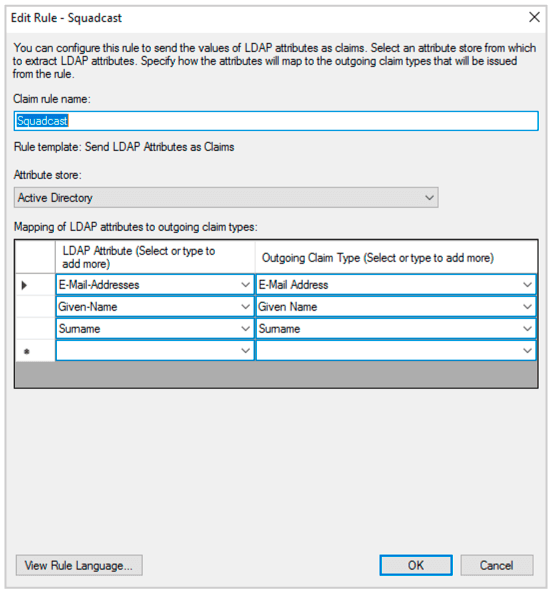
(17) Give a name. Select Attribute Store as Active Directory. And map LDAP attributes to Outgoing Claim Type as shown below. Map E-Mail-Addresses to E-Mail Address, Given-Name to Given Name and Surname to Surname Click Ok.
(18) Then Click Add Rule. Select Send Claims using Custom Rule. Click Next.
(19) Give a Claim rule name. And enter the following Custom rule. Click Ok.
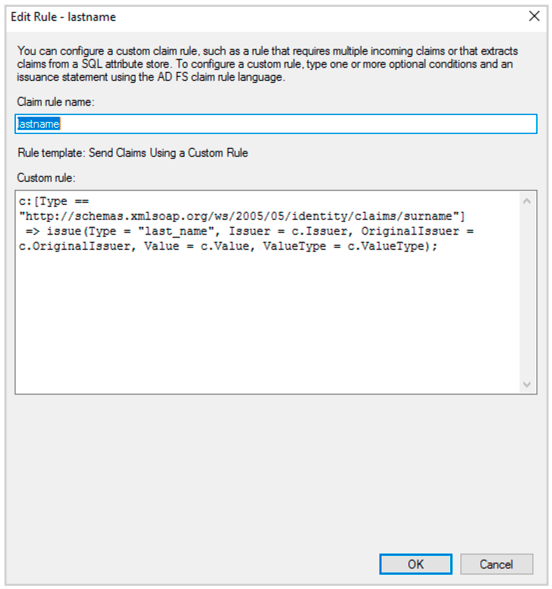
c:[Type == "http://schemas.xmlsoap.org/ws/2005/05/identity/claims/surname"]
 => issue(Type = "last_name", Issuer = c.Issuer, OriginalIssuer = c.OriginalIssuer, Value = c.Value, ValueType = c.ValueType);
(20) Repeat the Above step and add two more custom rules. Following are the two rules.
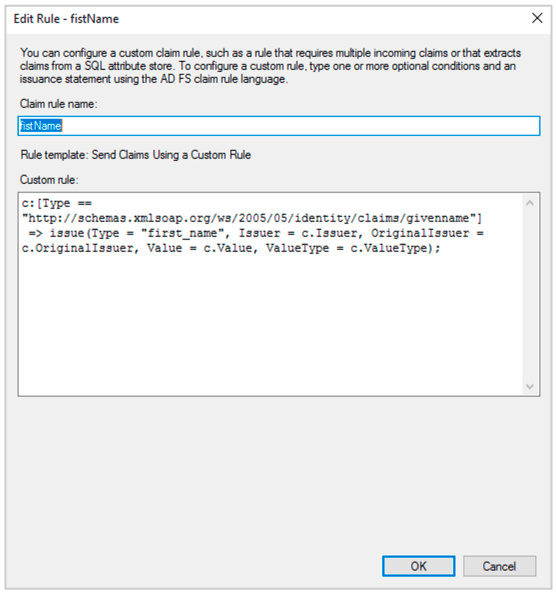
c:[Type == "http://schemas.xmlsoap.org/ws/2005/05/identity/claims/givenname"]
 => issue(Type = "first_name", Issuer = c.Issuer, OriginalIssuer = c.OriginalIssuer, Value = c.Value, ValueType = c.ValueType);
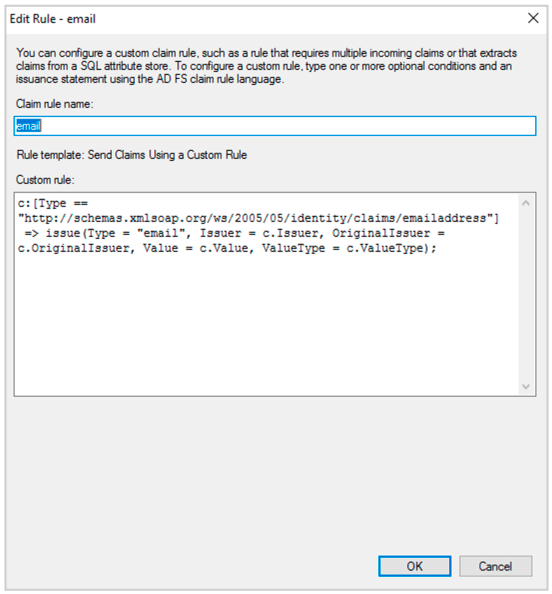
c:[Type == "http://schemas.xmlsoap.org/ws/2005/05/identity/claims/emailaddress"]
 => issue(Type = "email", Issuer = c.Issuer, OriginalIssuer = c.OriginalIssuer, Value = c.Value, ValueType = c.ValueType);
Make Sure the user accounts to be used for SSO have first name, last name and email configured.
(21) Click Apply.
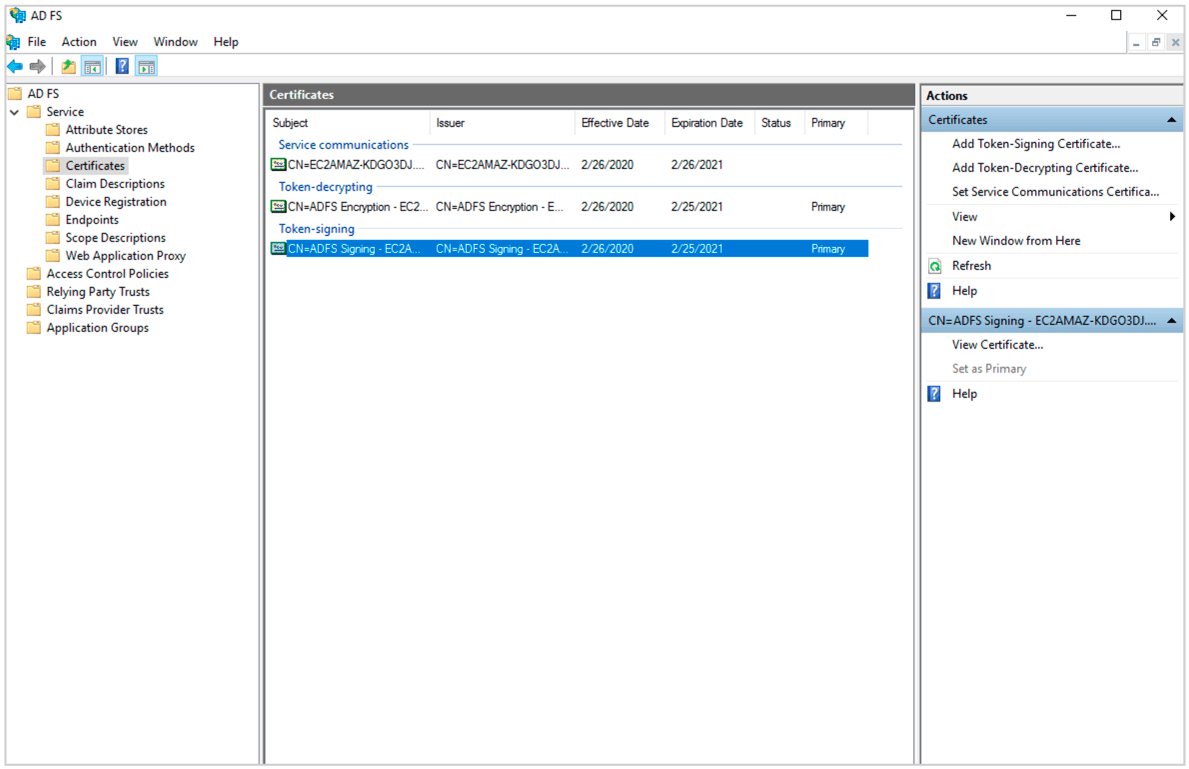
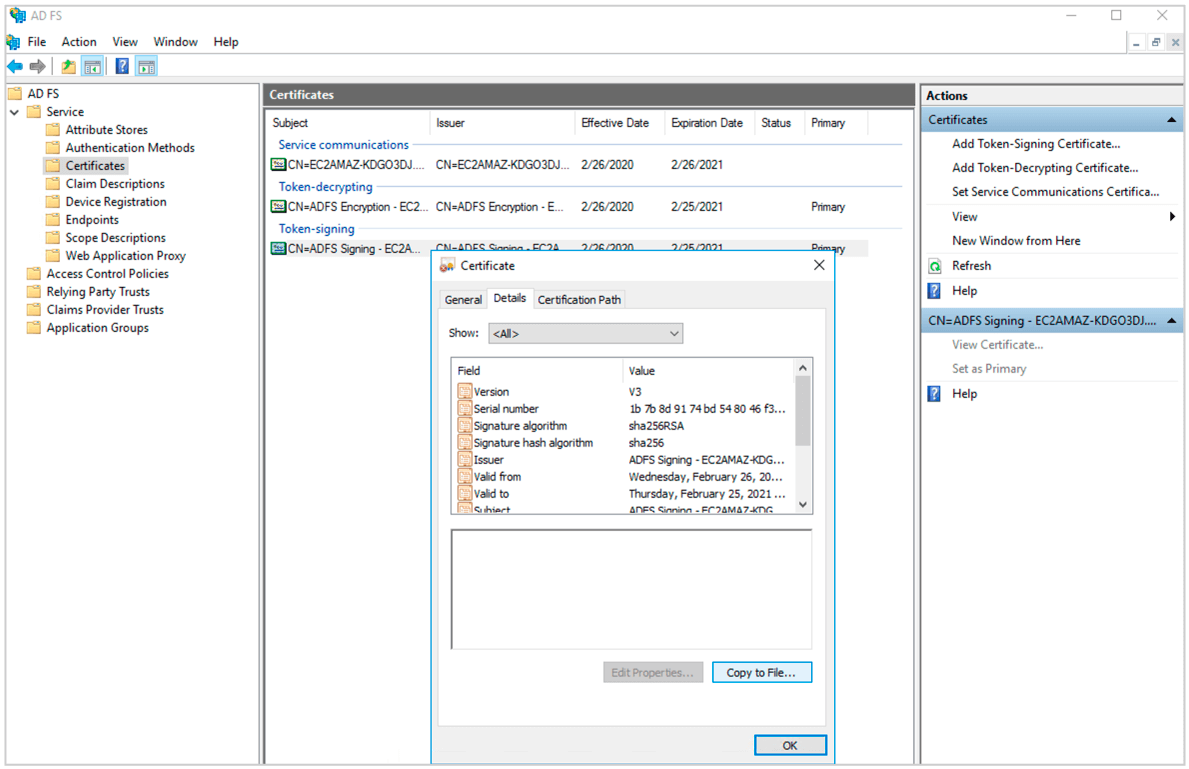
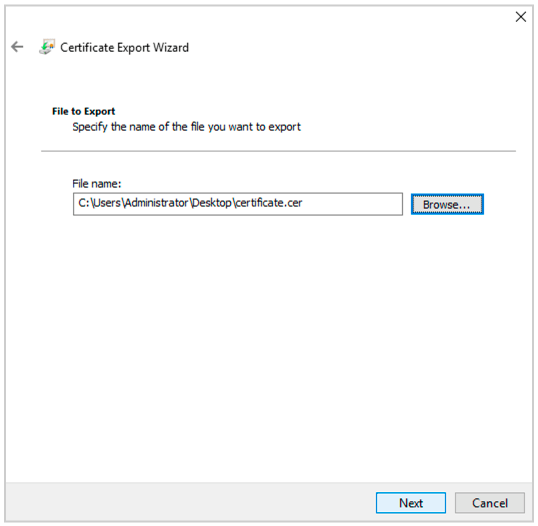
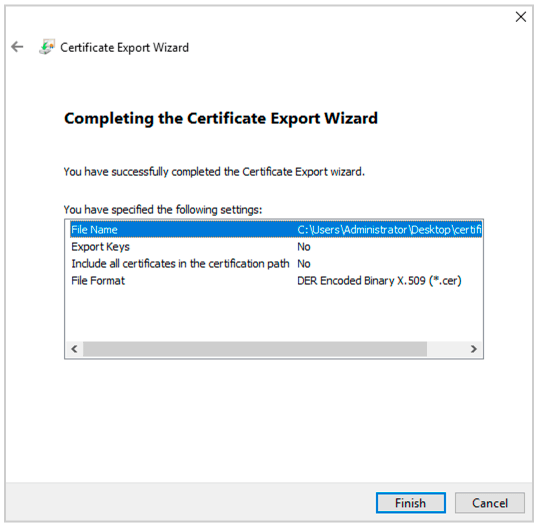
(22) In your ADFS management dashboard.Go to Services->Certificates. Select Token Signing Certificate and Click View Certificate. Go to Details->Copy to File and and export the Der encoded binary X.509 certificate.
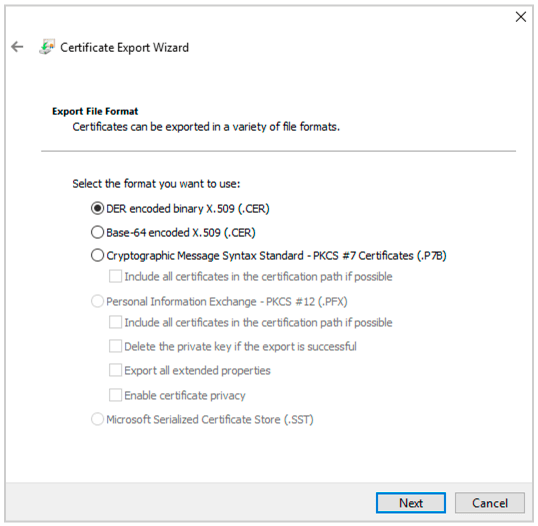
(23) Now convert the .cer file to a .pem file using the following command in Powershell.
openssl x509 -inform der -in certificatename.cer -out certificatename.pem
(24) Open the .pem file in text editor. Copy the contents and paste it in Squadcast under X.509 Certificate. Then enter the Saml 2.0 Endpoint as **https://
Note: Make sure to add the Domain Name of your Organization, for SSO login to work

(25) Enable SSO and click Save.
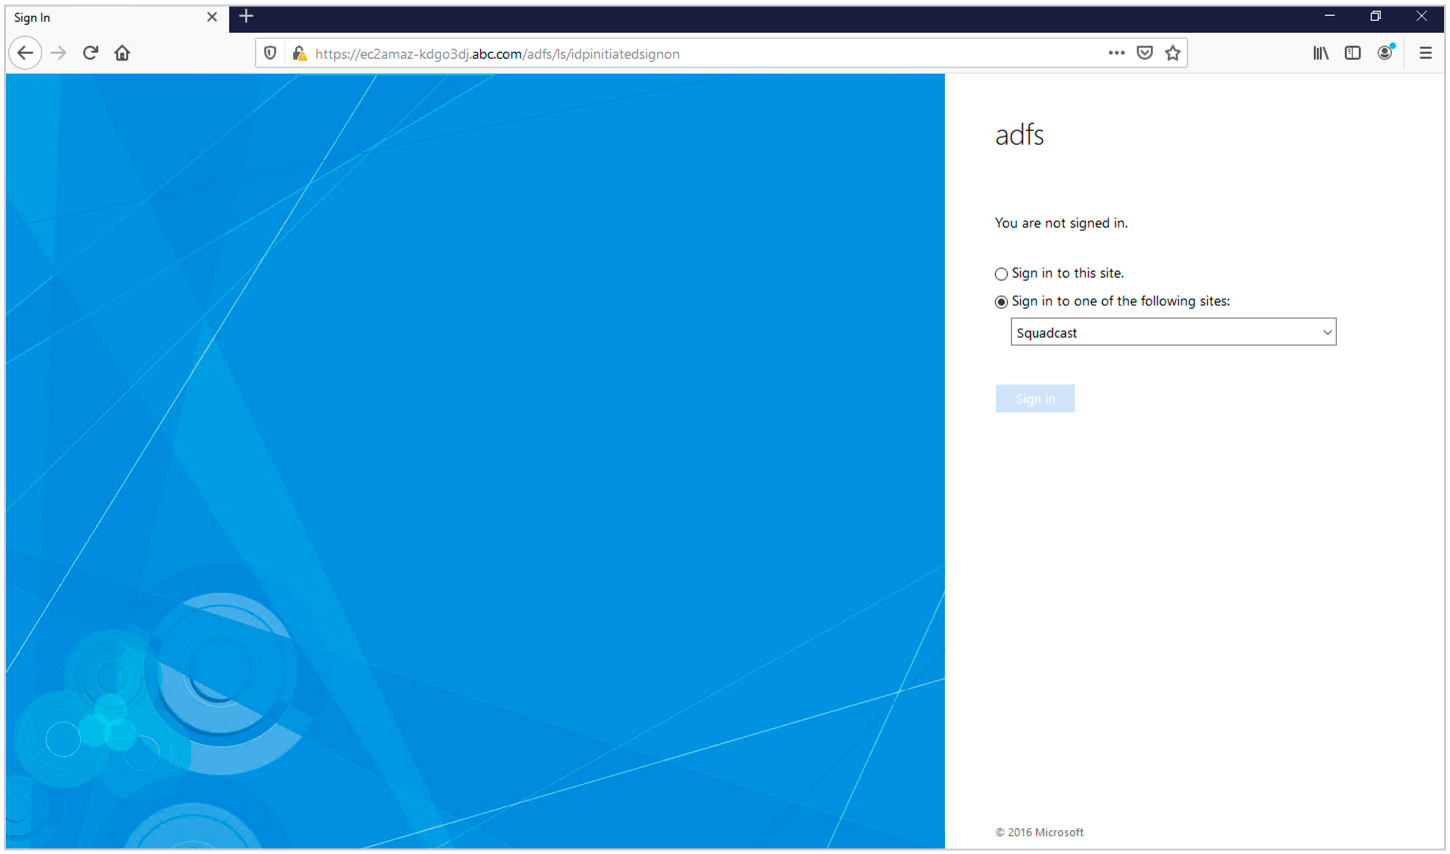
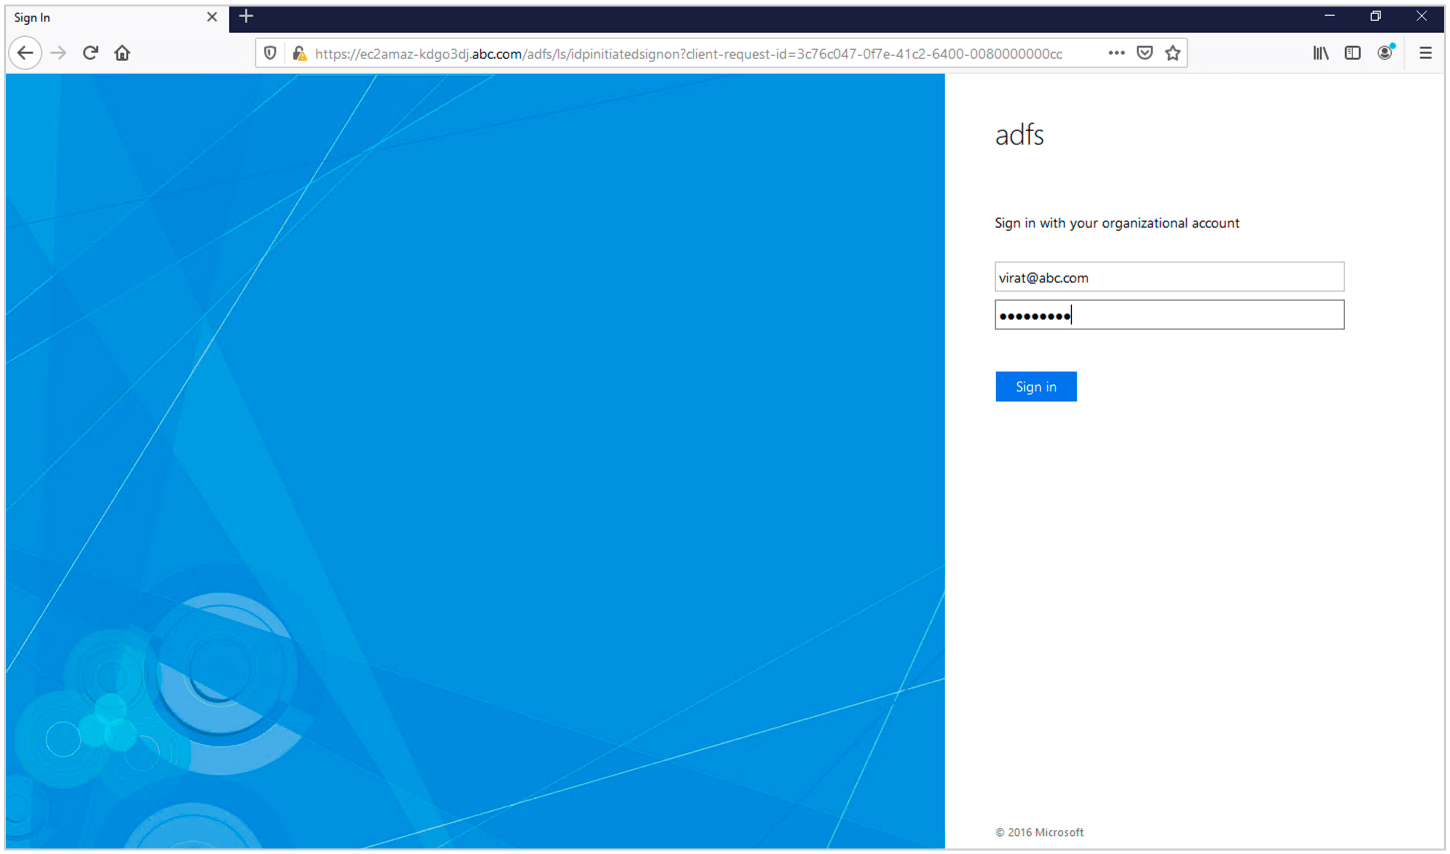
(26) ADFS SSO is now configured. To test it you can go to **https://