Create and Manage On-call Schedules & Rotations
On-call schedules are used to determine who will be notified when an incident is triggered. When an incident is impacting a Service, notifications are sent to that user in the Service’s associated Escalation Policy.
Creating an On-call Schedule
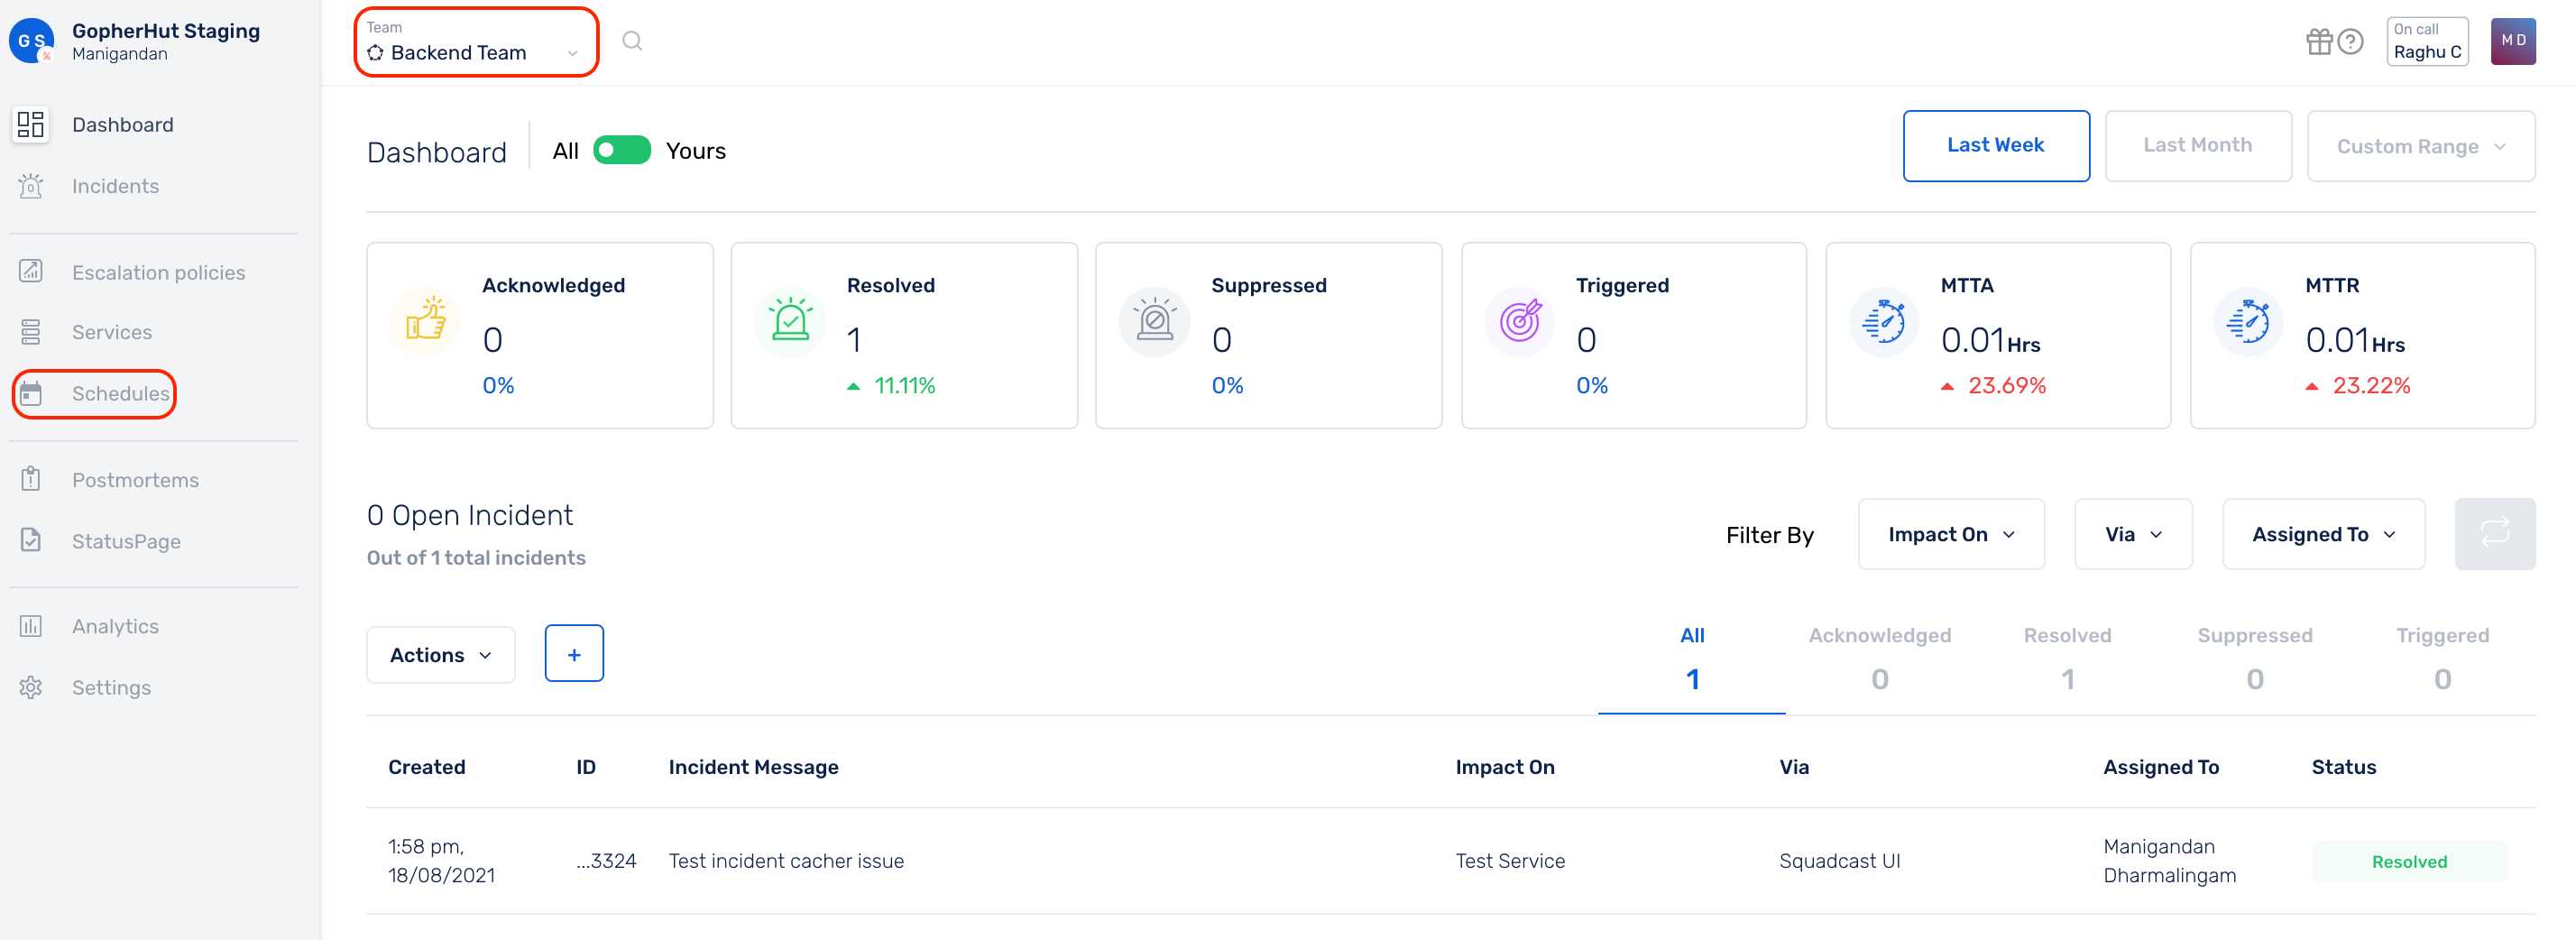
Ensure that the right Team is selected from the team picker present at the top.
(1) Click on Schedules in the primary navigation
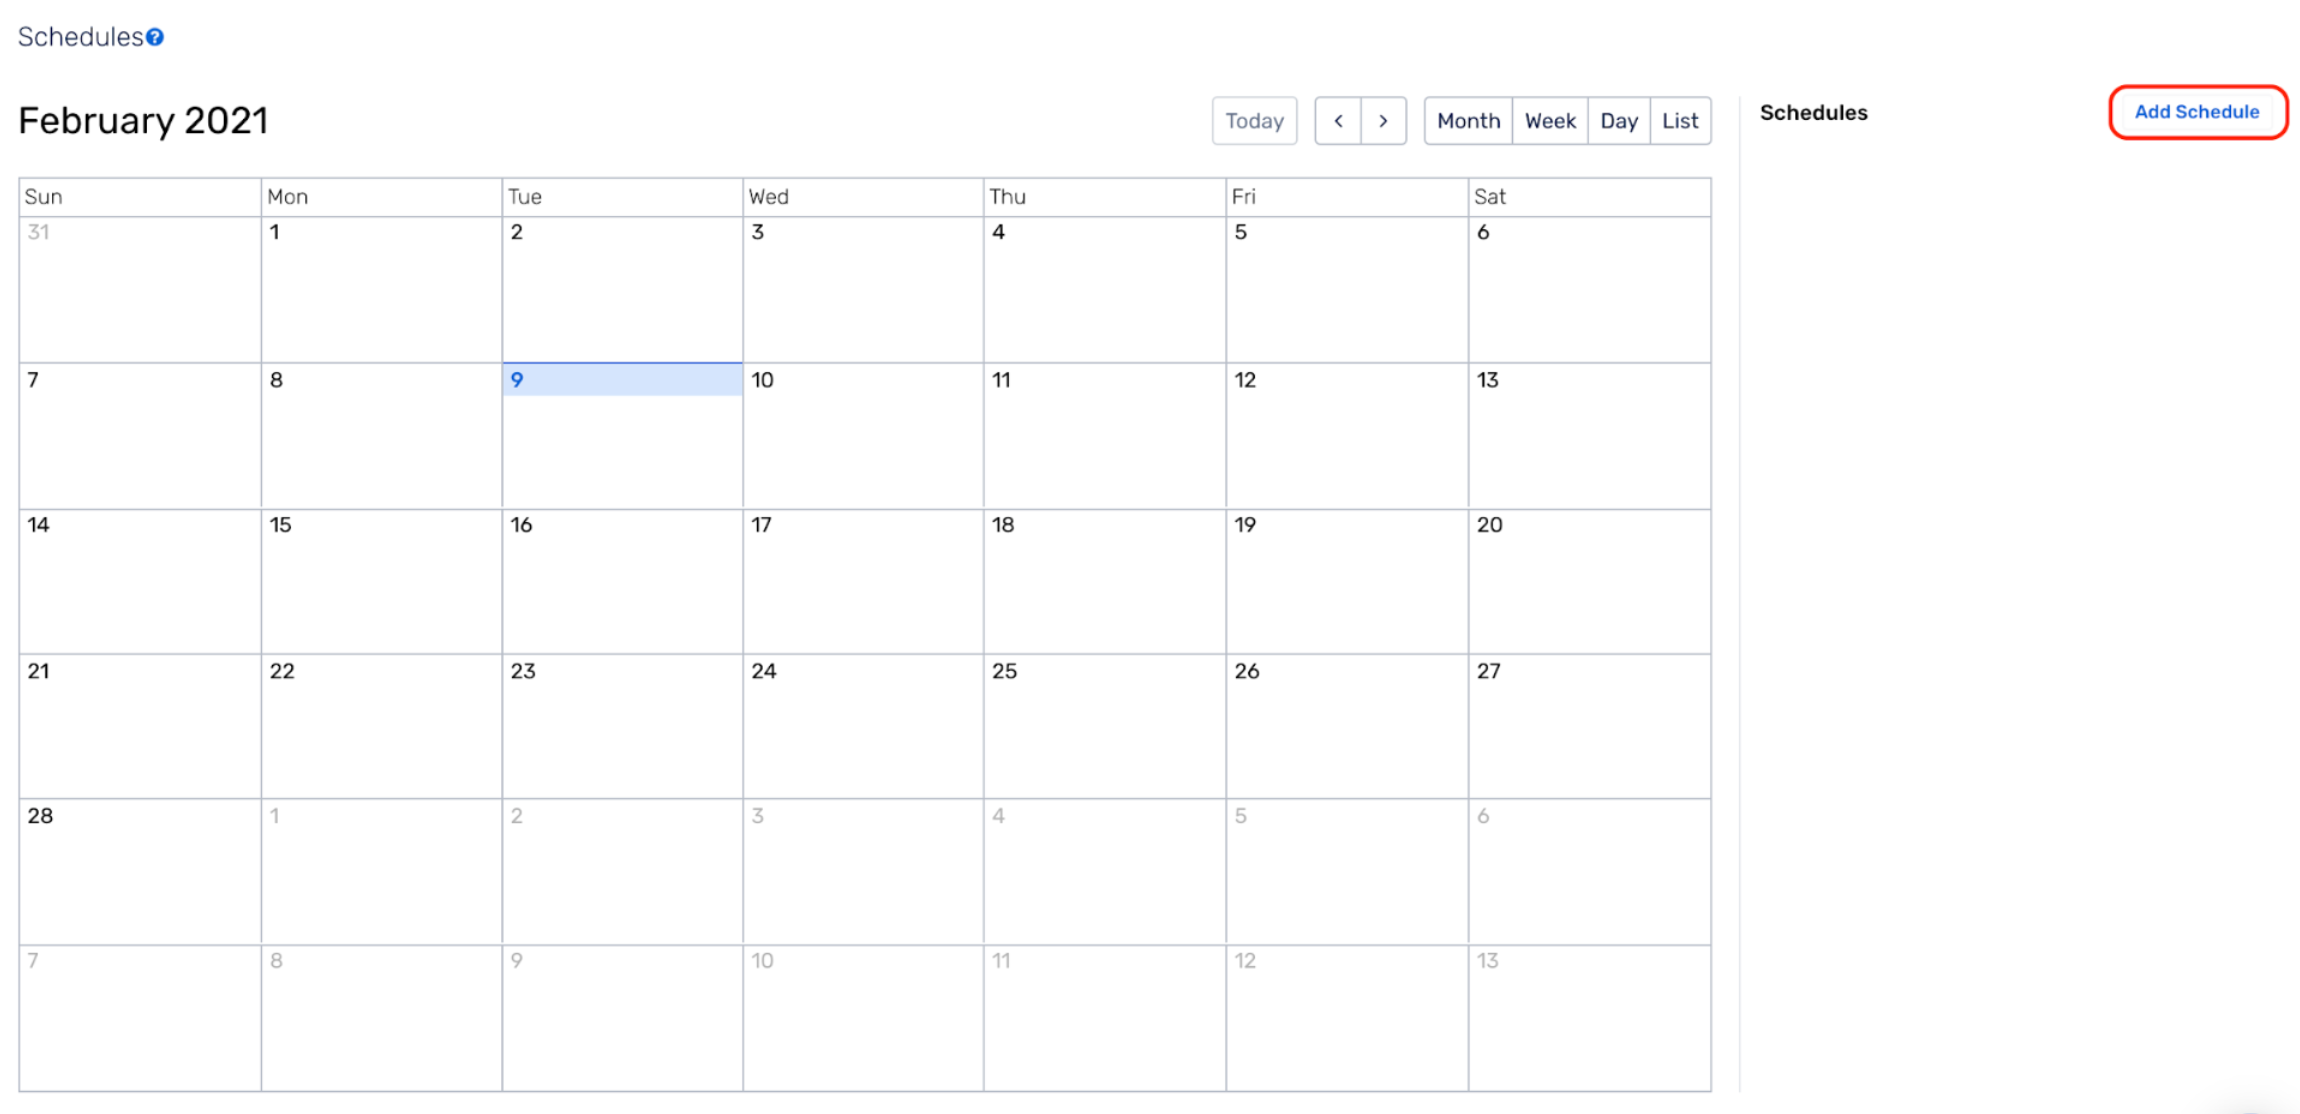
(2) Click on Add Schedule at the right hand side of the screen
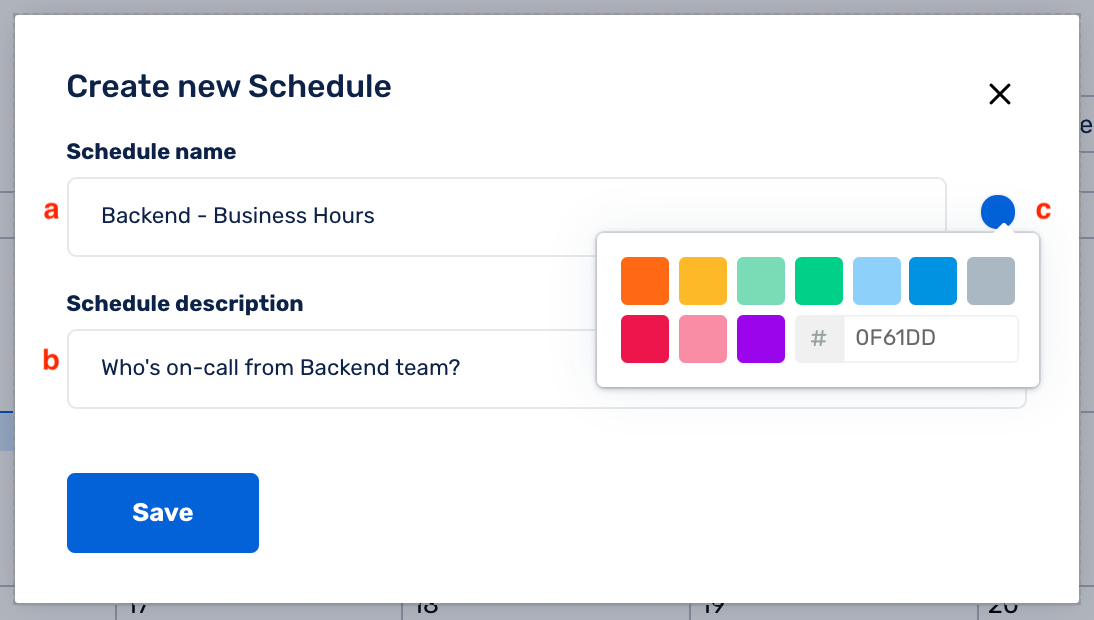
(3) Enter the following information:
(a) Schedule Name: Give the schedule a name which you can use while adding the on-call schedule to the calendar
(b) Schedule Description: This is a short description of the schedule explaining what it is and why it exists
(c) Schedule Color: You can also set a color for a specific schedule, which will be used while rendering the on-call on the calendar
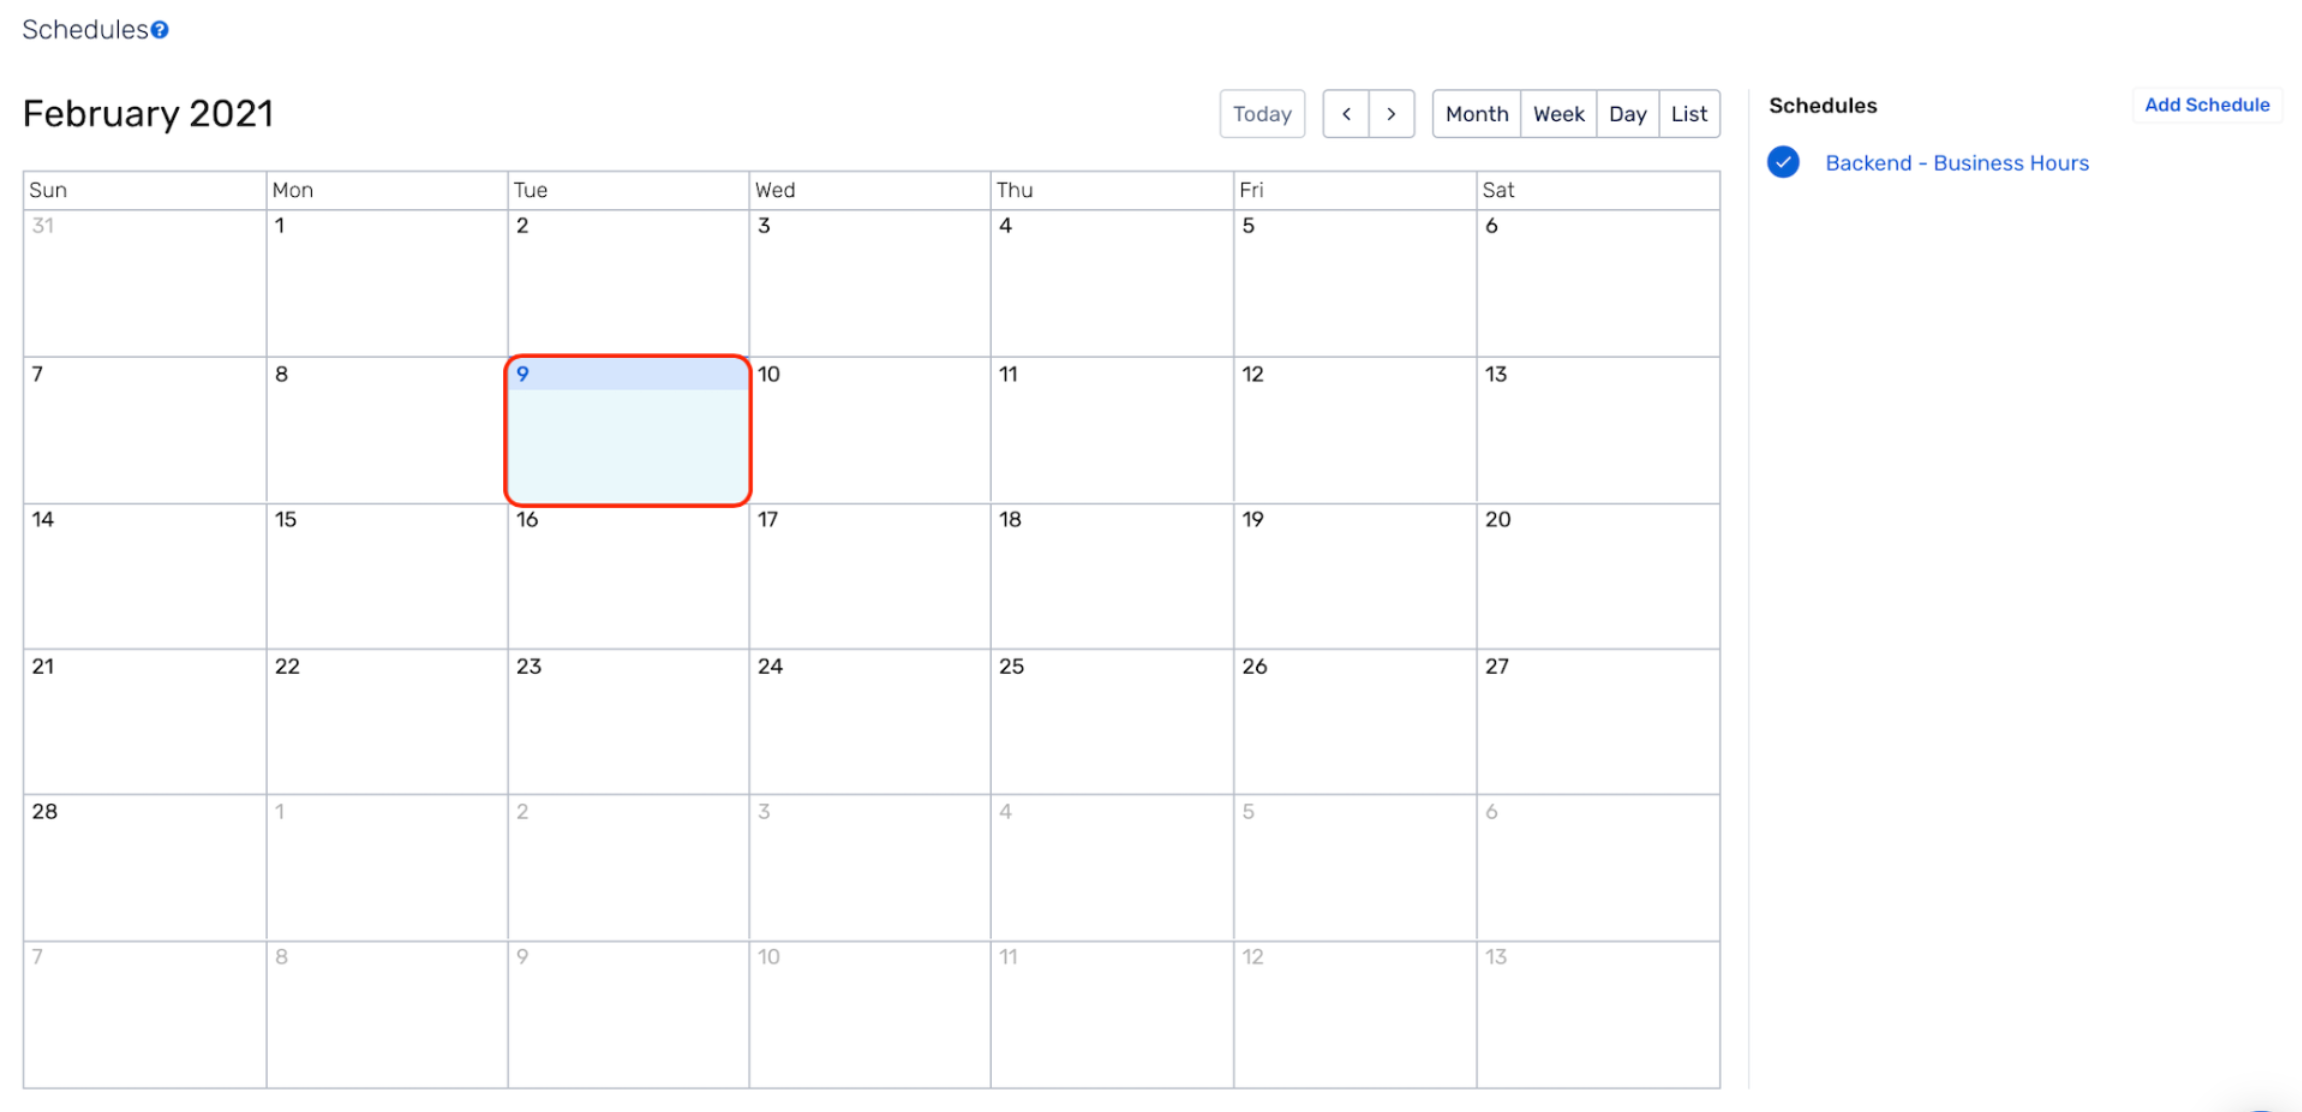
(4) Pick any day of the calendar by clicking on it, to create an on-call shift starting from that day. You can also drag your cursor from one day to another, to automatically set the Start date and End date
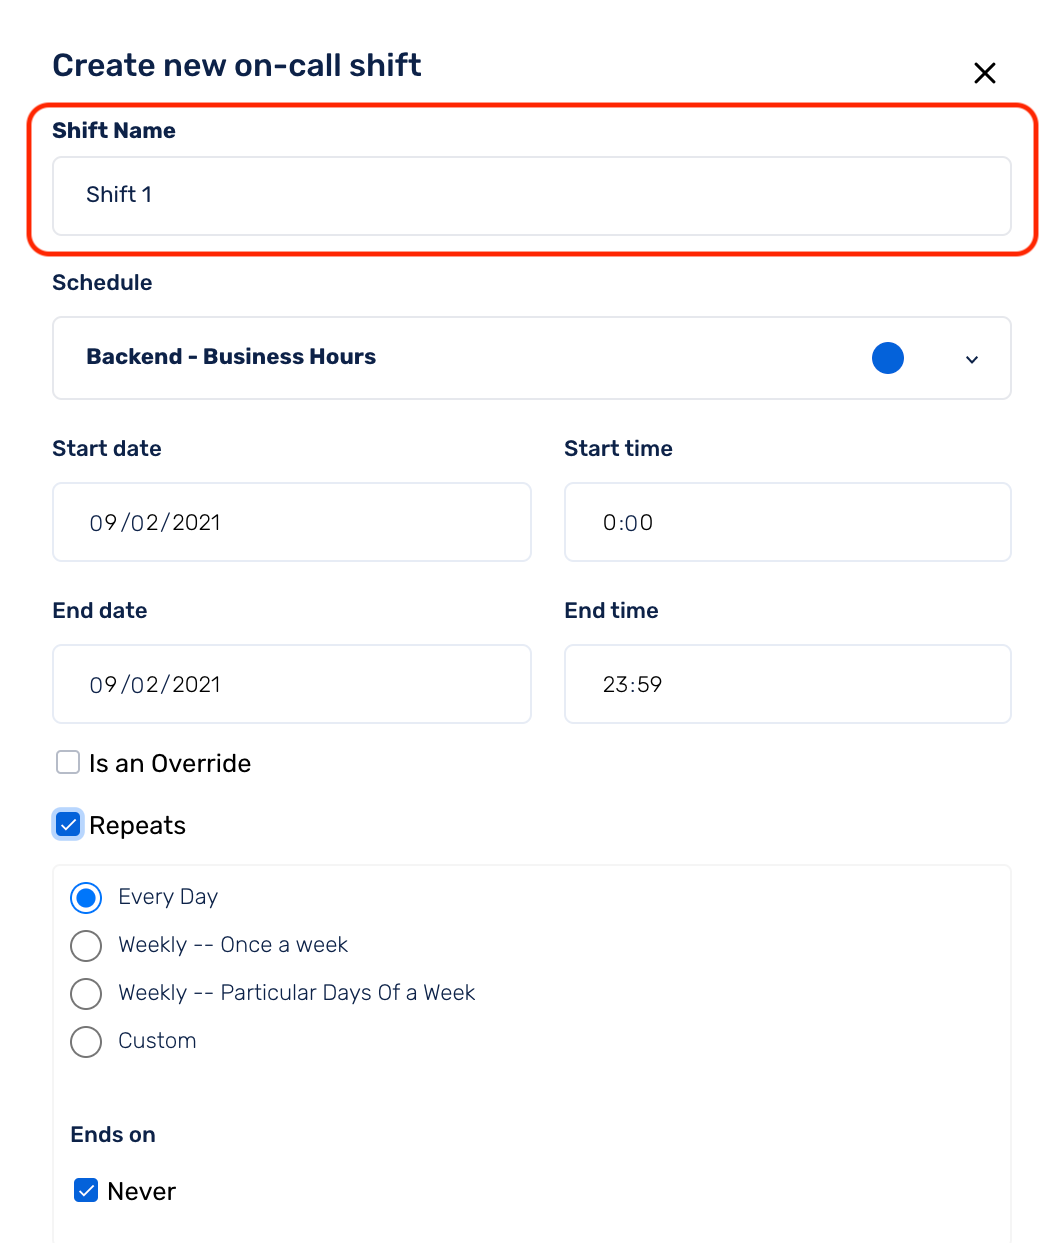
(5) Shift Name indicates the name of the particular Shift being set up within the Schedule. This is a mandatory field and the user needs to enter a value for this before proceeding further
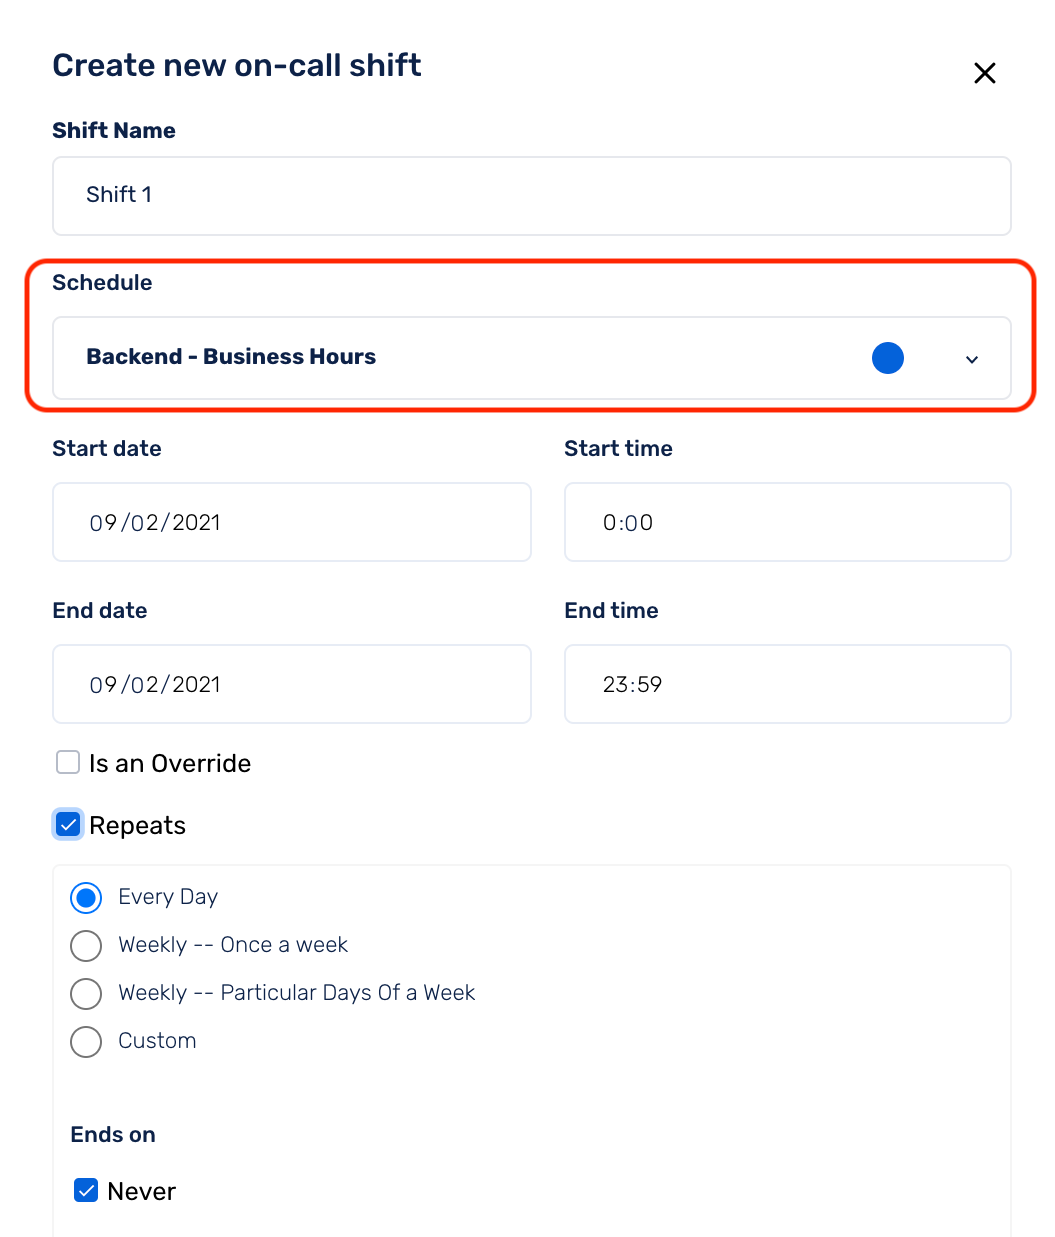
(6) Choose the Schedule you want to create this on-call shift for, from the drop-down
(7) Input the Start date, Start time, End date and End time to determine when the shift begins and when it ends respectively
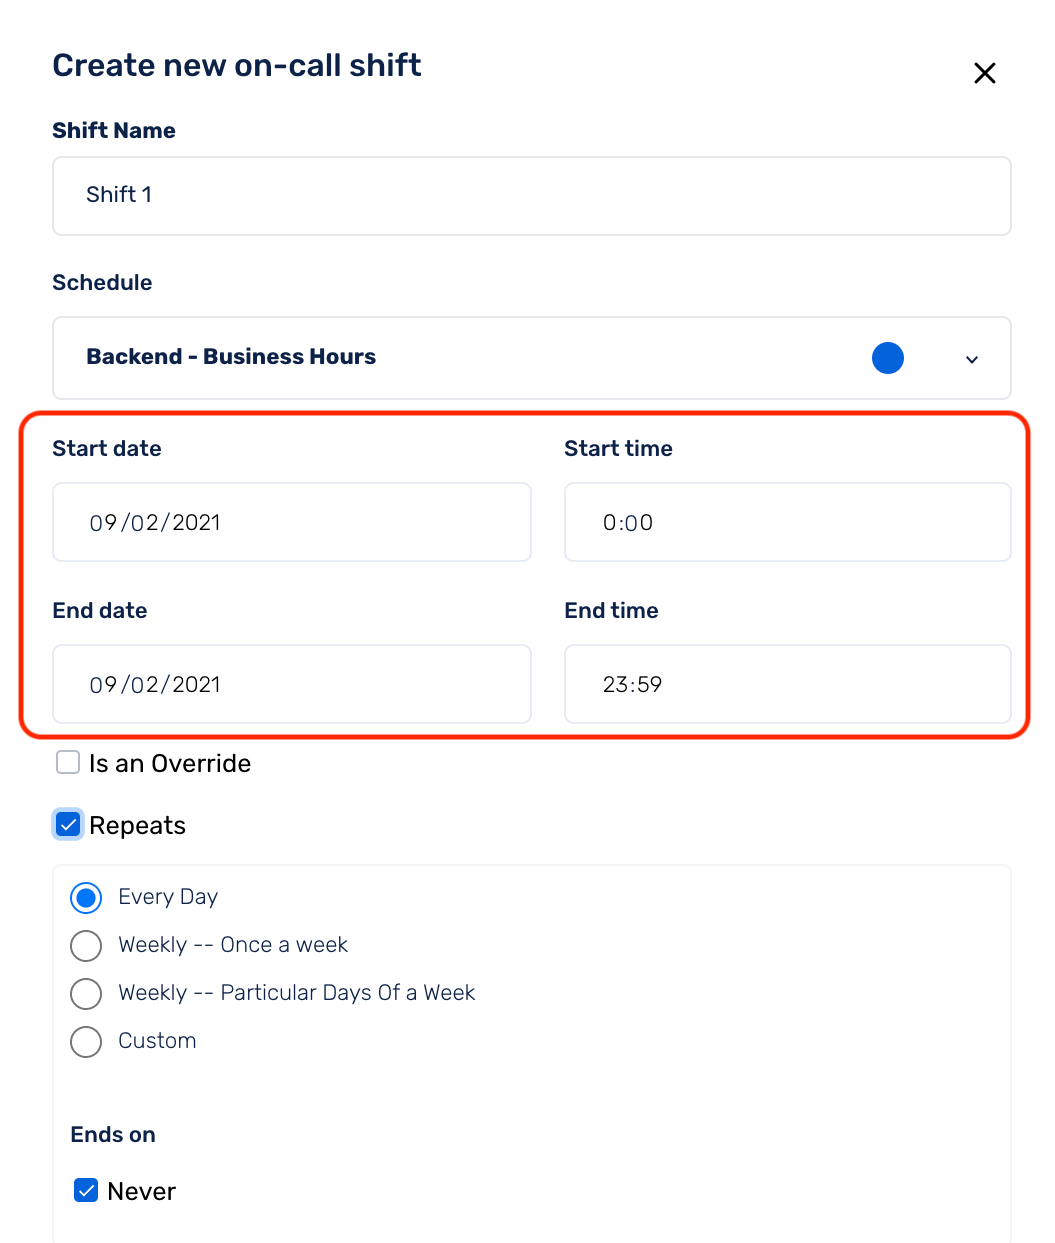
Do not check the Is Override box if you want to create a normal shift.
(8) Repeats- Repetitions can be daily, weekly or monthly. You can also restrict the schedules to specific times of the day or during specific days of the week, based on your need
Now, choose the appropriate option:
- Everyday - Use this to create a daily schedule (applicable for all 7 days of the week)
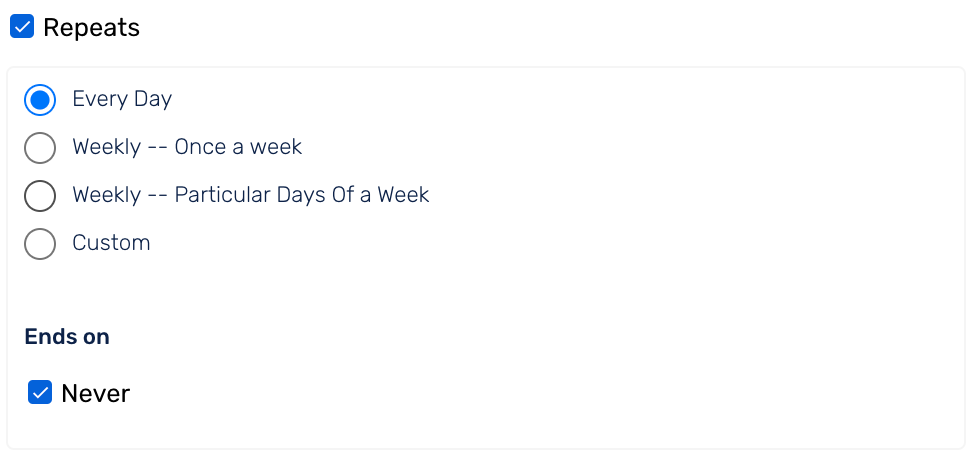
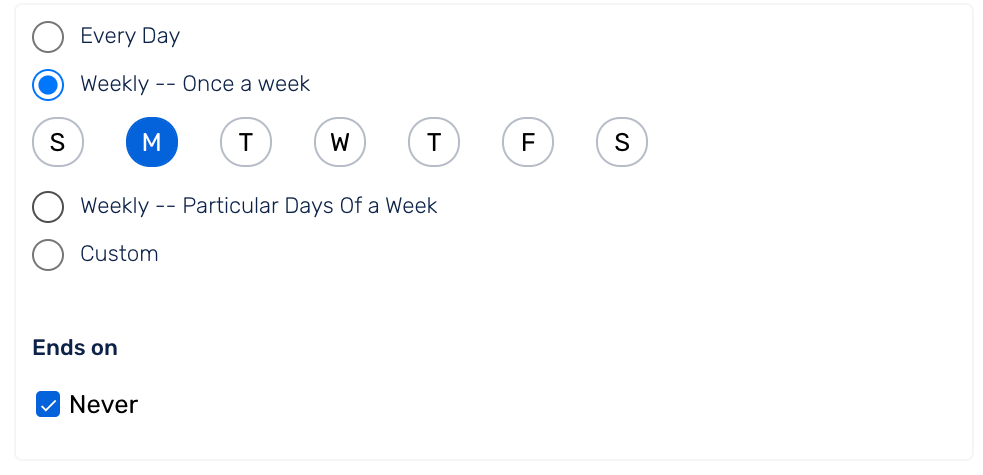
- Weekly – Once a week - Select this option to create a schedule that occurs only on one day of the week. You can select the day on which this shift will be active
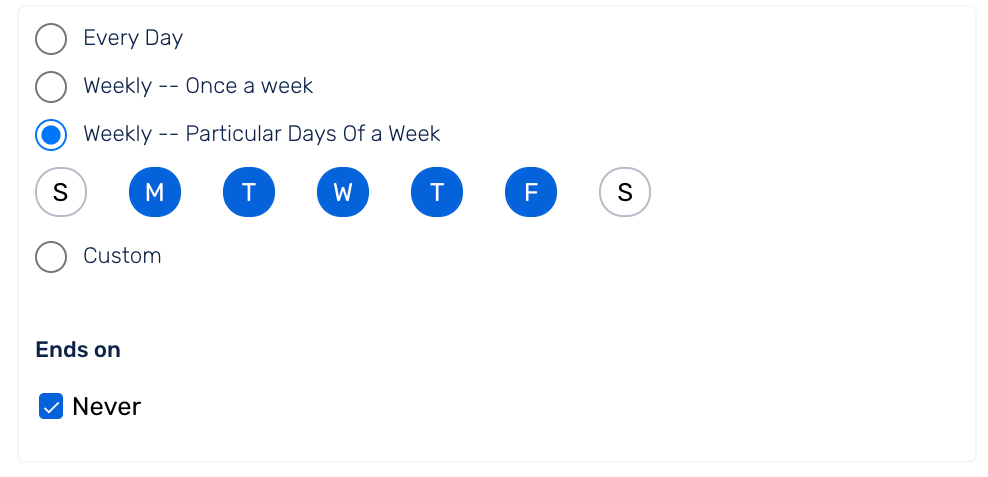
- Weekly – Particular Days Of a Week - Select this option to create a schedule that occurs on particular days of the week. You can select the days on which this shift will be active
- Custom - Select this option to create any other custom shift of your choice. You can customize the number of days/weeks/months you want the on-call to repeat for
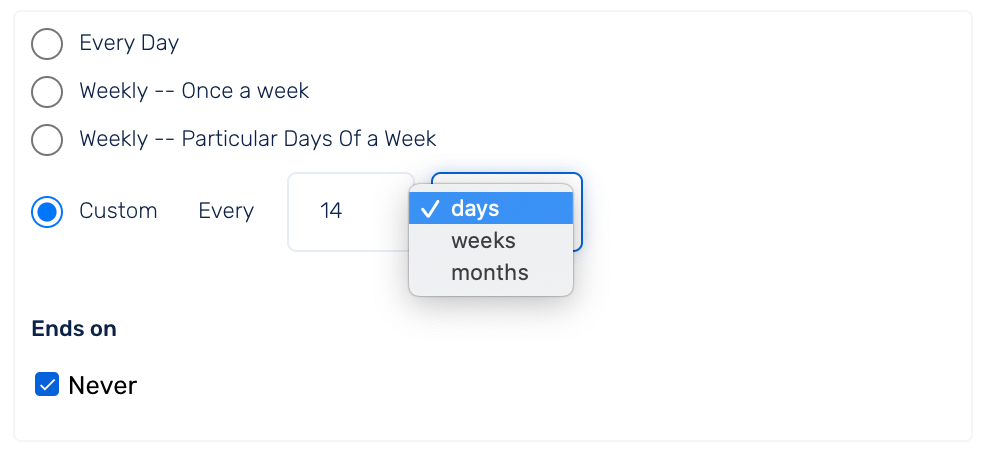
To create a recurring schedule, mark Ends on as Never (enable the checkbox). Never is enabled by default. If you do not want a recurring schedule, disable the checkbox and specify the end date.
(9) Add in the users who would be on call for this shift under the Assignee Groups section. Each group behaves as a different rotation. Use Add Group to add multiple such groups
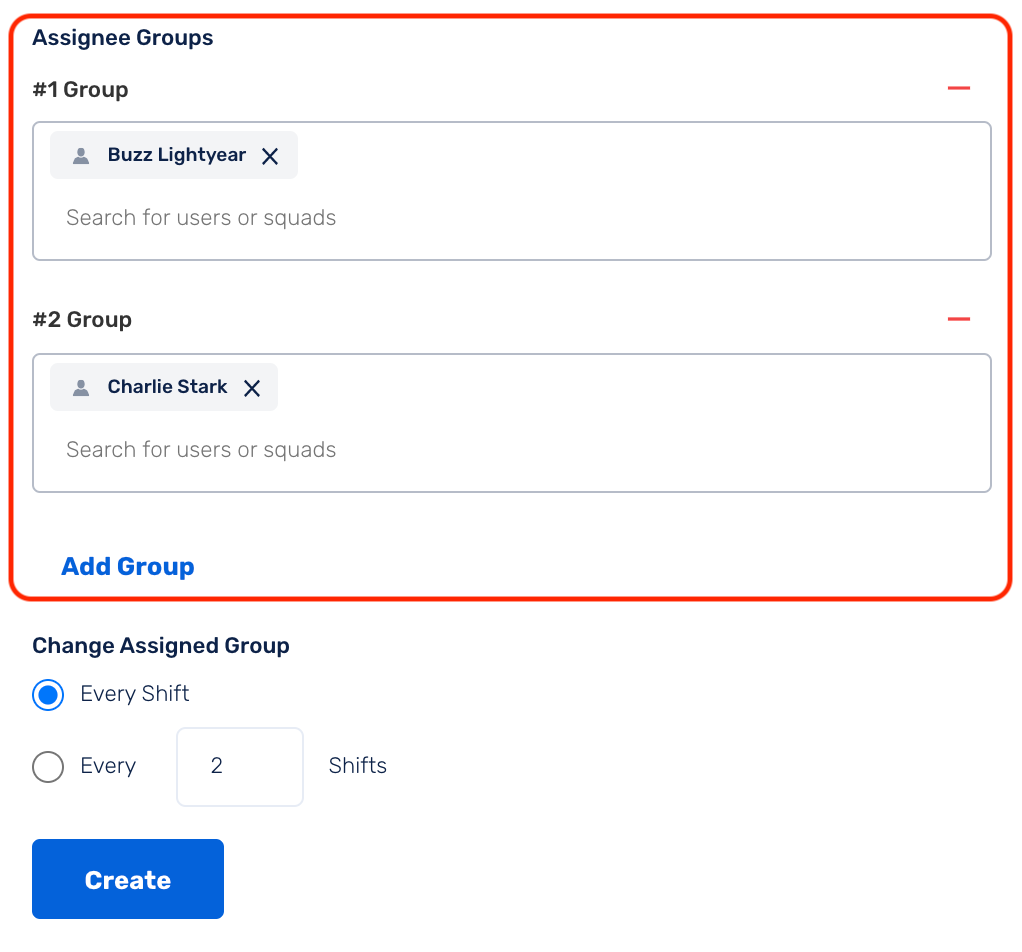
Adding Squads within an Assignee Group would mean every member of the Squad is on-call based on the shift defined. Squadcast does not pick members one by one from within a Squad and rotate between them. For a rotation to happen between 1 or more entities (Users or Squads), add them in different Assignee Groups instead.
(10) Select the number of shifts after which you want to switch between the Assigned Groups
Example 1: Buzz Lightyear is part of #1 Group and Charlie Stark is part of #2 Group.
- If Every Shift is chosen then
#1 Groupand#2 Groupwould be on-call on alternate days - If Every 7 Shifts is chosen then
#1 Groupwould be on-call the first 7 days and#2 Groupwould on-call the following 7 days and so on
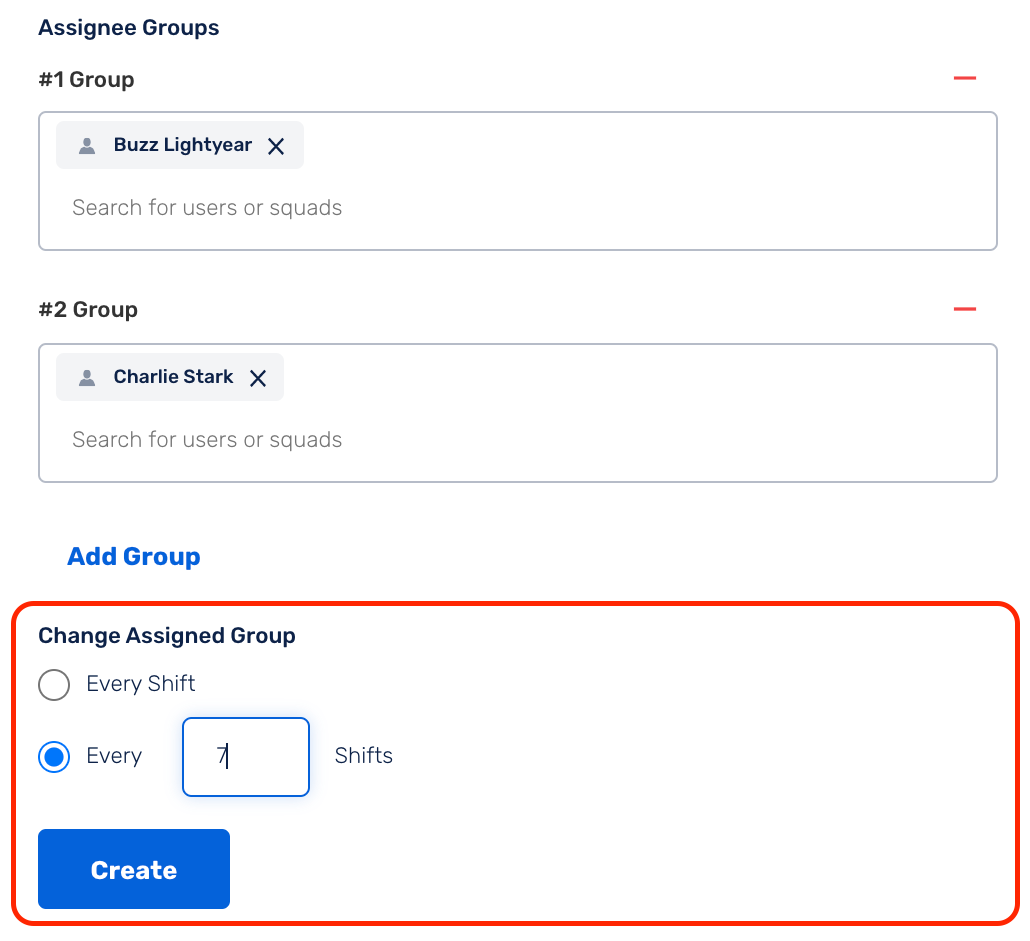
(11) That’s it! Click on Create to save the schedule
You will need to add a Schedule to an Escalation Policy for the on-call users to be notified when an incident is triggered for a Service
Gaps in your Schedule
It is important to ensure that there are no gaps in your Schedules.
-
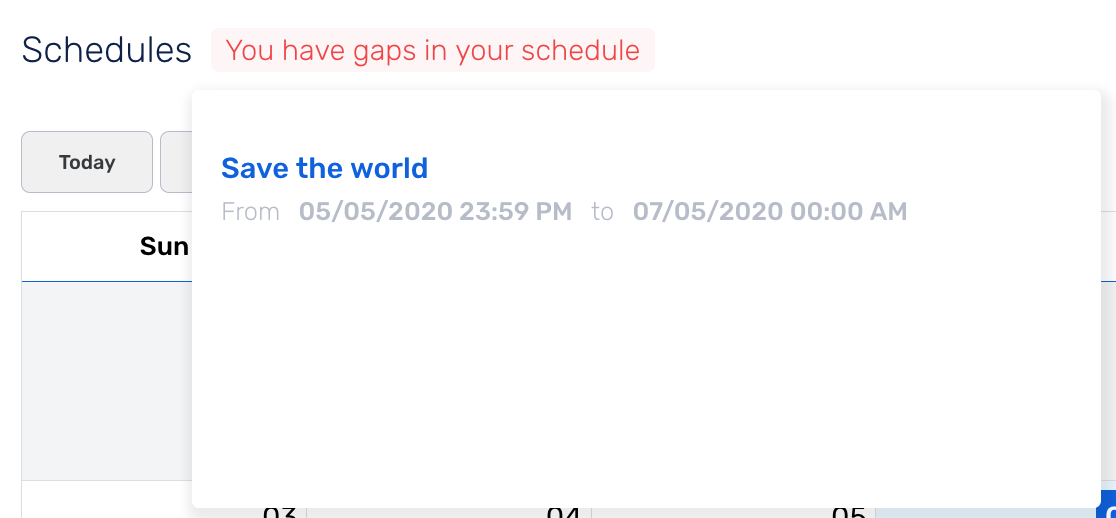
If you have any gaps in your Schedules configuration, the system will prompt the banner You have gaps in your schedule right above the Schedules calendar view
-
To know more details about the gaps, you can click on the You have gaps in your schedule banner and it will show you the name of the Schedule along with the date and time during which the gap has been detected
Manage an Existing On-call
Update
(1) Select an existing on-call by clicking over any assigned User/Squad on the calendar
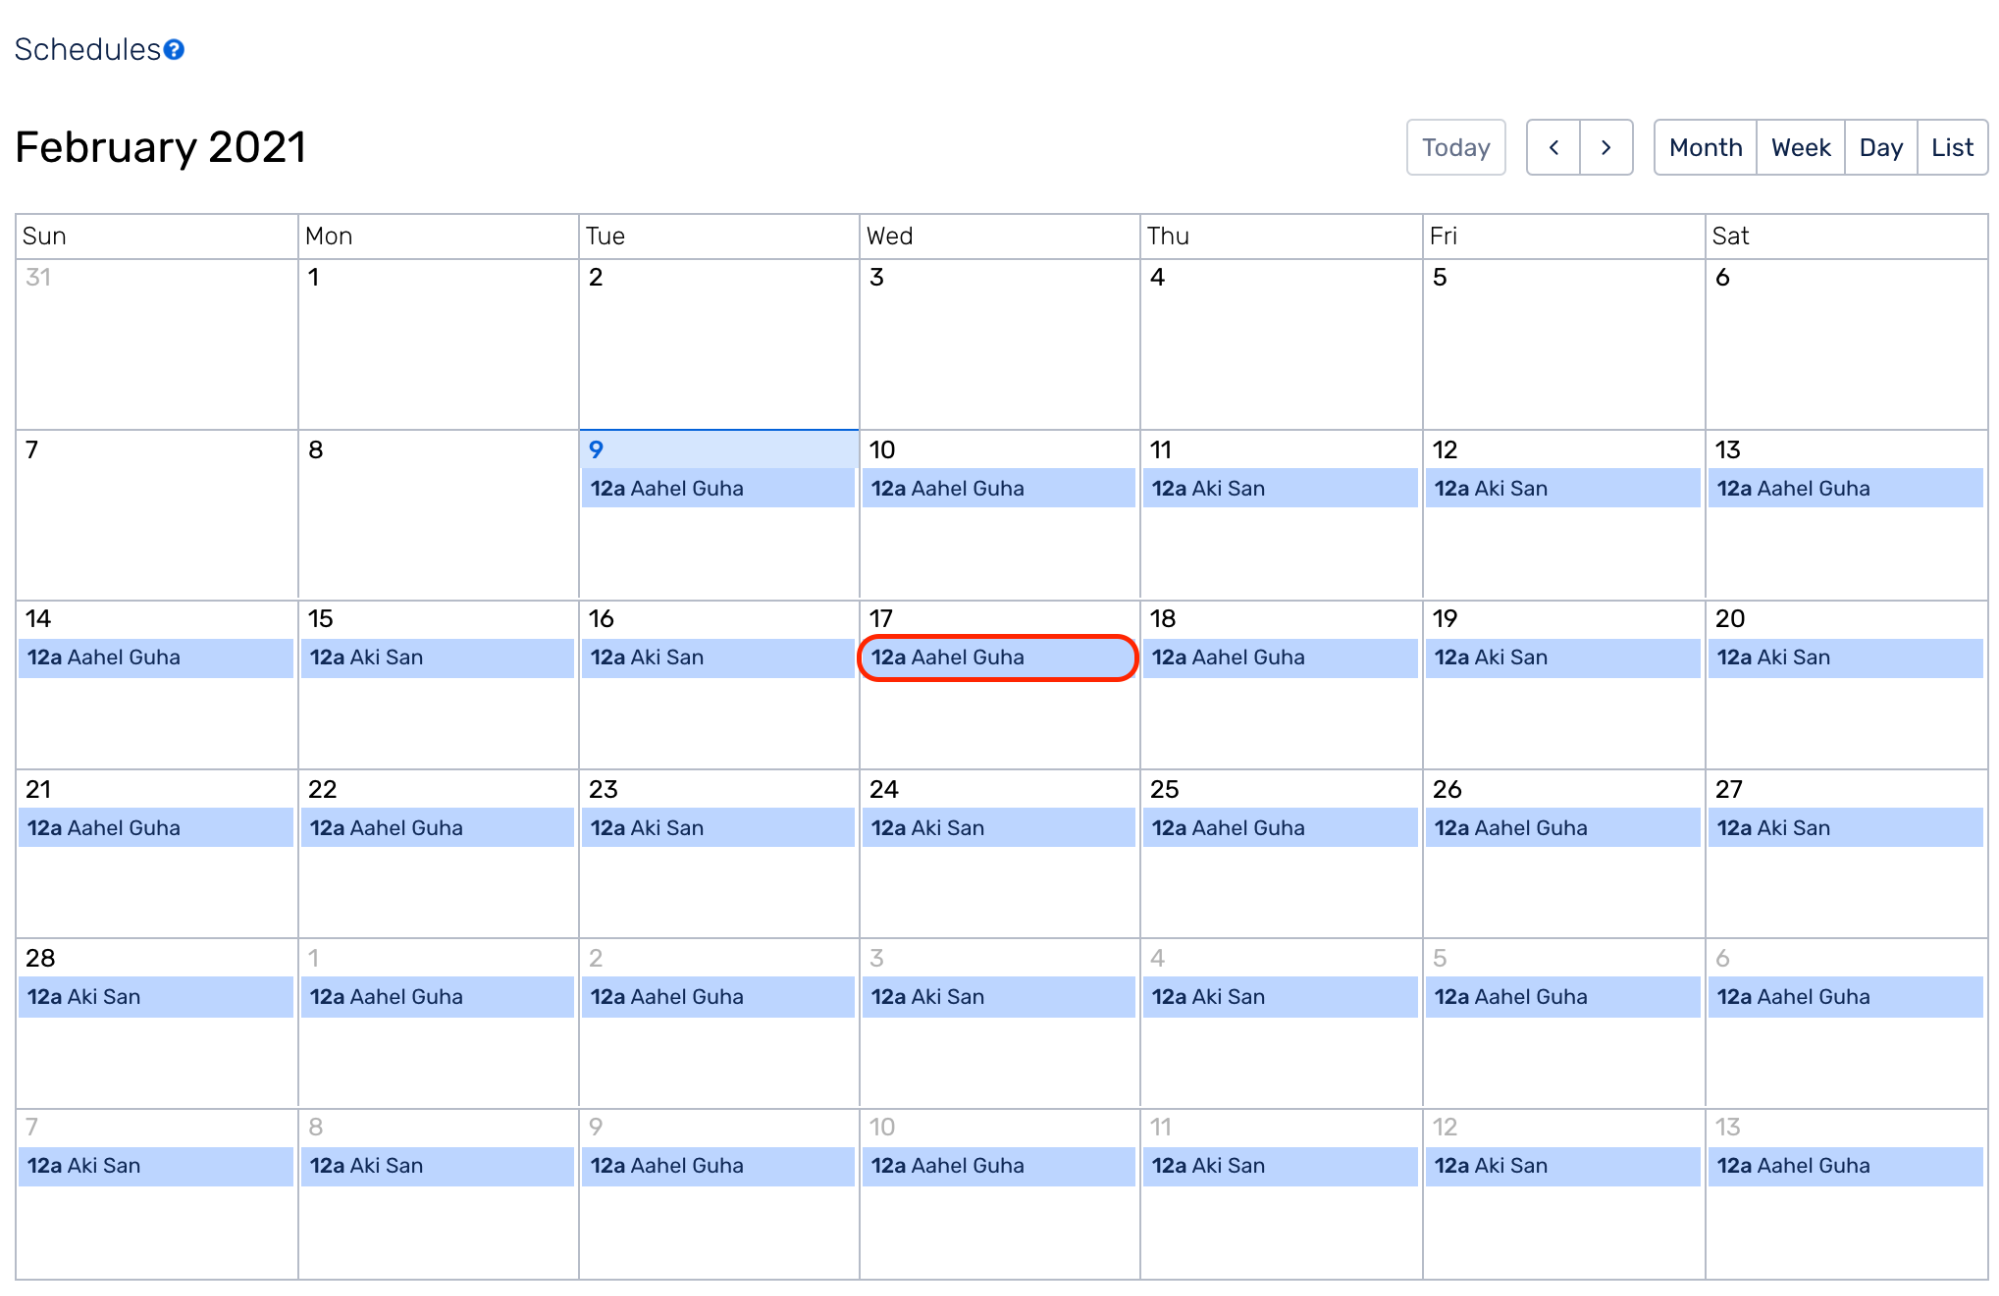
(2) Click on Edit

(3) Select the appropriate Update method:
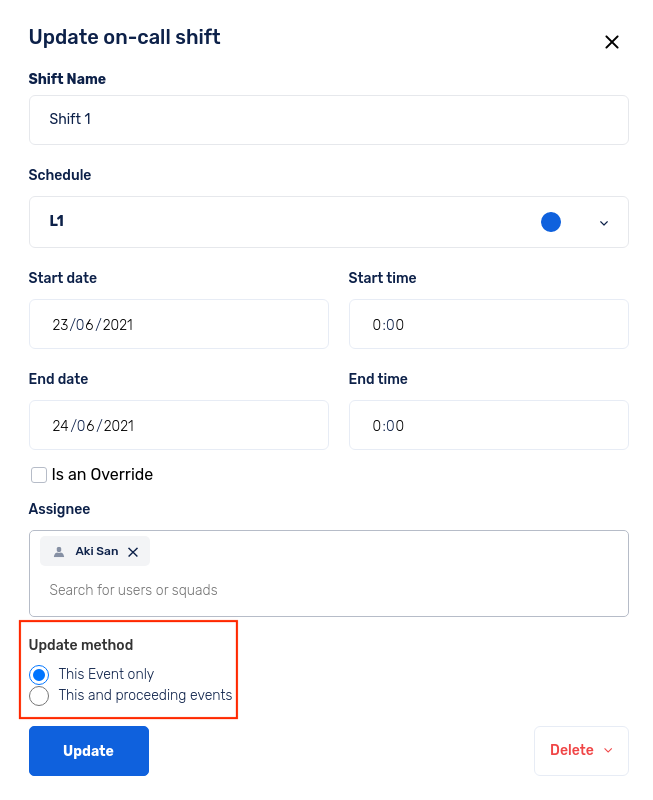
- This Event Only - to update only that particular event When this choice is made, you will not see the option to Repeat as this is considered a one-off necessity to update. Also, this will only show the assignees of the current event picked for the update
- This and proceeding events - to update the selected event and all the events that come afterwards
In the last two Update methods, the modal shows the Repeats checkbox and also, shows all the Assignee Groups in the series.
You cannot update past events as it is meant to serve as an accurate record of the past on-call Schedule.
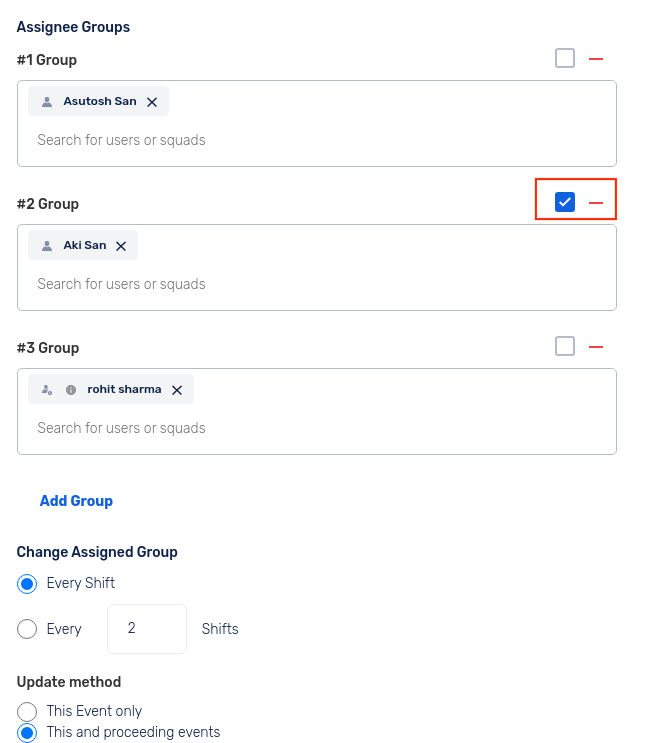
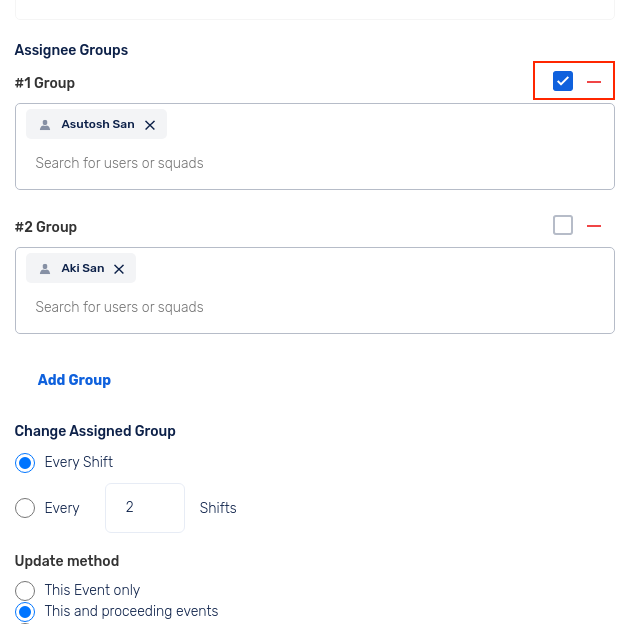
Choosing a different starting Group
Starting Group determines the Group that starts the defined Rotation. This can only be defined when the update method chosen is This and Following Shifts option is selected in the update method.
Note:
By Default #1 Group will be the starting Group.
Deleting an On-call
(1) Delete an existing on-call by clicking the Delete button at the bottom right corner of the Update on-call shift dialog box
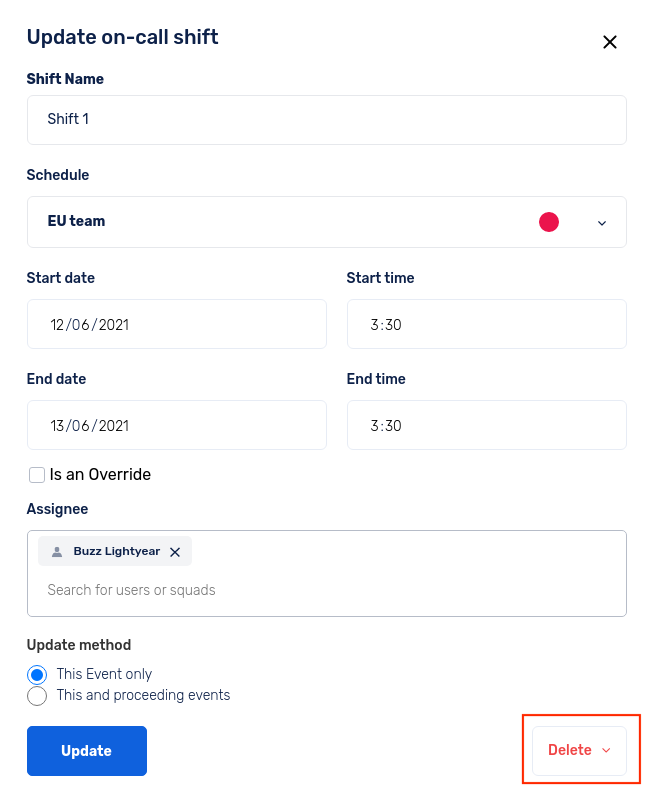
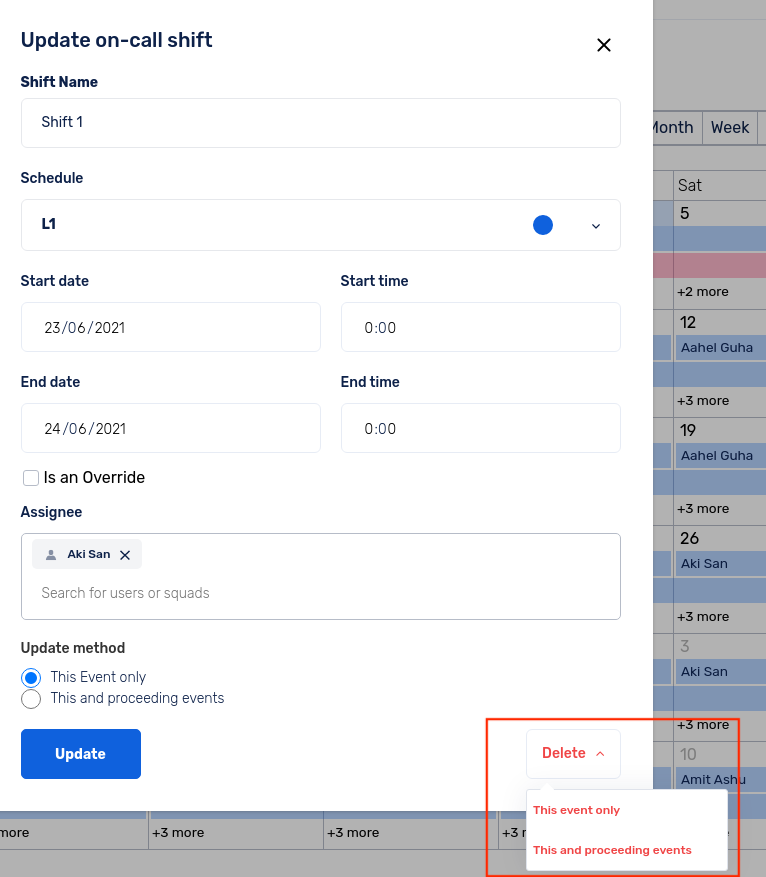
(2) Choose the appropriate option:
- This event only - It will delete only the selected event of the series
- This and proceeding events - It will delete the event selected as well as all the future events belonging to that series
How-to Video
FAQs
Q: How can I add users in different time zones to the Schedule?
A: The selected timezone will default to the local machine timezone. This is especially beneficial for geography-based on-call rotations. The Team members will be able to view any created on-call schedule in their local time.
Q: Can I send on-call reminder notifications?
A: Yes, users can choose to receive on-call reminder notifications ahead of their shifts. They can set this up according to their preference as mentioned here. If a created override shift has less than the time specified to begin, the notification will go out immediately after the override creation.
Q: Why cannot Stakeholders be added in the on-call Schedules?
A: Stakeholders or Users with Observer Role are read-only users in Squadcast. Hence they cannot be added in an on-call schedule. When you try adding them you would see an error message as shown below.
