Honeycomb
Honeycomb is an application monitoring tool that helps DevOps and SRE teams to operate more efficiently by offering rich observability and intuitive team collaboration.
Route detailed alerts from Honeycomb to the right users in Squadcast.
Using Honeycomb as an Alert Source
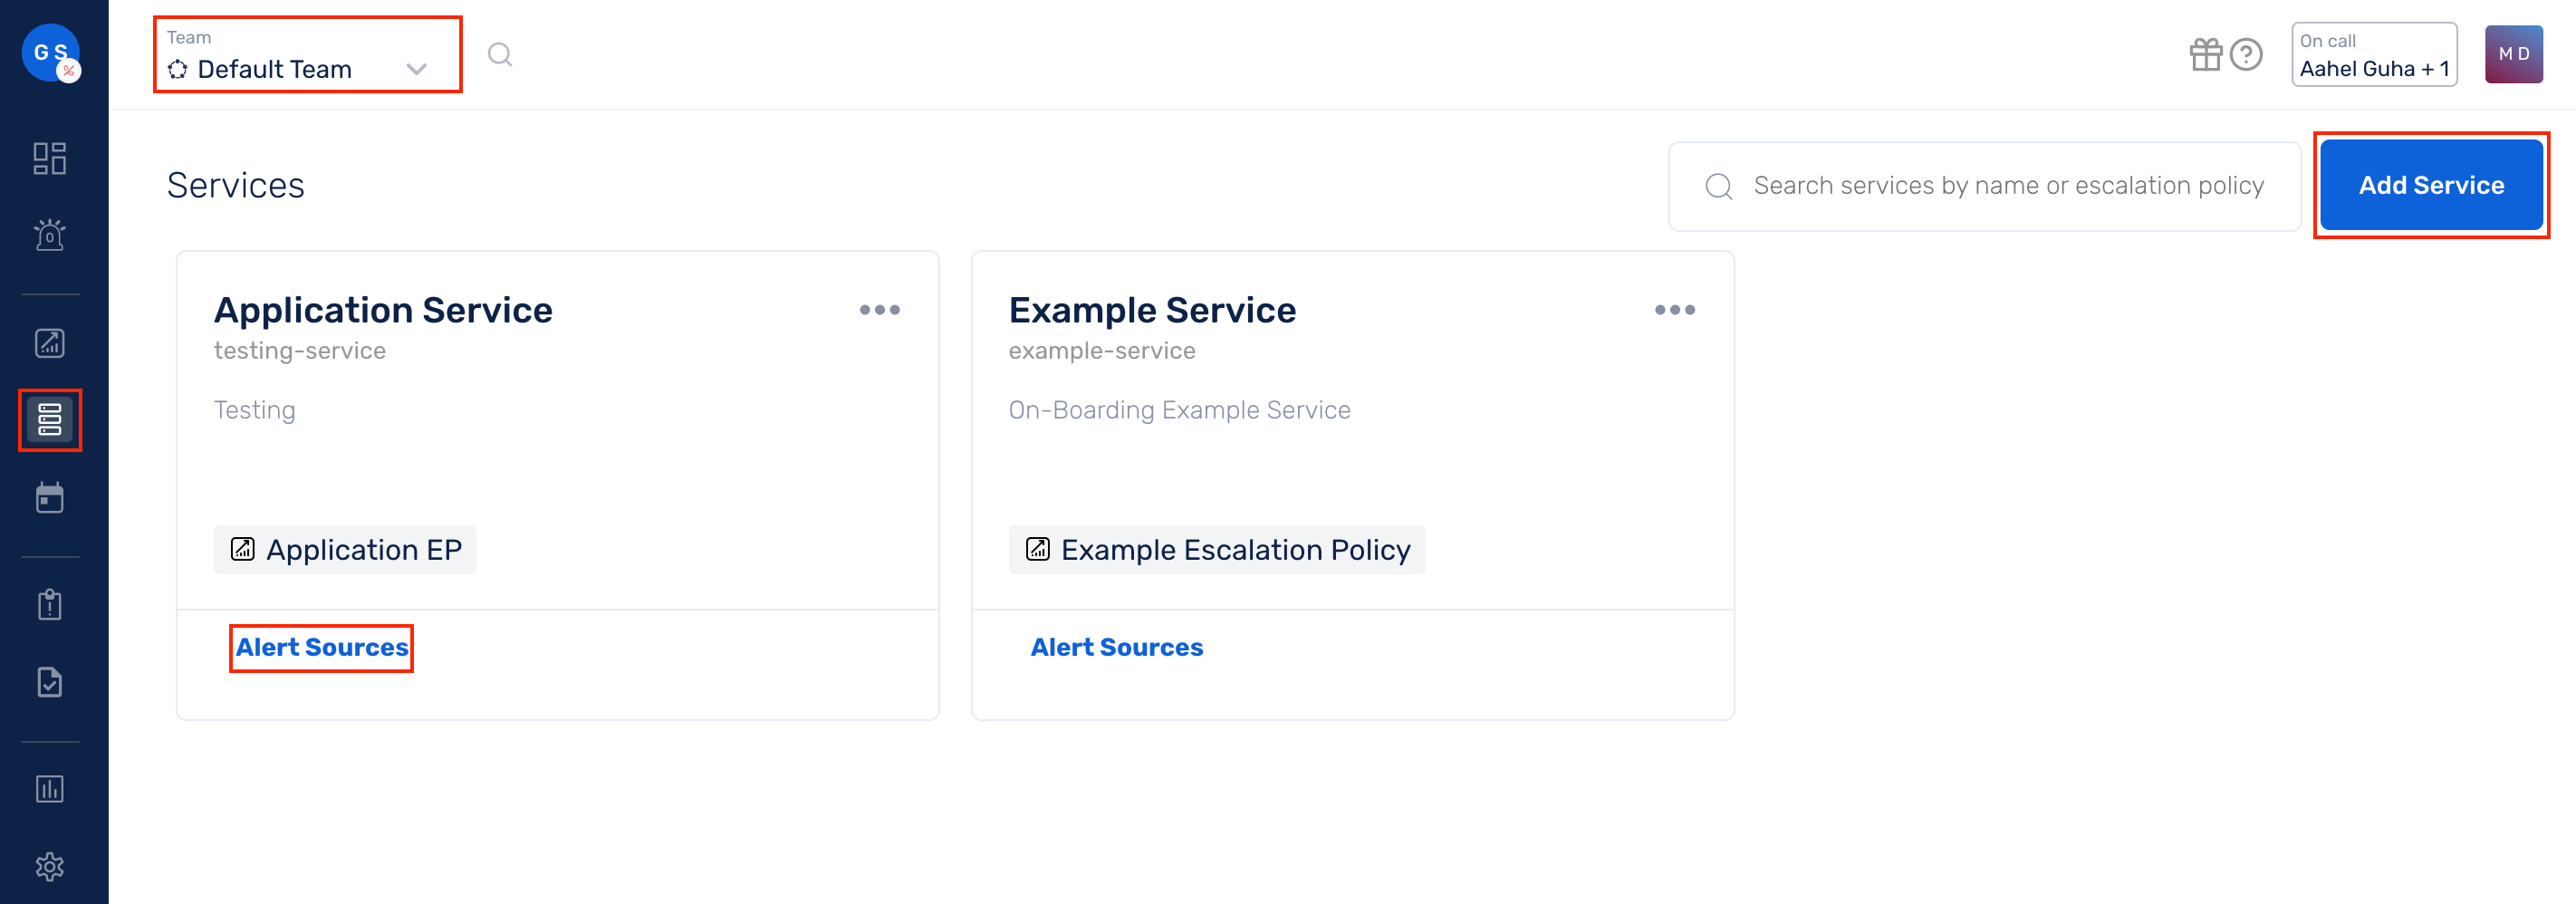
(1) From the navigation bar on the left, select Services. Pick the applicable Team from the Team-picker on the top. Next, click on Alert Sources for the applicable Service
(2) Search for Honeycomb from the Alert Source drop-down and copy the Webhook URL
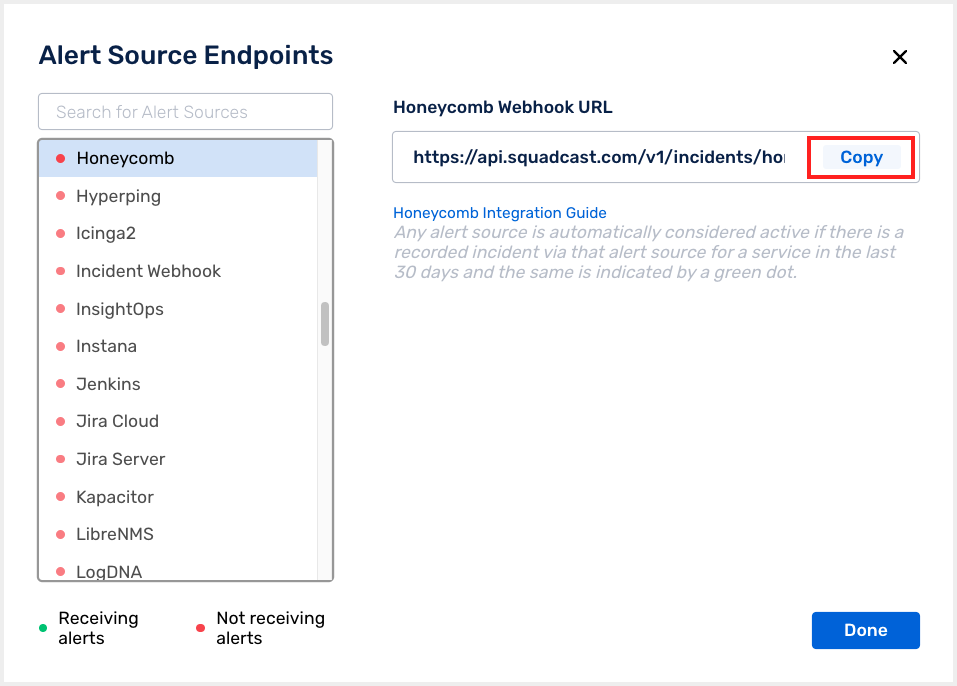
For an Alert Source to turn active (indicated by a green dot - Receiving alerts against the name of the Alert Source in the drop-down), you can either generate a test alert or wait for a real-time alert to be generated by the Alert Source.
An Alert Source is active if there is a recorded incident via that Alert Source for the Service in the last 30 days.
Create a Squadcast Webhook Trigger in Honeycomb
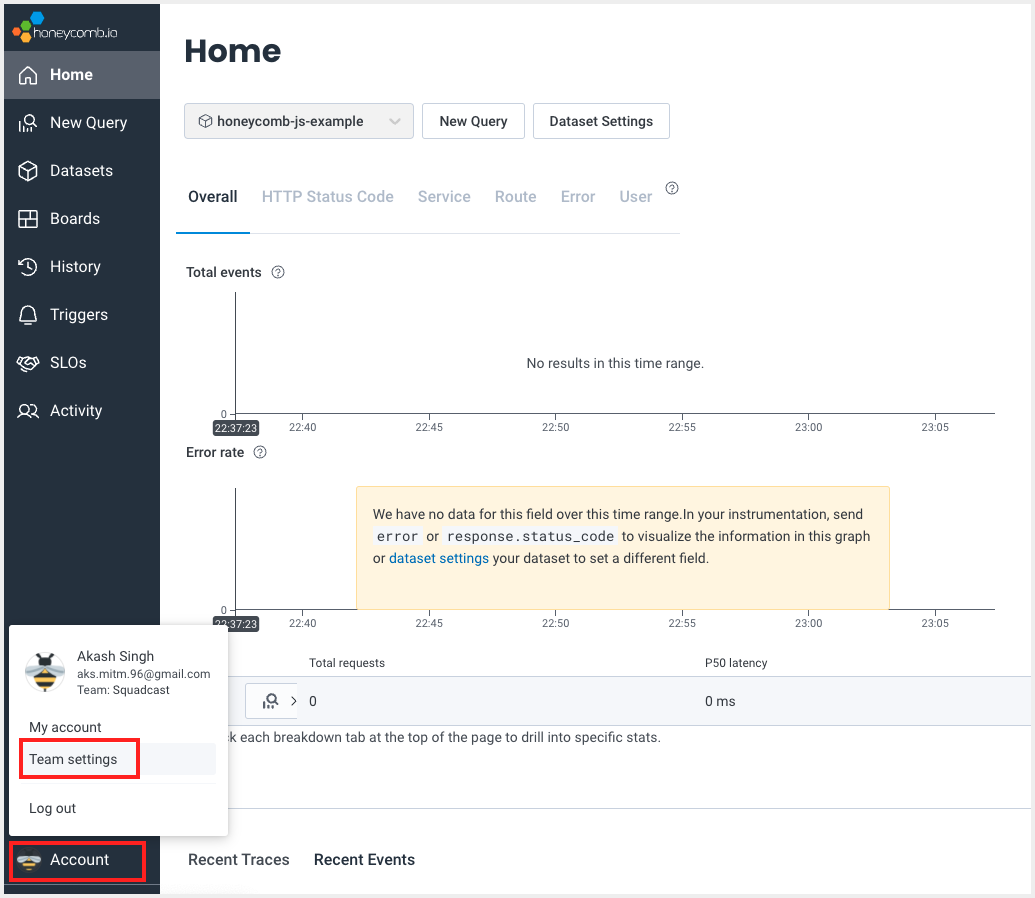
(1) Login to your Honeycomb dashboard. Head over to the Account settings and click on Team settings
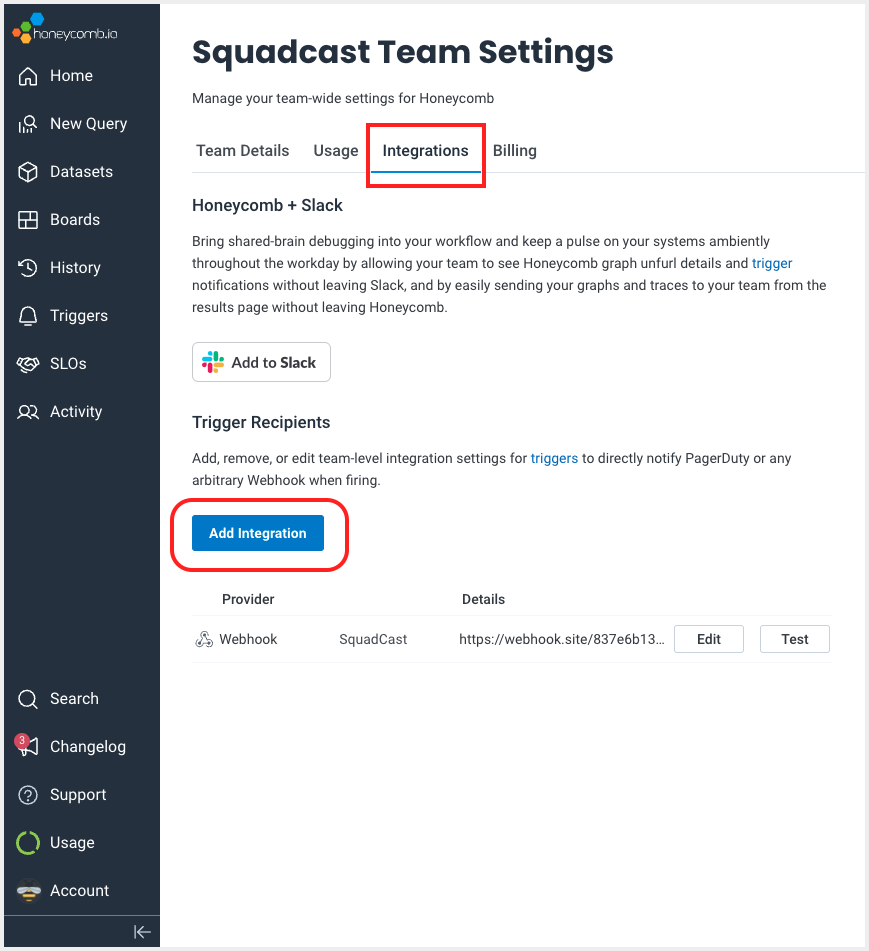
(2) Under the Integrations section, click on Add Integration
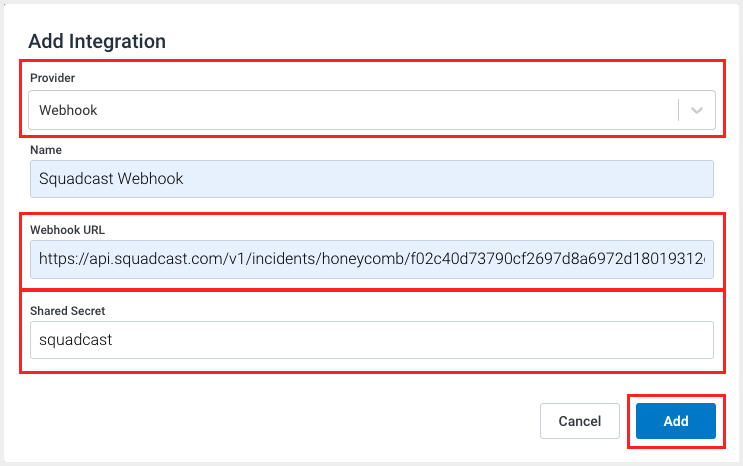
(3) Choose Webhook as Provider, fill in the Name. Paste the previously copied Squadcast Webhook URL in the placeholder for Webhook URL. Fill in the Shared Secret, then click on Add
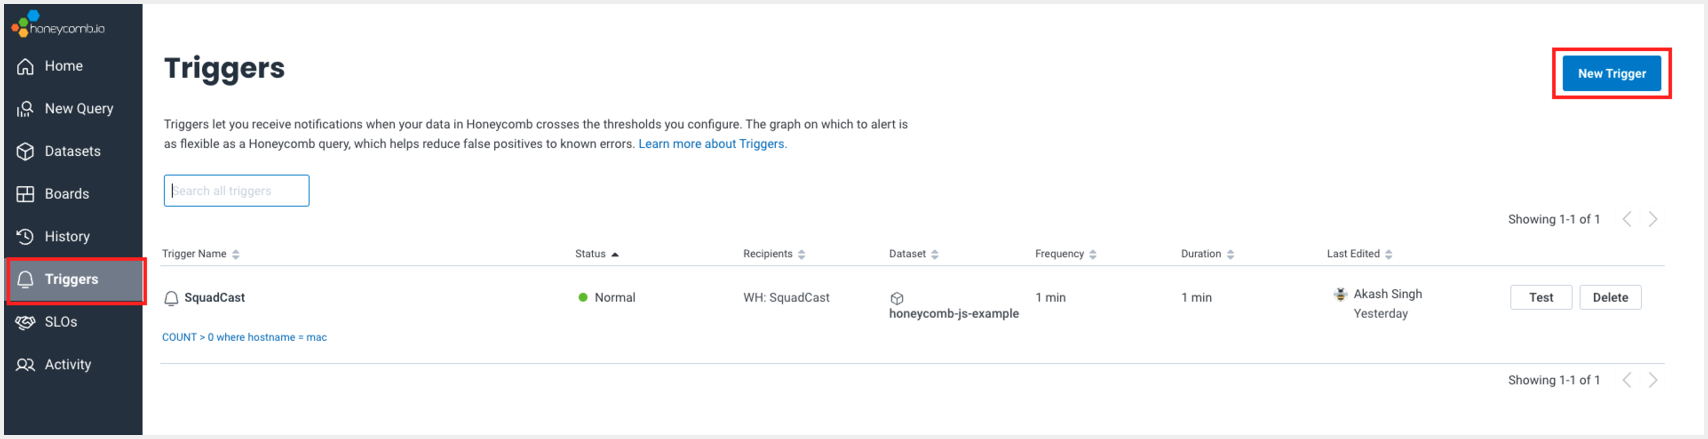
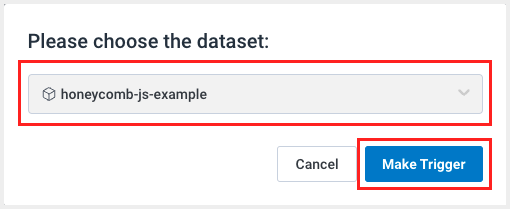
(4) Under the Triggers tab, click on New Trigger. Choose the dataset of your choice and click on Make Trigger
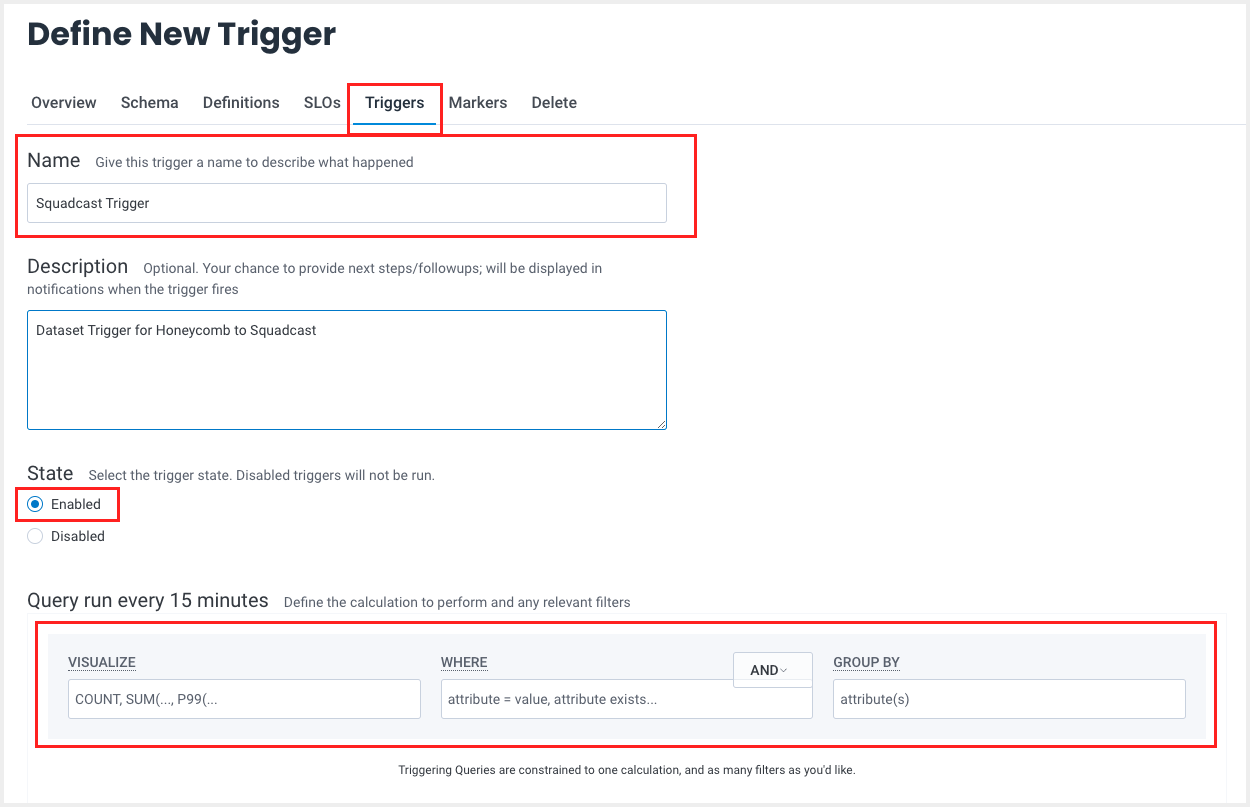
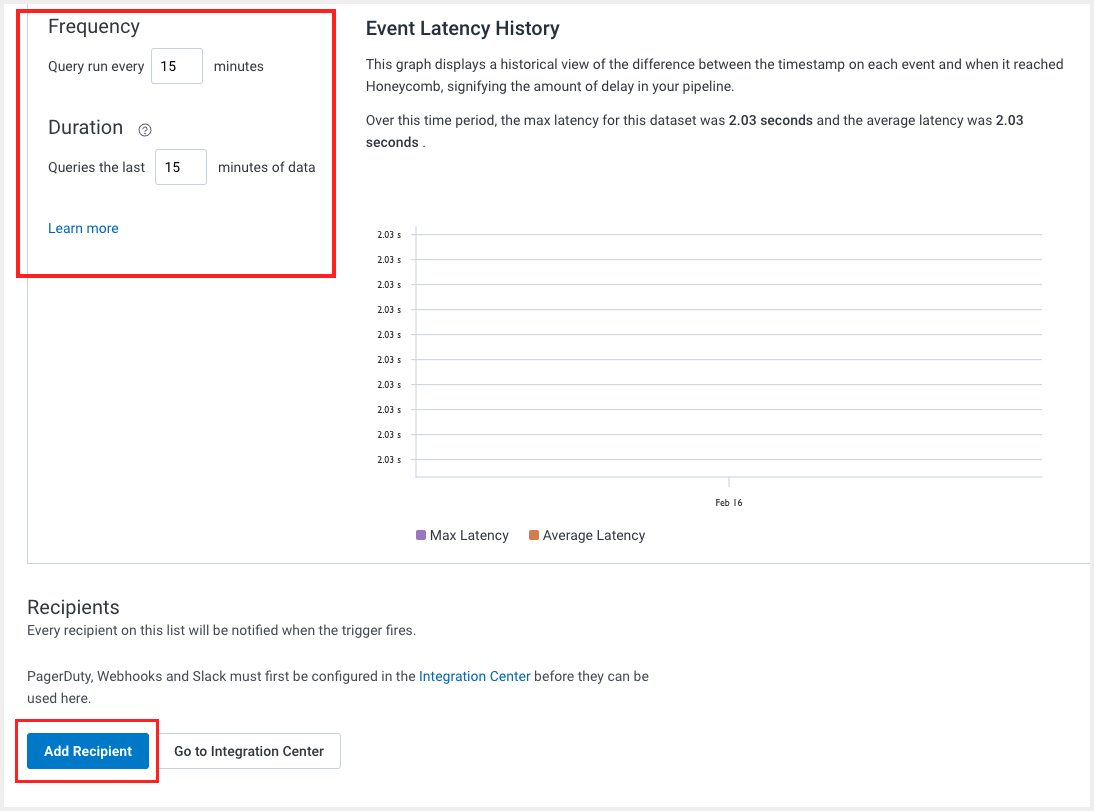
(5) Under the Triggers section, set the Name and Description of the trigger. Choose the State as Enabled. Set the query, frequency and duration for the trigger. Then click on Add Recipient
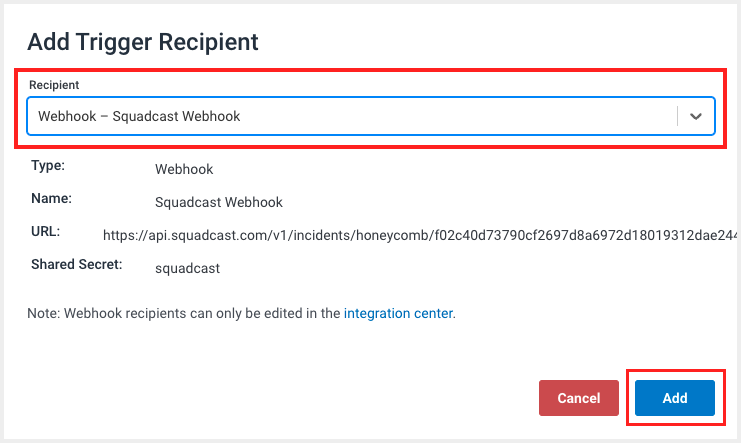
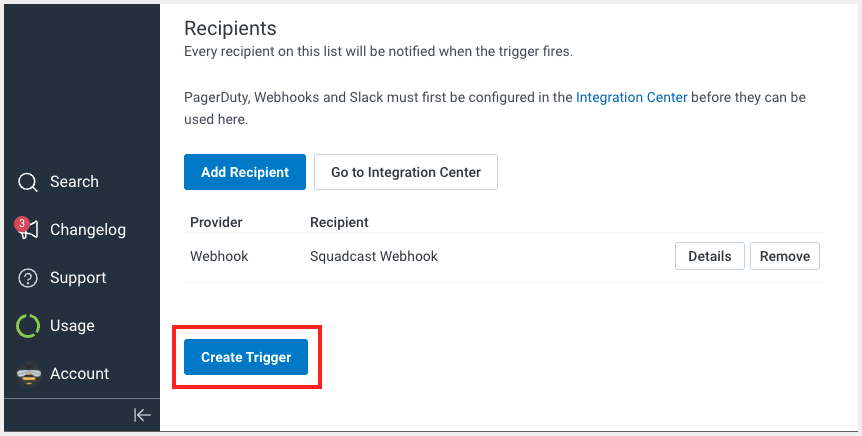
(5) Choose the Integration created earlier as Recipient and click on Add. Finally, click on Create Trigger
That’s it, you are good to go! Your Honeycomb integration is now complete. Whenever Honeycomb fires an alert, an incident will be created in Squadcast for it. Also, when an alert is resolved in Honeycomb, the corresponding incident gets auto-resolved in Squadcast.