Zendesk
This document will help you integrate Zendesk with Squadcast.
Zendesk makes customer service better. Zendesk is built to meet customer needs, set teams up for success, and keep the business in sync.
Route detailed ticket alerts from Zendesk to the right users in Squadcast.
How to integrate Zendesk with Squadcast
In Squadcast: Using Zendesk as an Alert Source
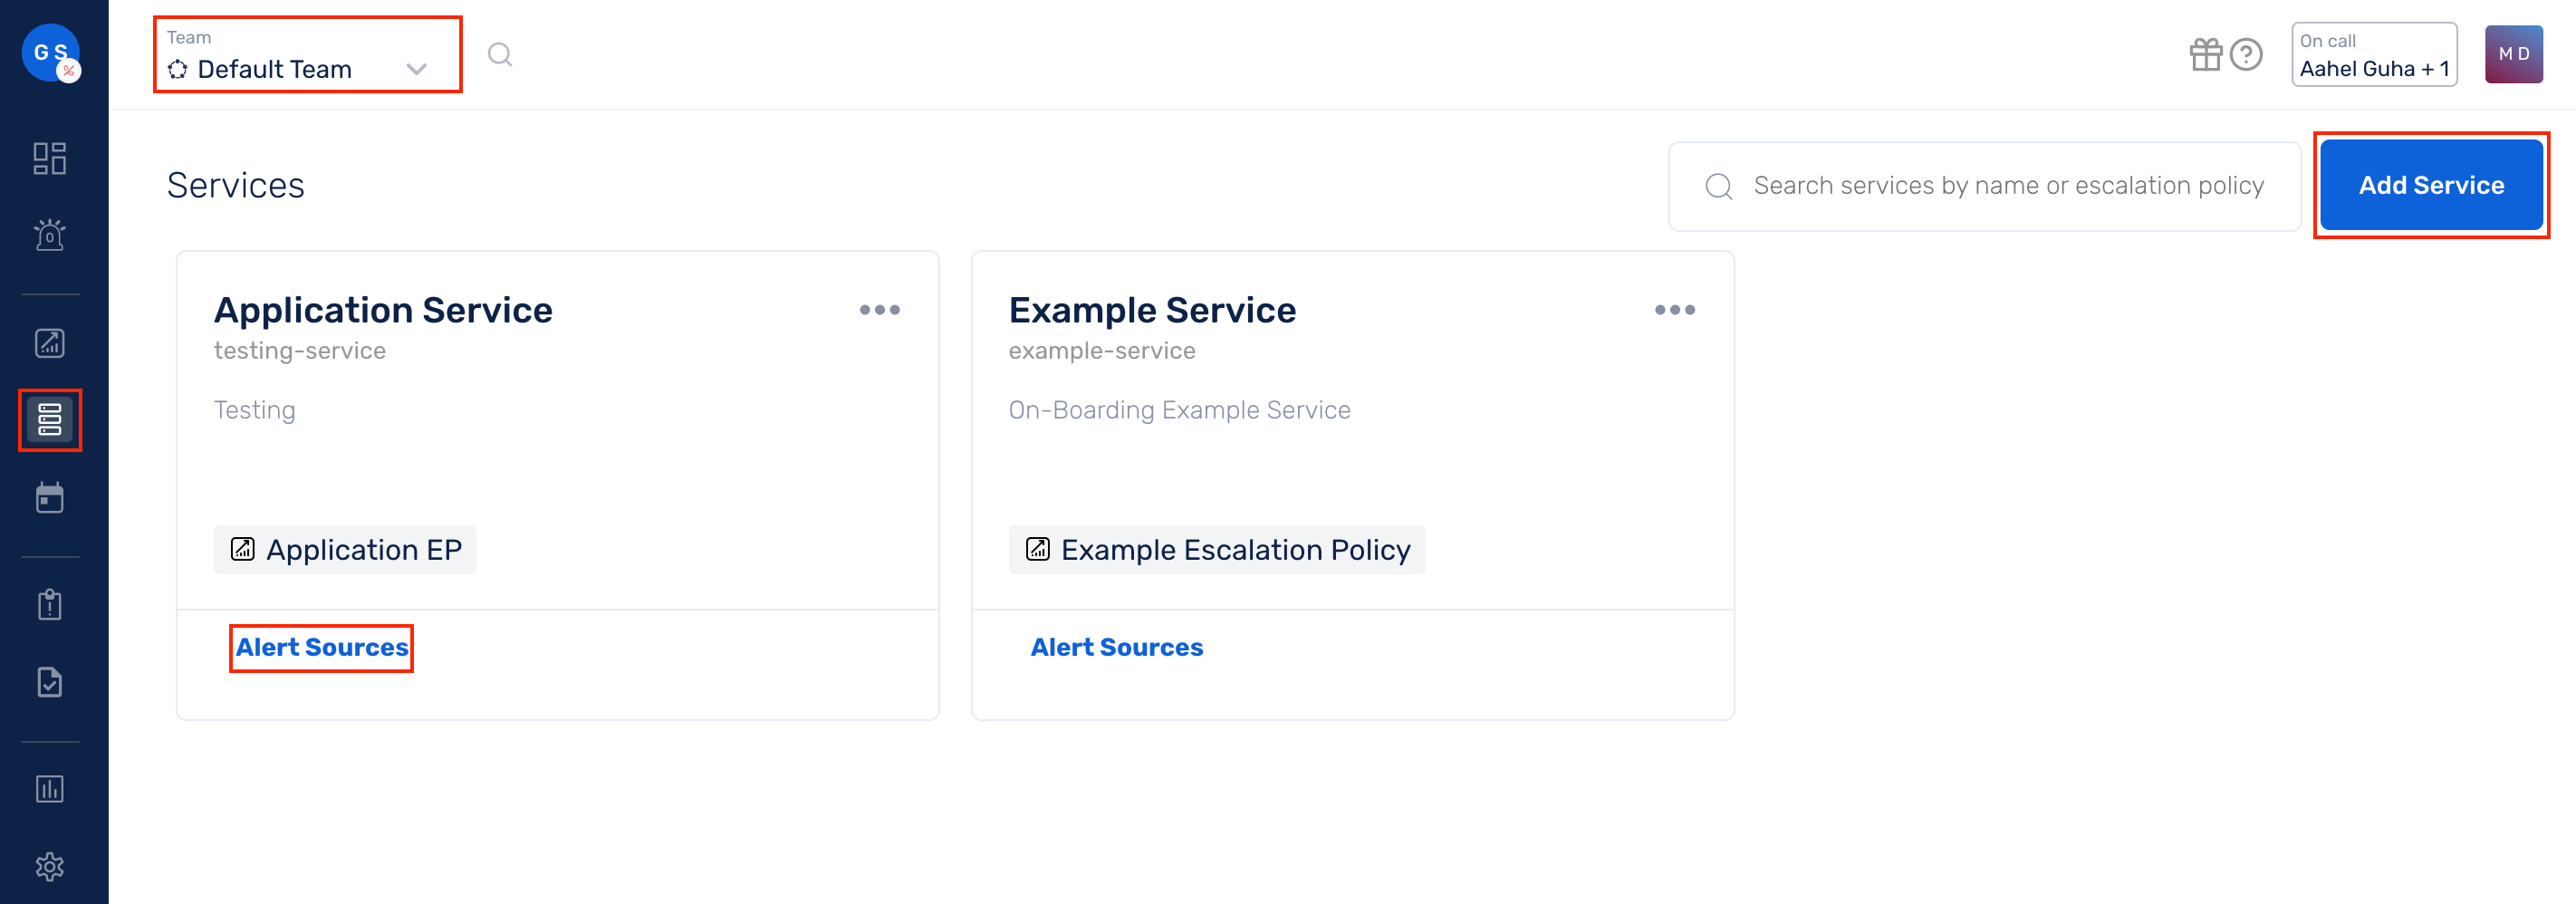
(1) From the navigation bar on the left, select Services. Pick the applicable Team from the Team-picker on the top. Next, click on Alert Sources for the applicable Service
(2) Search for Zendesk from the Alert Source drop-down and copy the Webhook URL
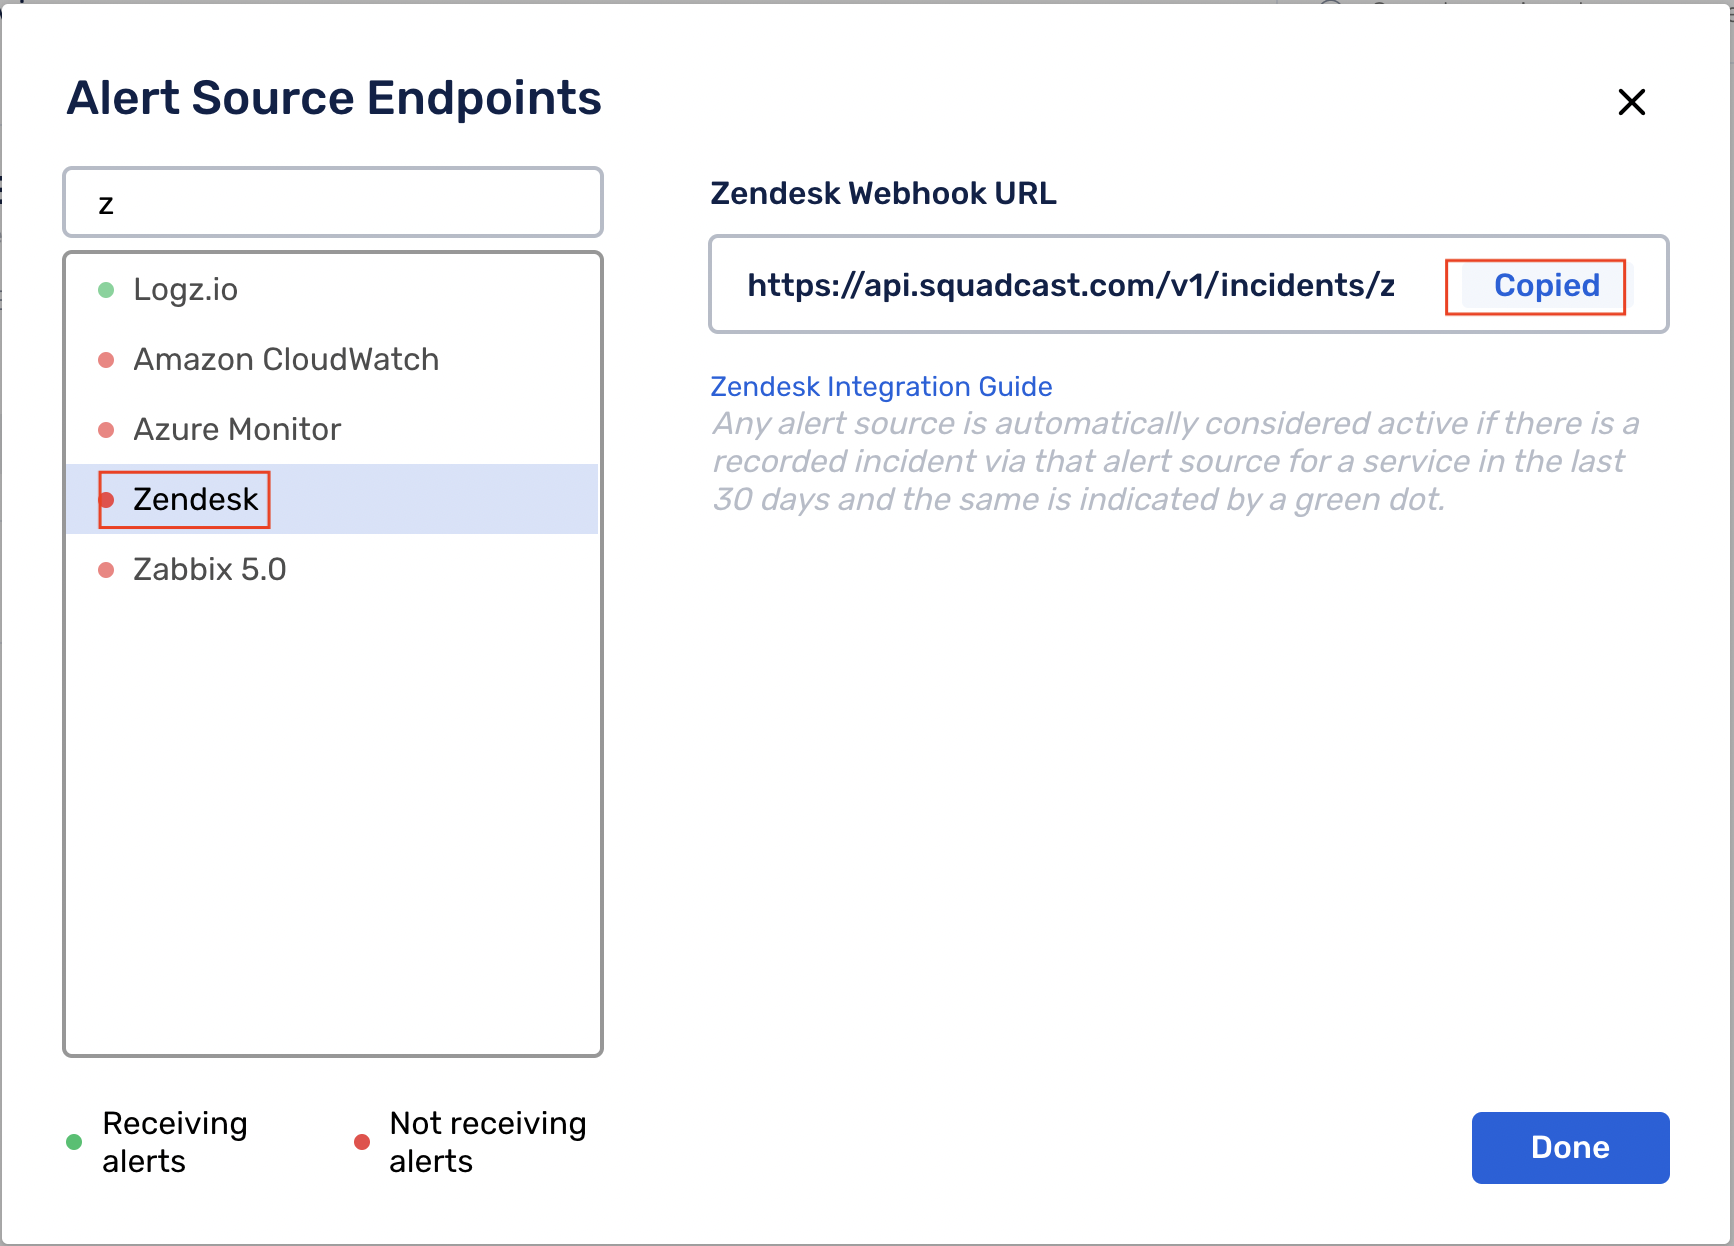
For an Alert Source to turn active (indicated by a green dot - Receiving alerts against the name of the Alert Source in the drop-down), you can either generate a test alert or wait for a real-time alert to be generated by the Alert Source.
An Alert Source is active if there is a recorded incident via that Alert Source for the Service in the last 30 days.
In Zendesk: Create a Squadcast webhook alert
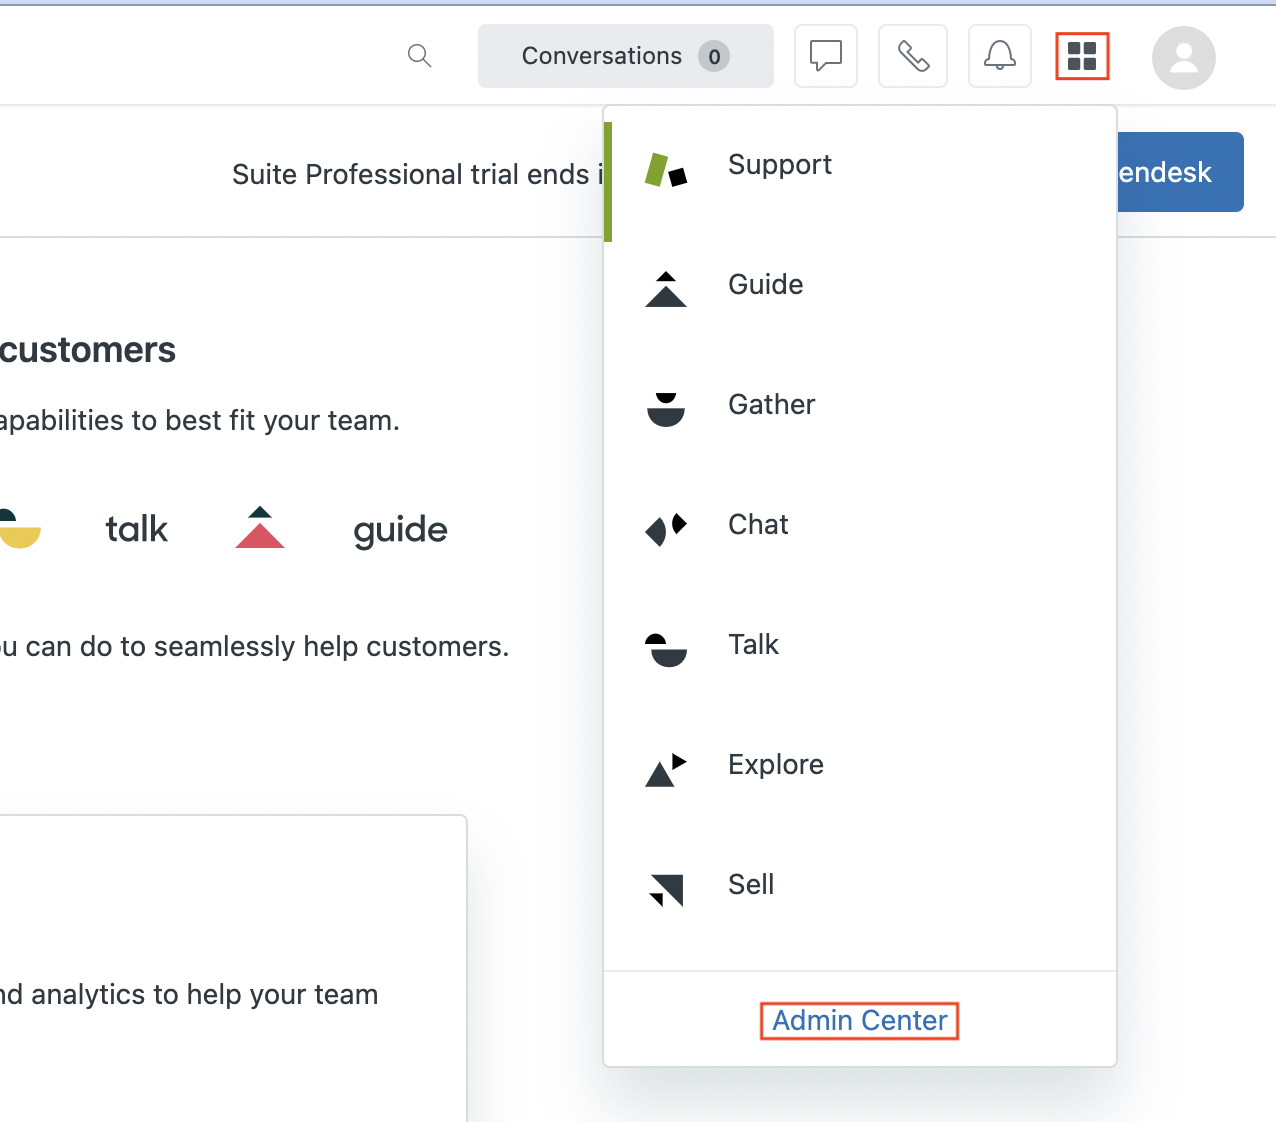
(1) In the app, click the Zendesk Products icon in the top bar, and then click on Admin Center
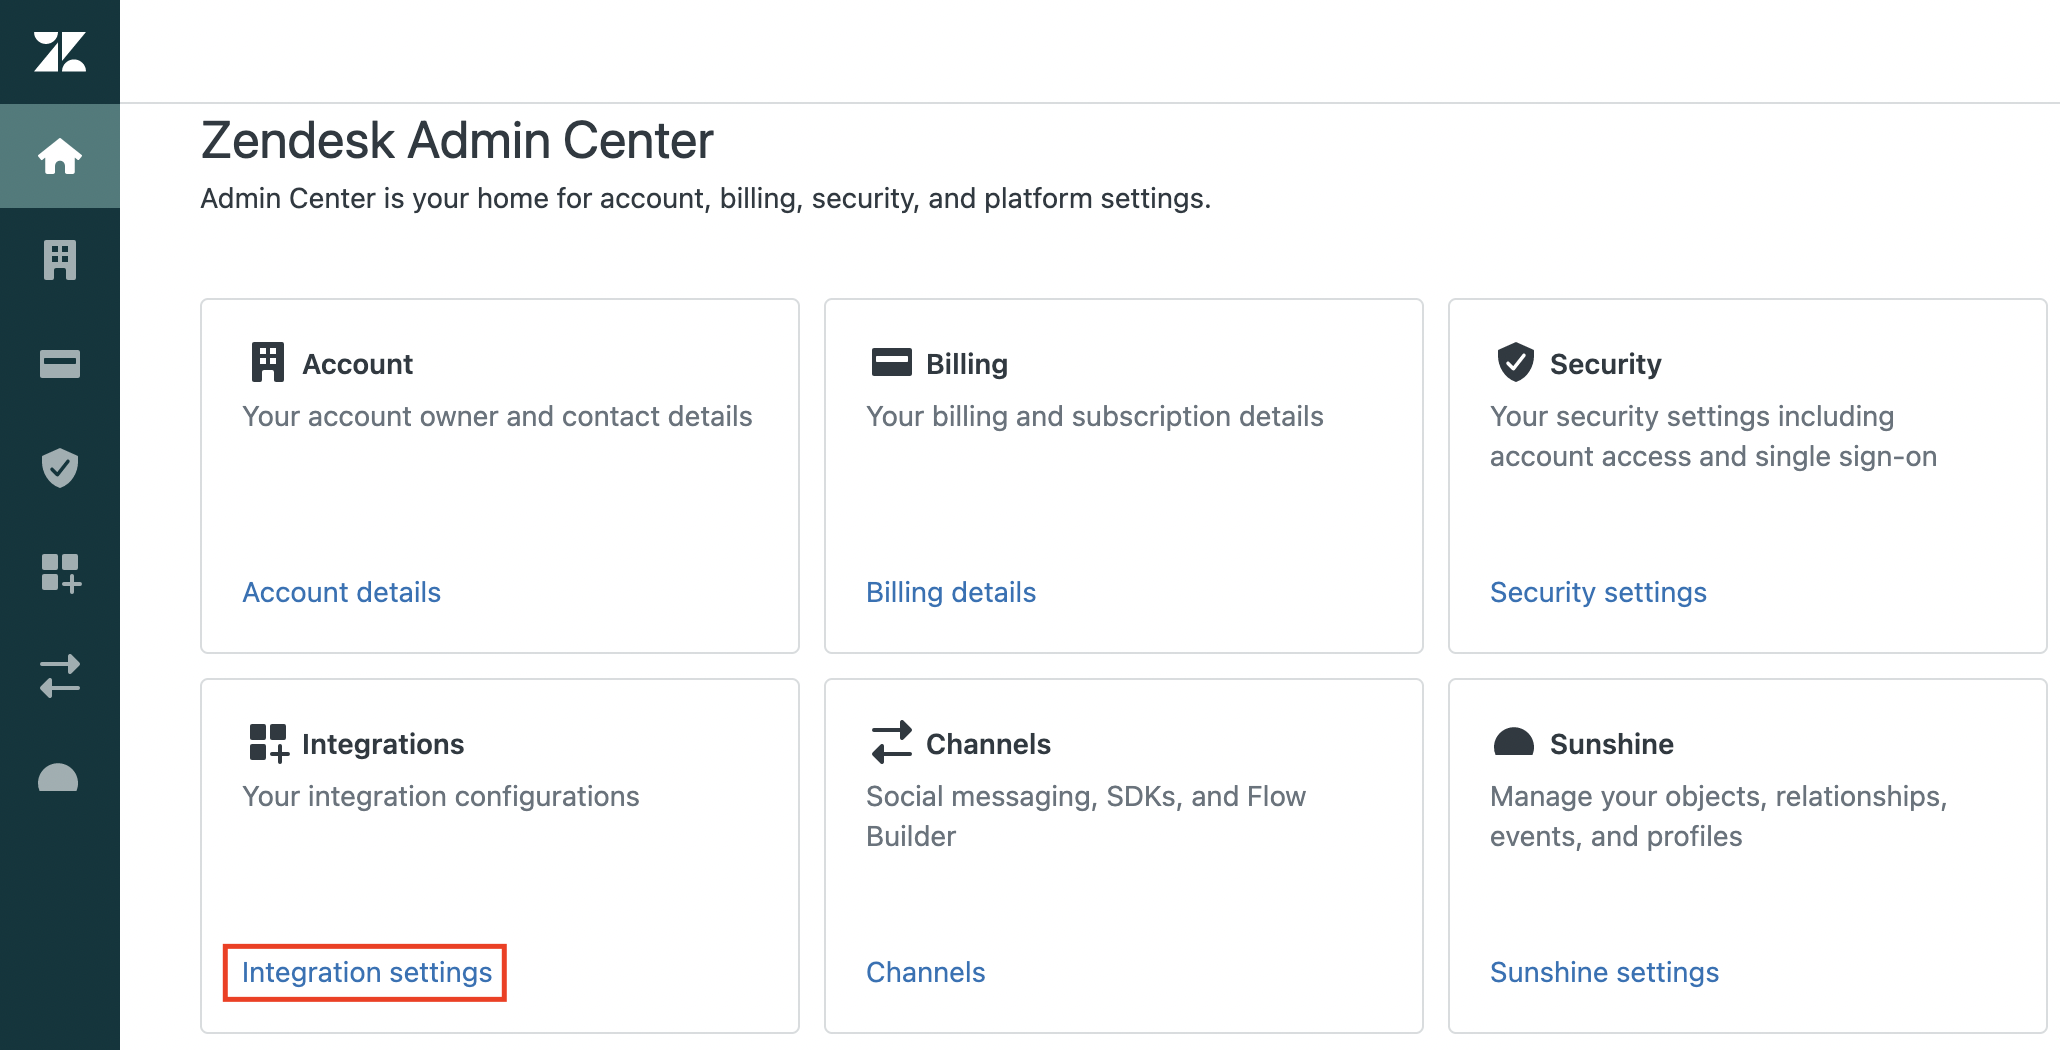
(2) Click on Integration settings
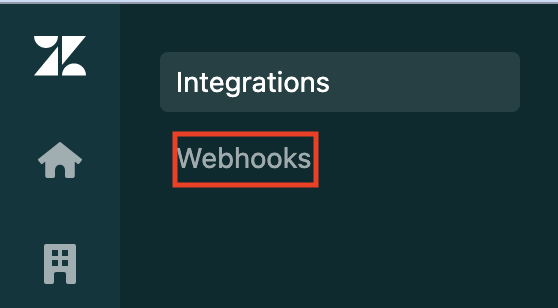
(3) Click on Webhooks
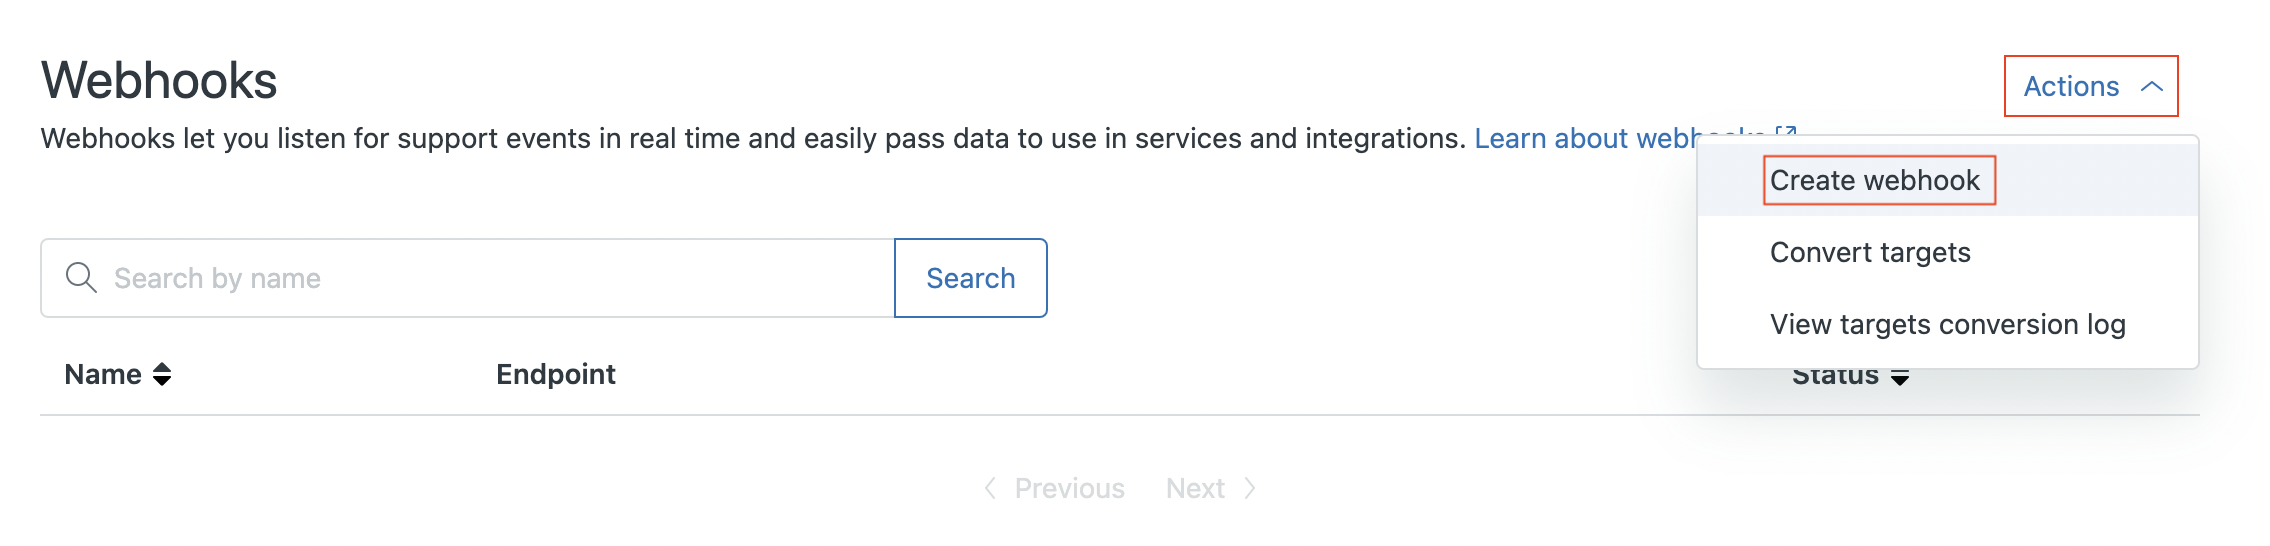
(4) Click on Actions and then, select Create webhook
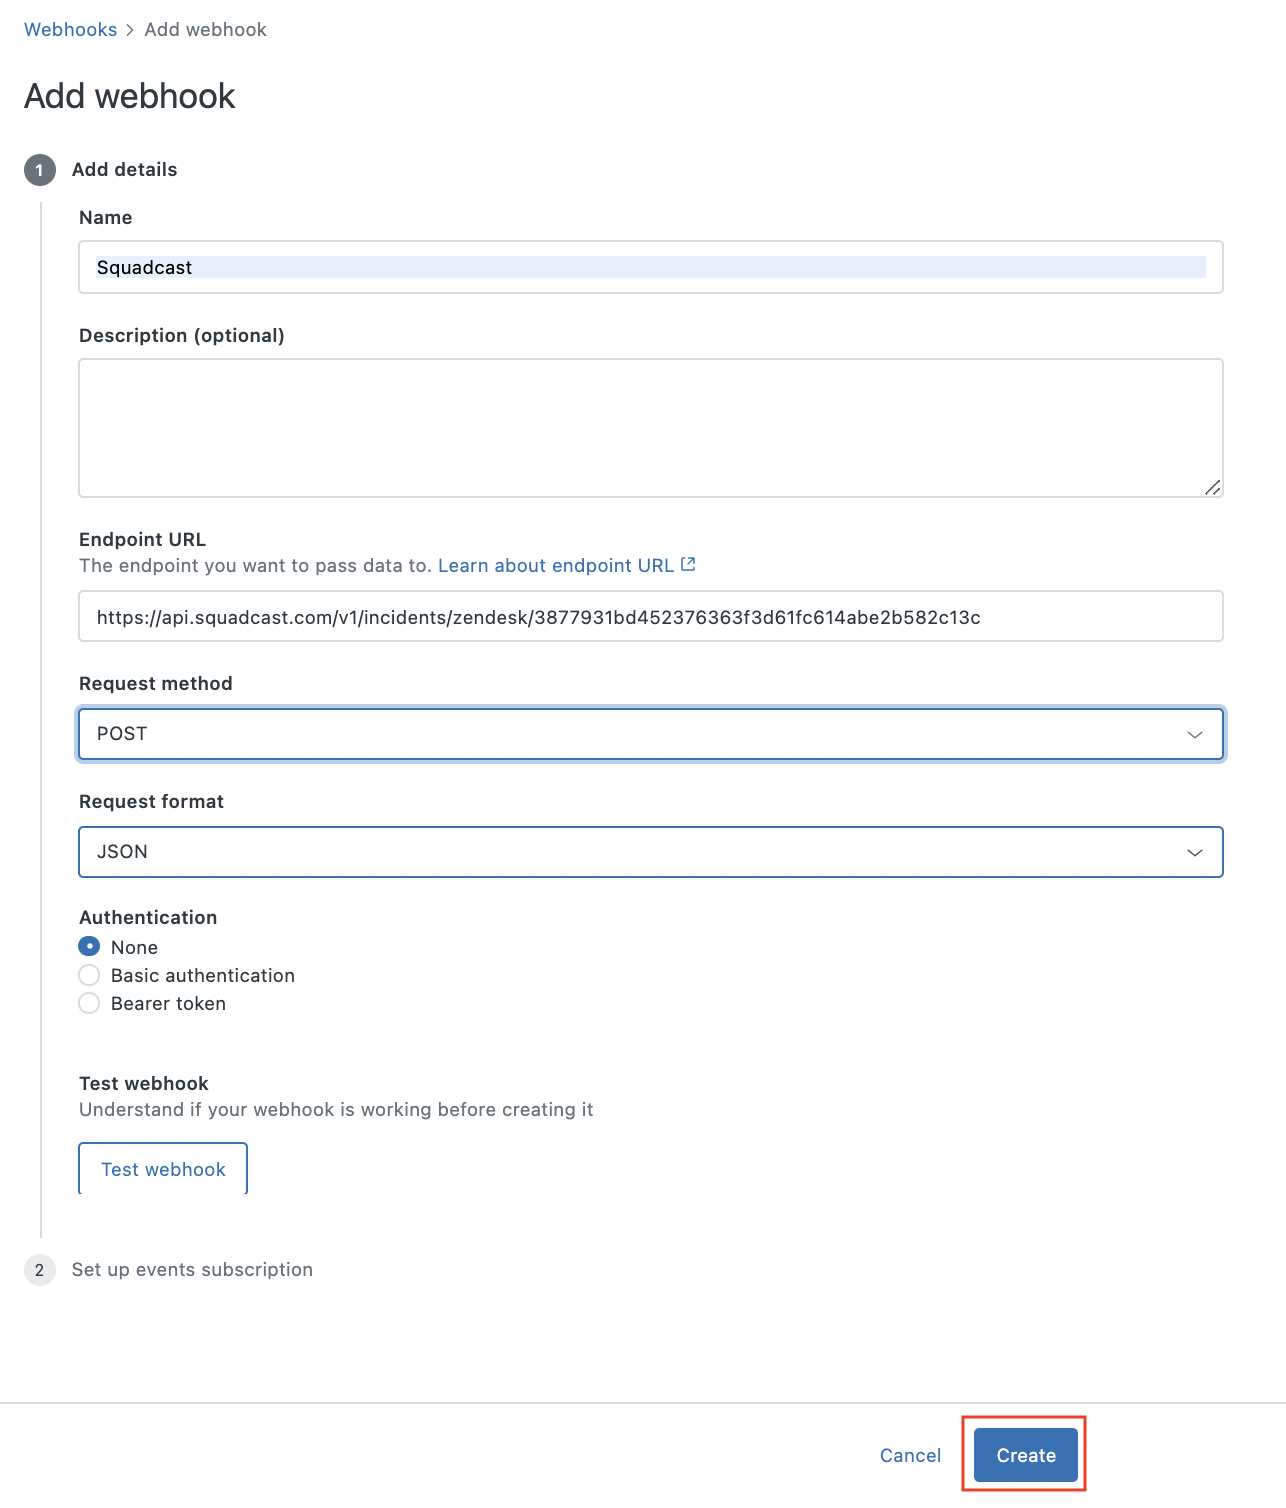
(5) Fill in the details as indicated below
- Provide any Name
- Endpoint URL: Paste the previously copied Squadcast webhook here
- Request method:
POST - Request format:
JSON
Then, click on Create
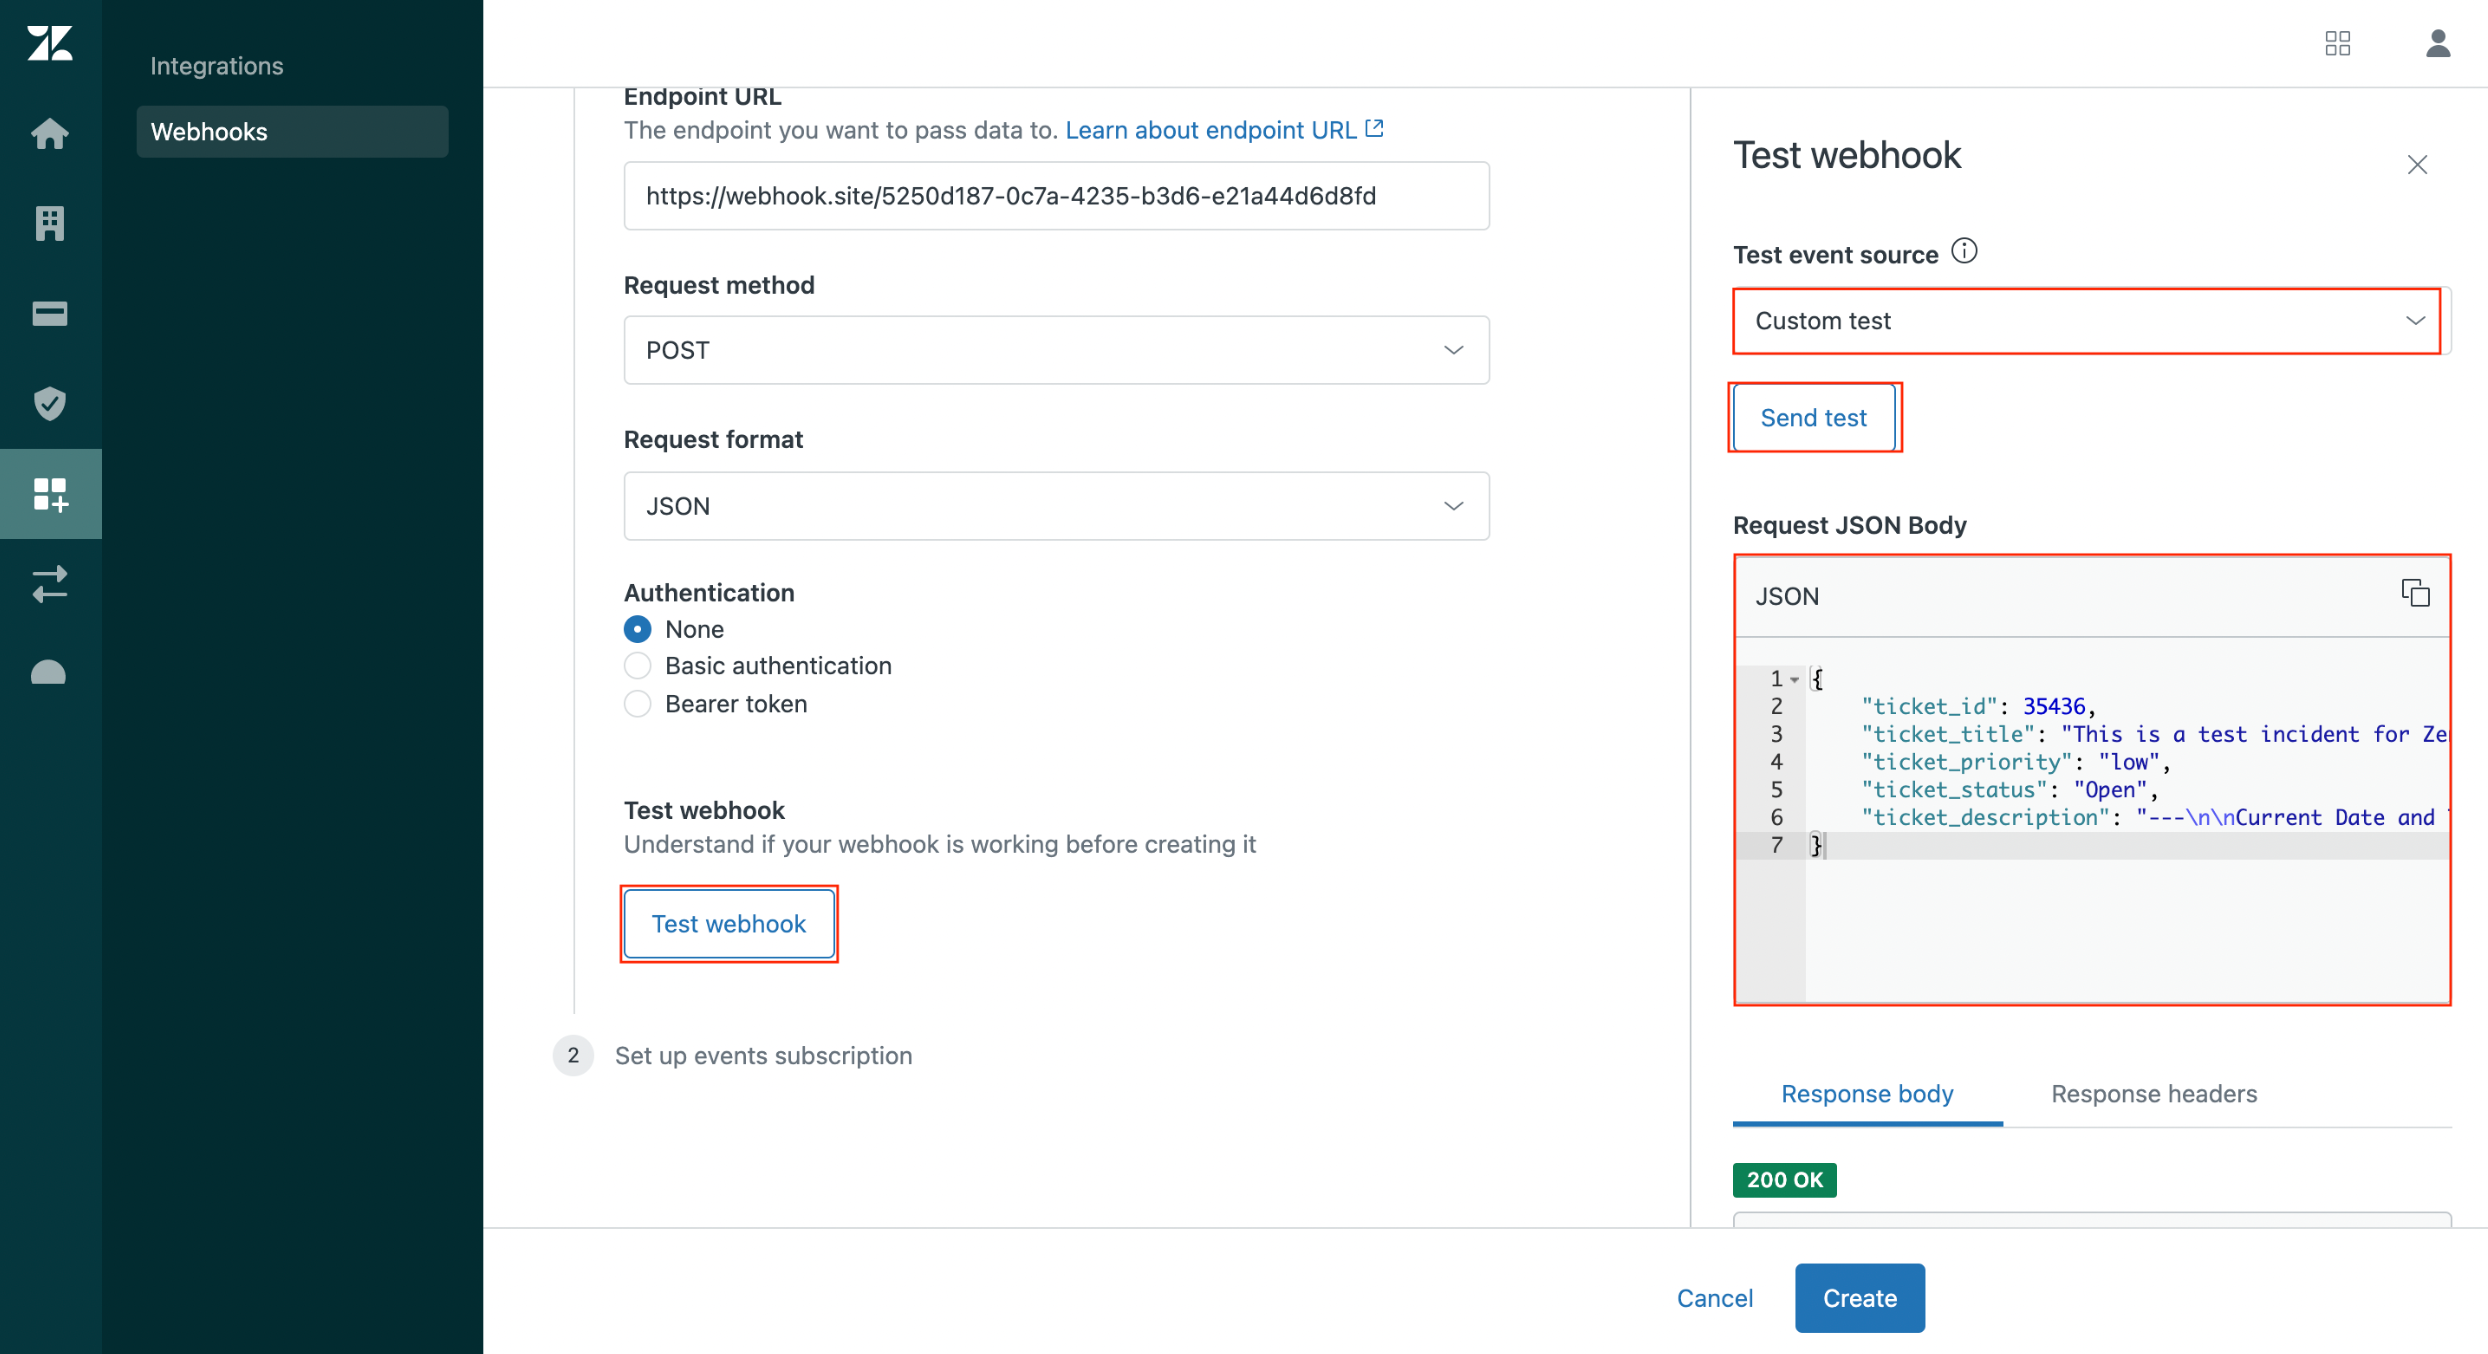
Testing the configured Squadcast Webhook:
(a) Click on Test webhook
(b) From the drop-down for Test event source, select Custom test
(c) In the placeholder for Request JSON Body, add the following JSON template:
{
    "ticket_id": 35436,
    "ticket_title": "This is a test incident for Zendesk",
    "ticket_priority": "low",
    "ticket_status": "Open",
    "ticket_description": "---\n\nCurrent Date and Time\n\nHello user, the integration is working as expected!!!"
}
(d) Click on Send test to generate this test alert
Back in Squadcast, you will now be able to see a test incident created for this test alert, thus concluding that the integration is working as expected.
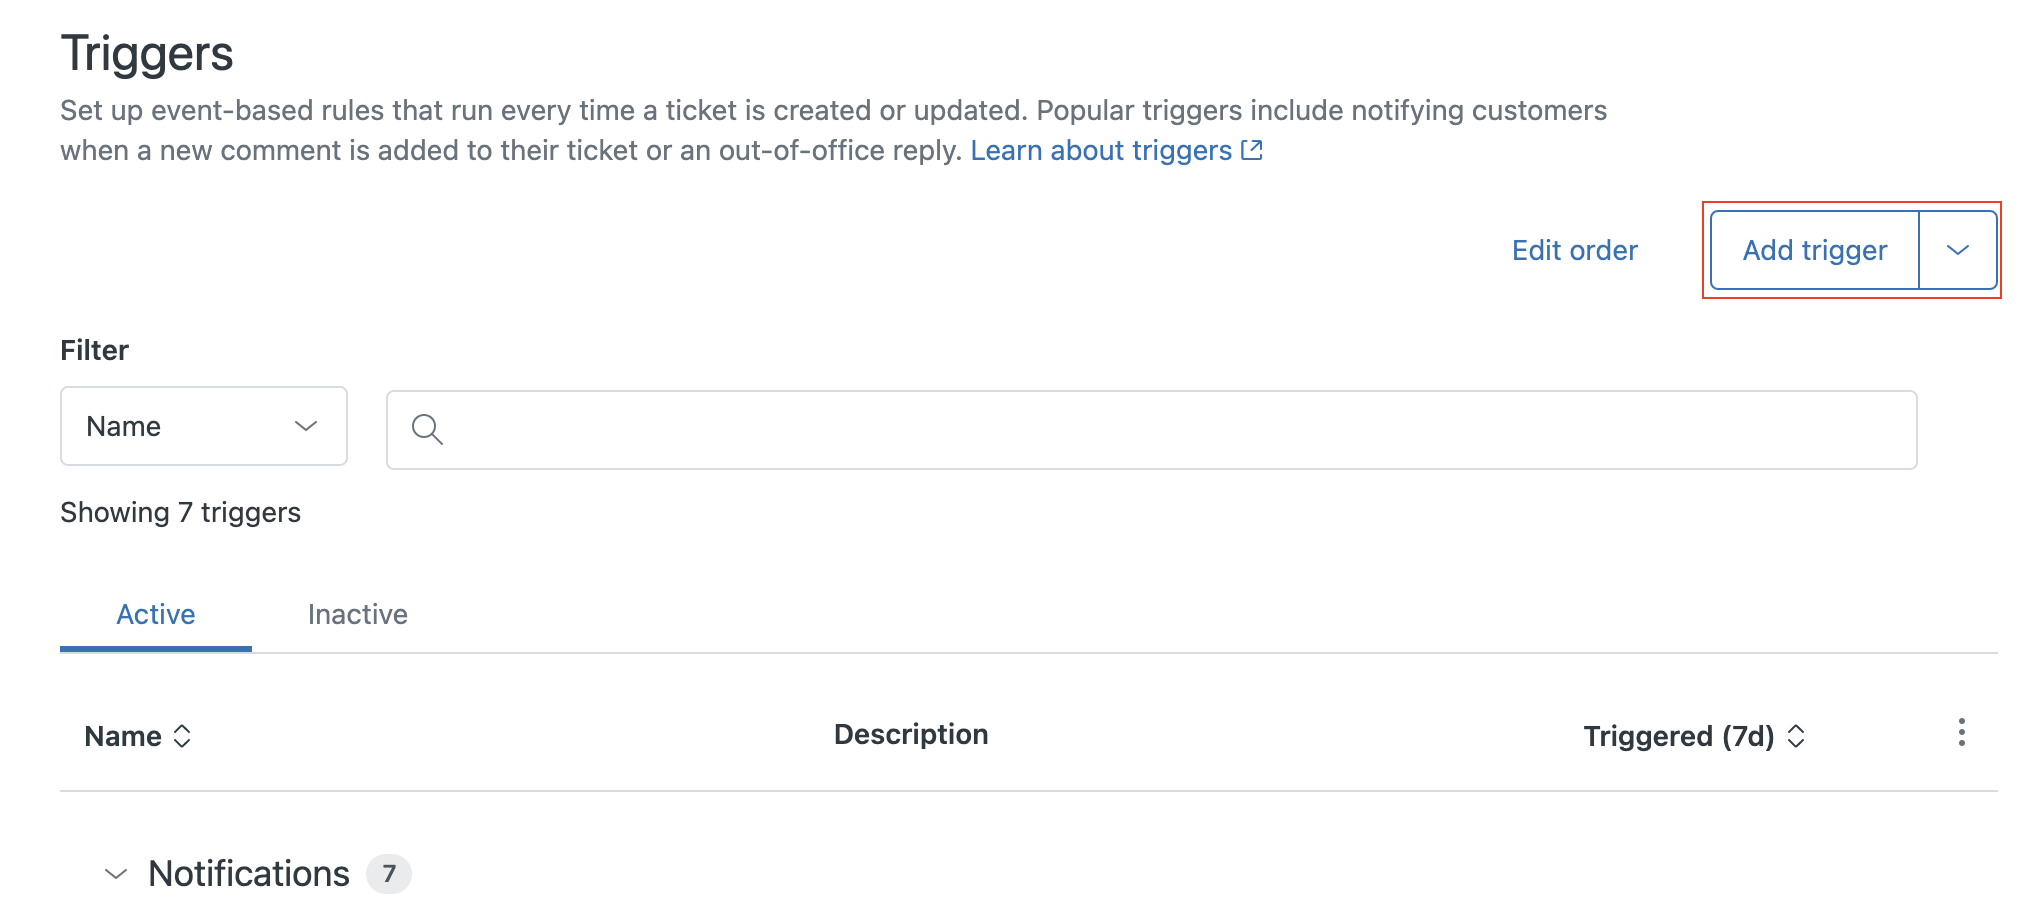
(6) In the Zendesk Support interface, click on the Admin icon in the sidebar, then select Business Rules > Triggers

(7) Create a new trigger by clicking on Add trigger
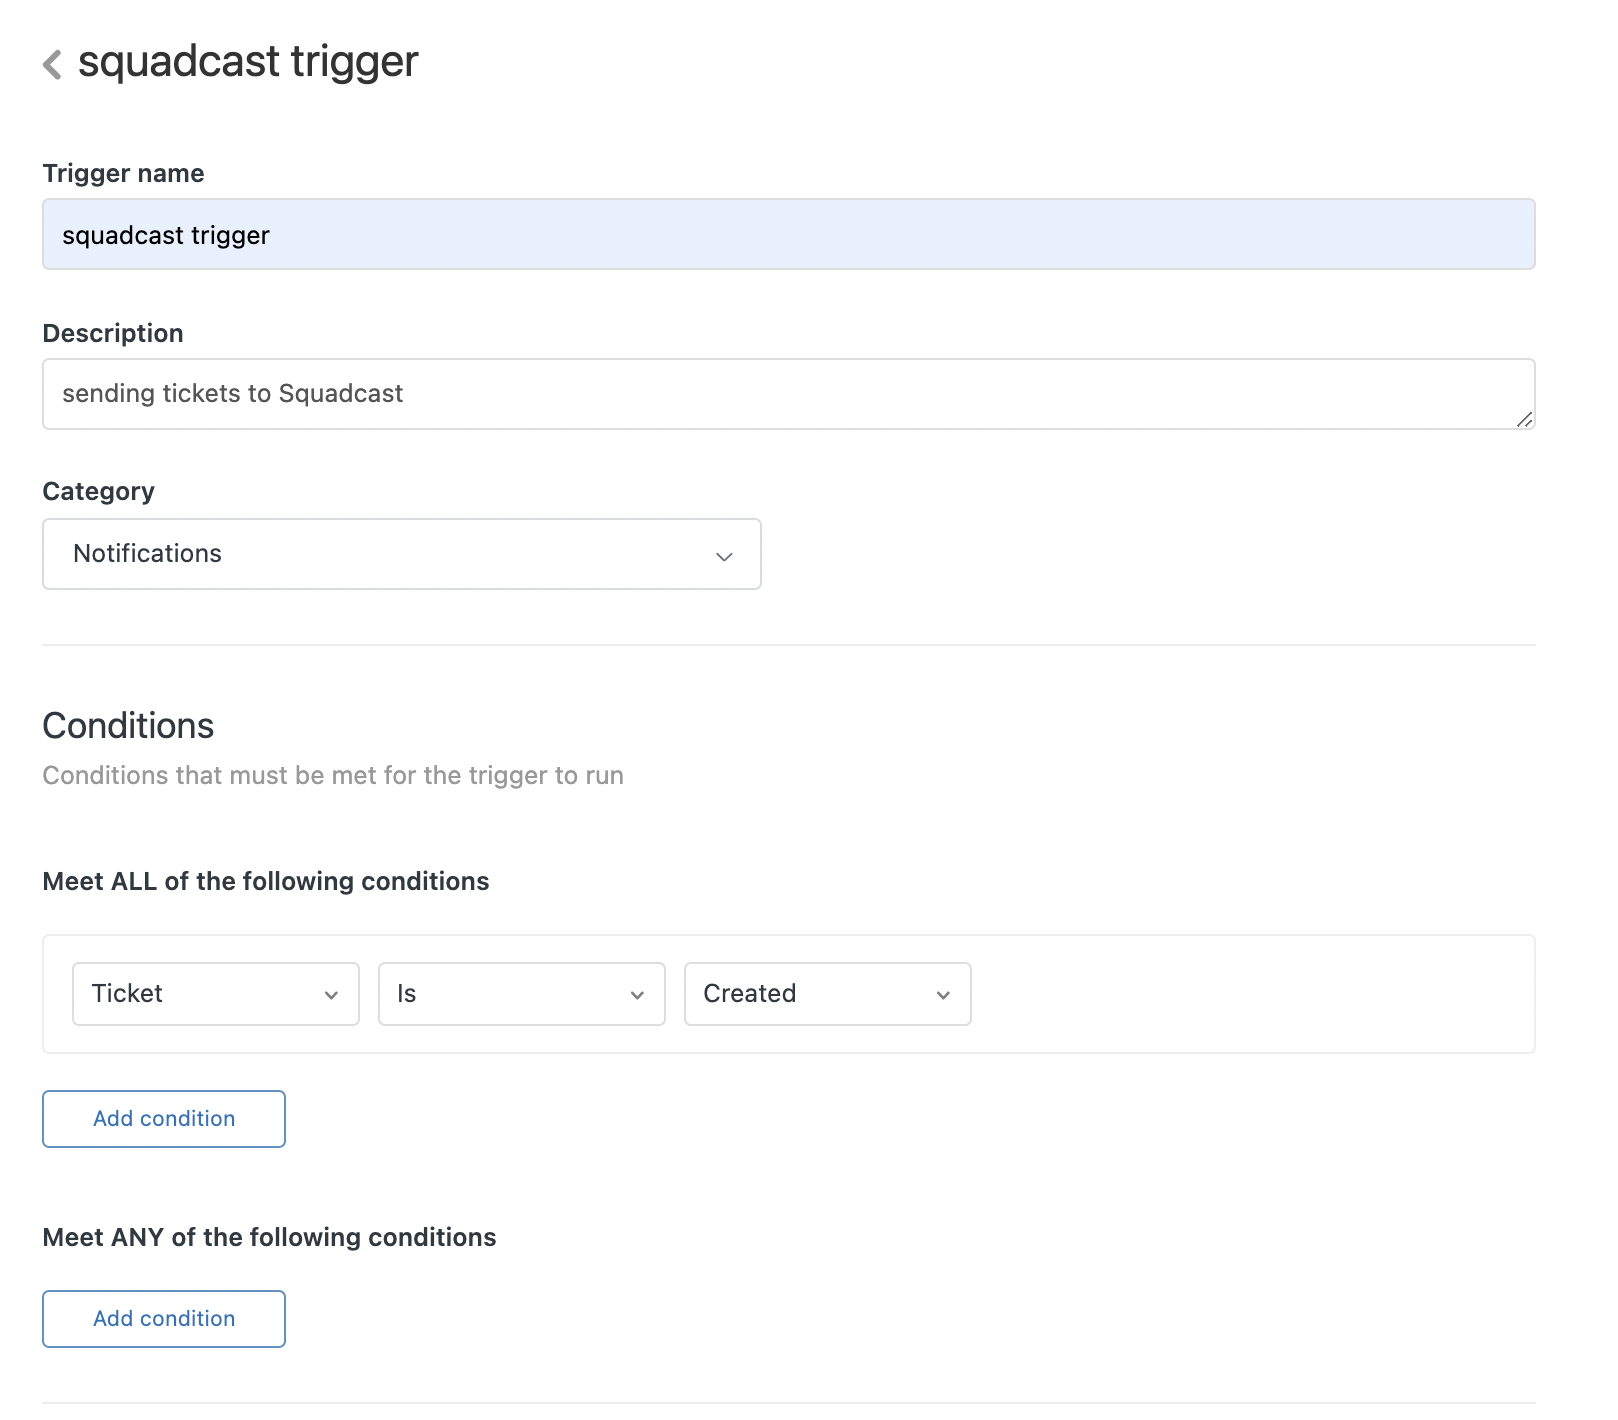
(8) Fill form as shown in screenshot (you can put your own checks):
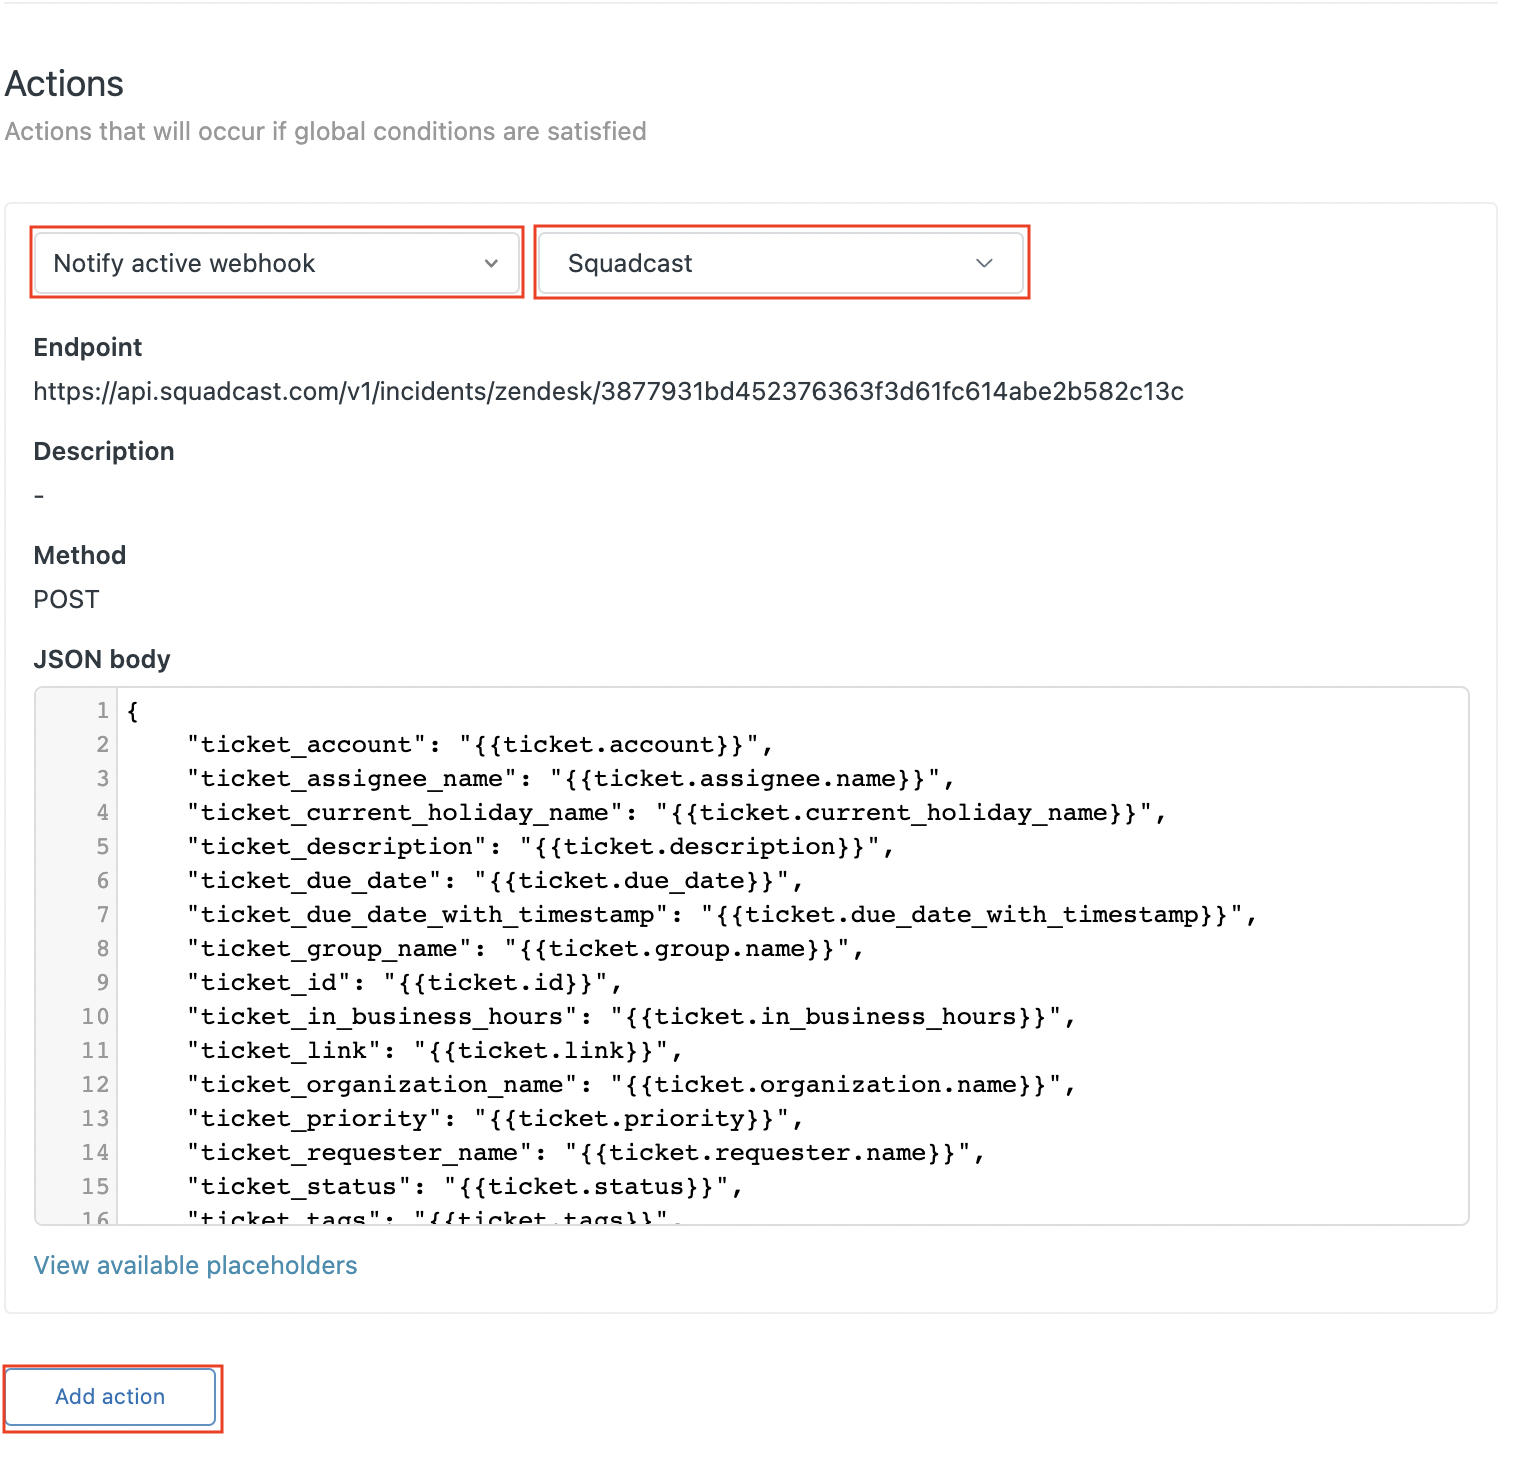
(9) Under Actions, click on Add action. Select Notify active webhook and then select your webhook and paste the below json in the placeholder for JSON body
{
    "ticket_account": "{{ticket.account}}",
    "ticket_assignee_name": "{{ticket.assignee.name}}",
    "ticket_current_holiday_name": "{{ticket.current_holiday_name}}",
    "ticket_description": "{{ticket.description}}",
    "ticket_due_date": "{{ticket.due_date}}",
    "ticket_due_date_with_timestamp": "{{ticket.due_date_with_timestamp}}",
    "ticket_group_name": "{{ticket.group.name}}",
    "ticket_id": "{{ticket.id}}",
    "ticket_in_business_hours": "{{ticket.in_business_hours}}",
    "ticket_link": "{{ticket.link}}",
    "ticket_organization_name": "{{ticket.organization.name}}",
    "ticket_priority": "{{ticket.priority}}",
    "ticket_requester_name": "{{ticket.requester.name}}",
    "ticket_status": "{{ticket.status}}",
    "ticket_tags": "{{ticket.tags}}",
    "ticket_via": "{{ticket.via}}",
    "ticket_ticket_type": "{{ticket.ticket_type}}",
    "ticket_title": "{{ticket.title}}",
    "agent_name": "{{agent.name}}",
    "agent_role": "{{agent.role}}",
    "agent_email": "{{agent.email}}",
    "agent_phone": "{{agent.phone}}",
    "agent_time_zone": "{{agent.time_zone}}",
    "user_name": "{{user.name}}",
    "user_email": "{{user.email}}",
    "user_role": "{{user.role}}",
    "user_phone": "{{user.phone}}",
    "user_time_zone": "{{user.time_zone}}"
}
Find more details on Rule Creation here.
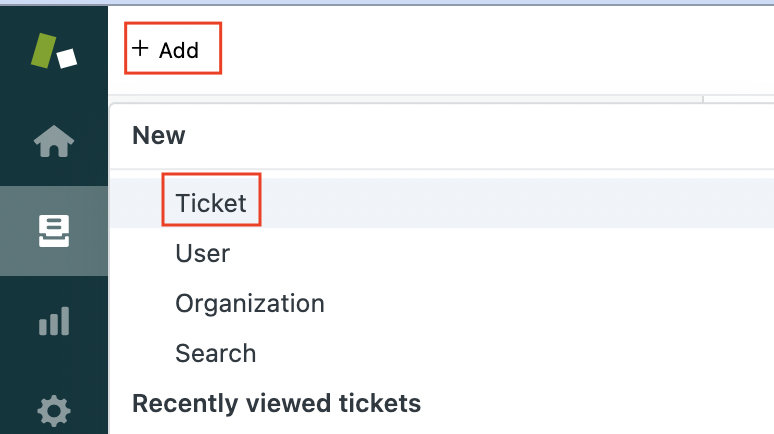
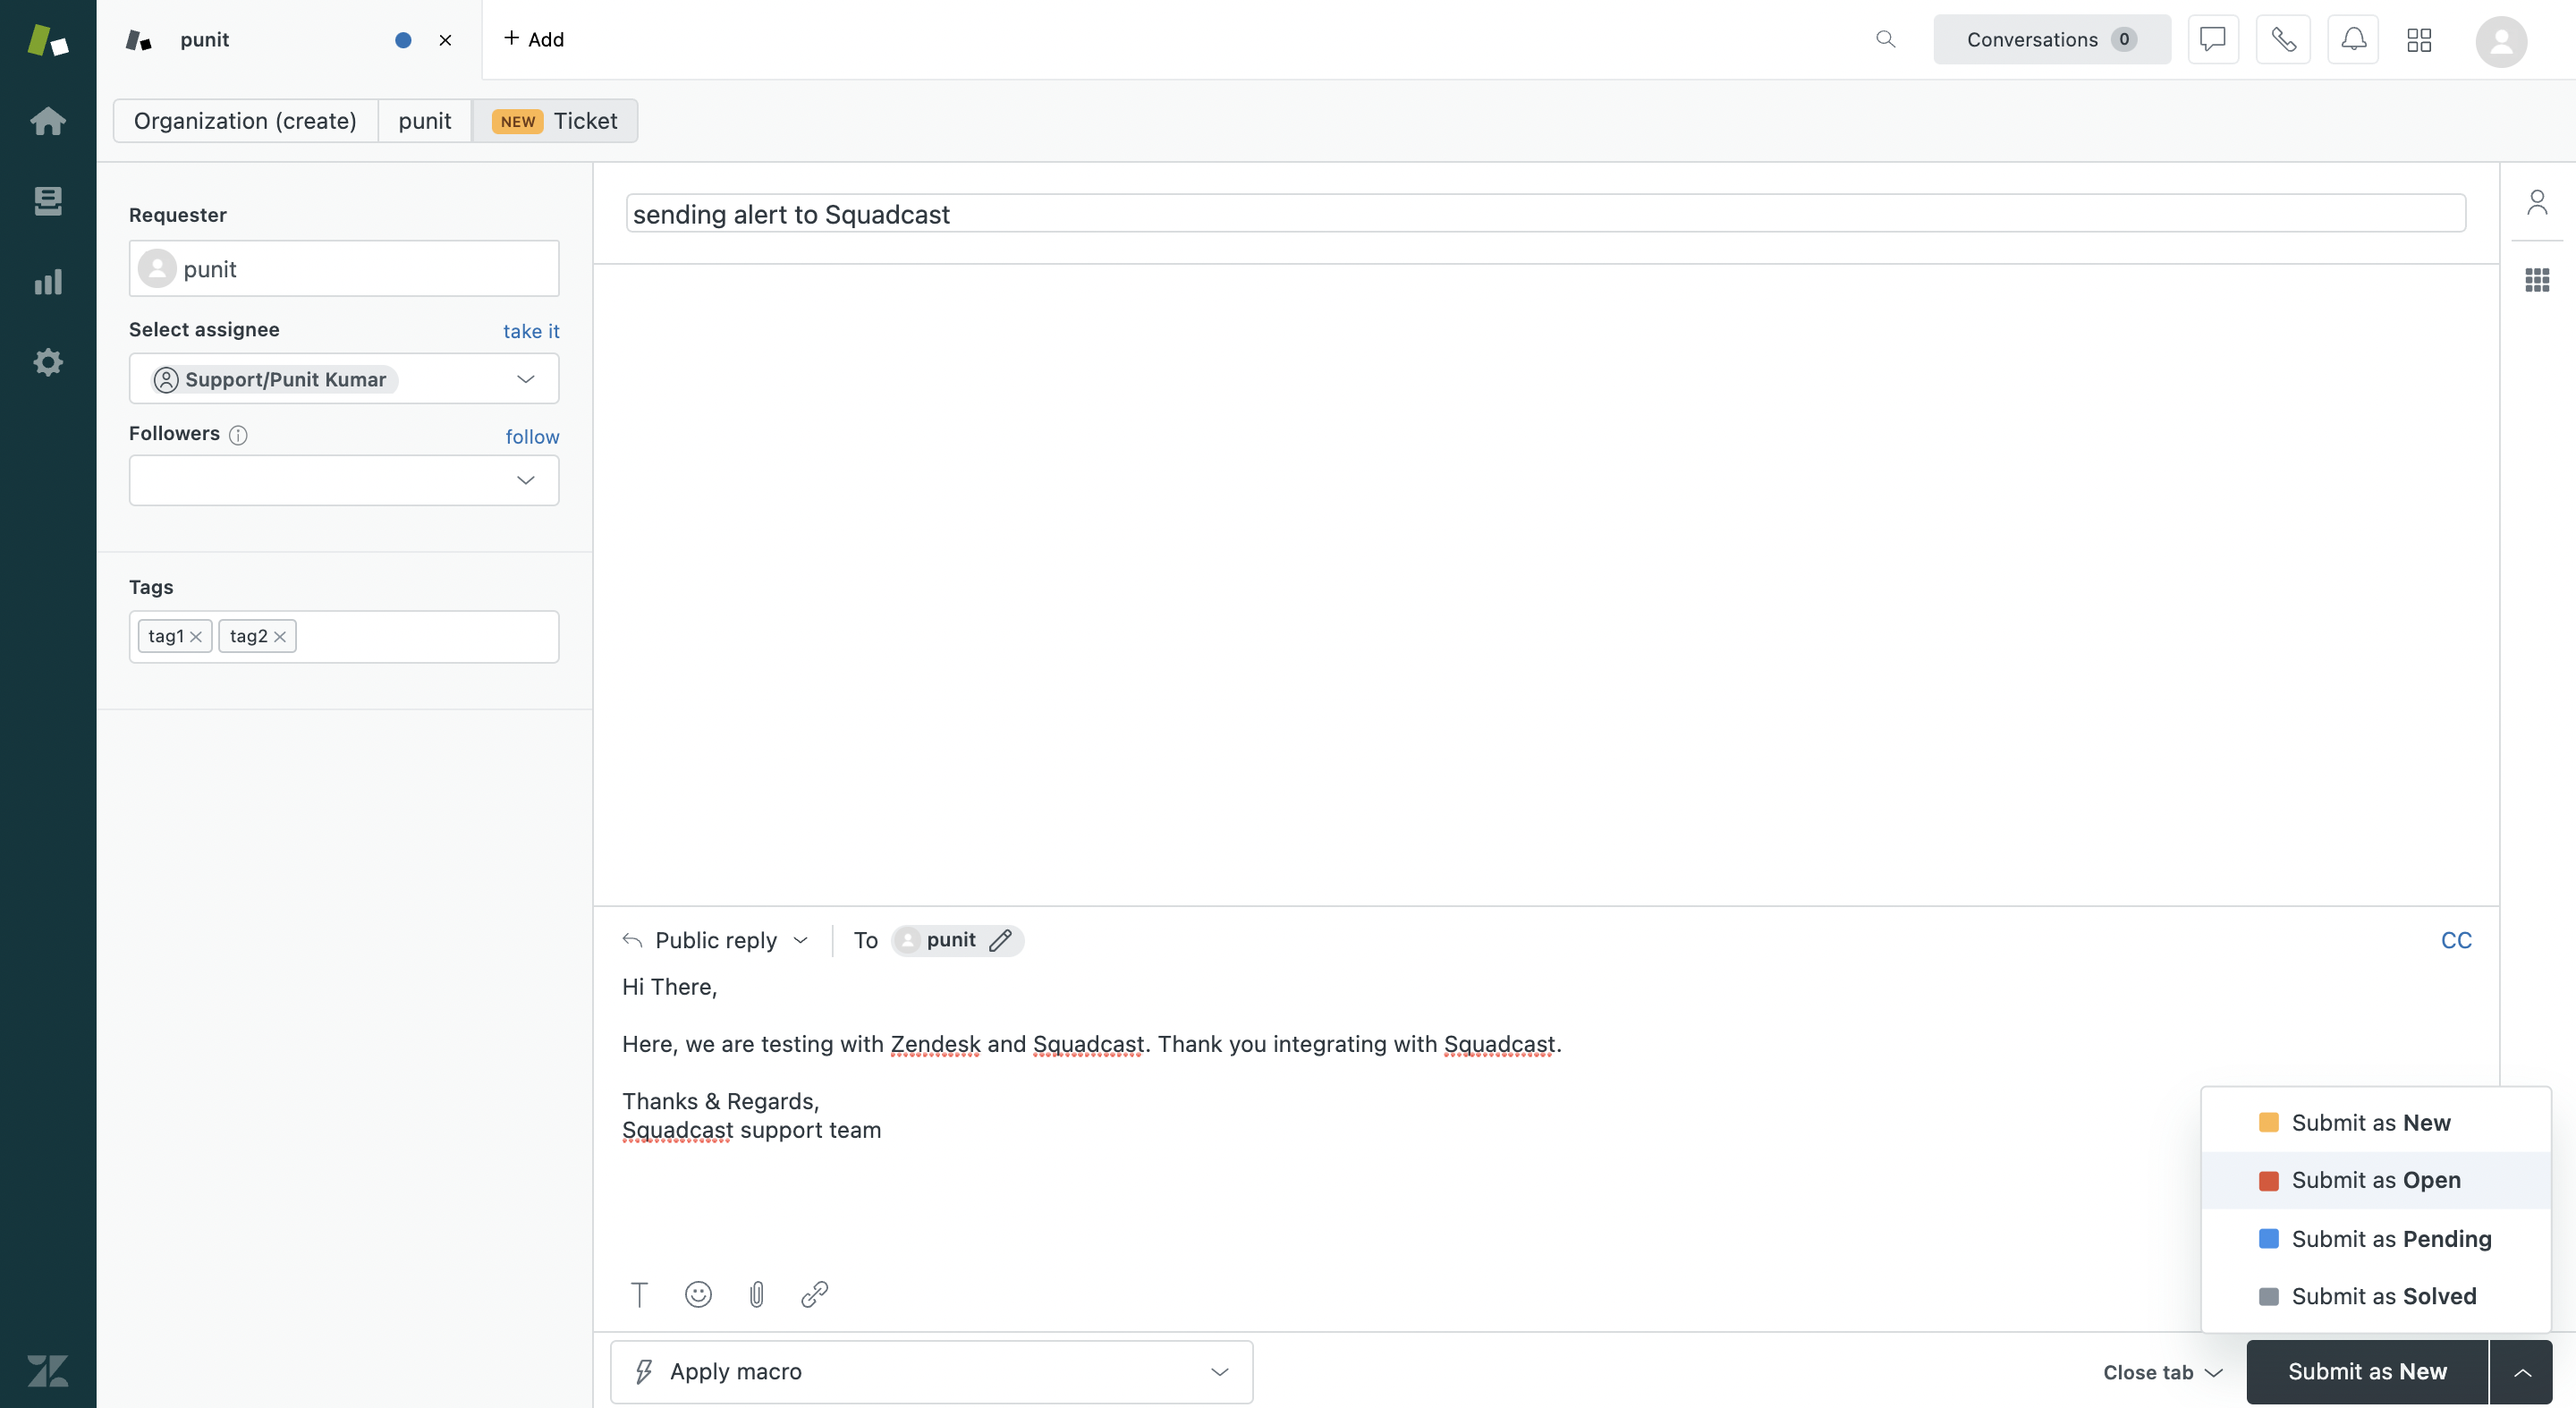
(10) Next, to create the alert, follow the steps below:
(a) Click on Add > Ticket or,
(b) Fill in the fields as shown below:
- status New -> to trigger incident at Squadcast
- status Open -> to trigger incident at Squadcast
- status Solved -> to resolve incident at Squadcast
- status Closed -> to resolve incident at Squadcast
Then, click on Create
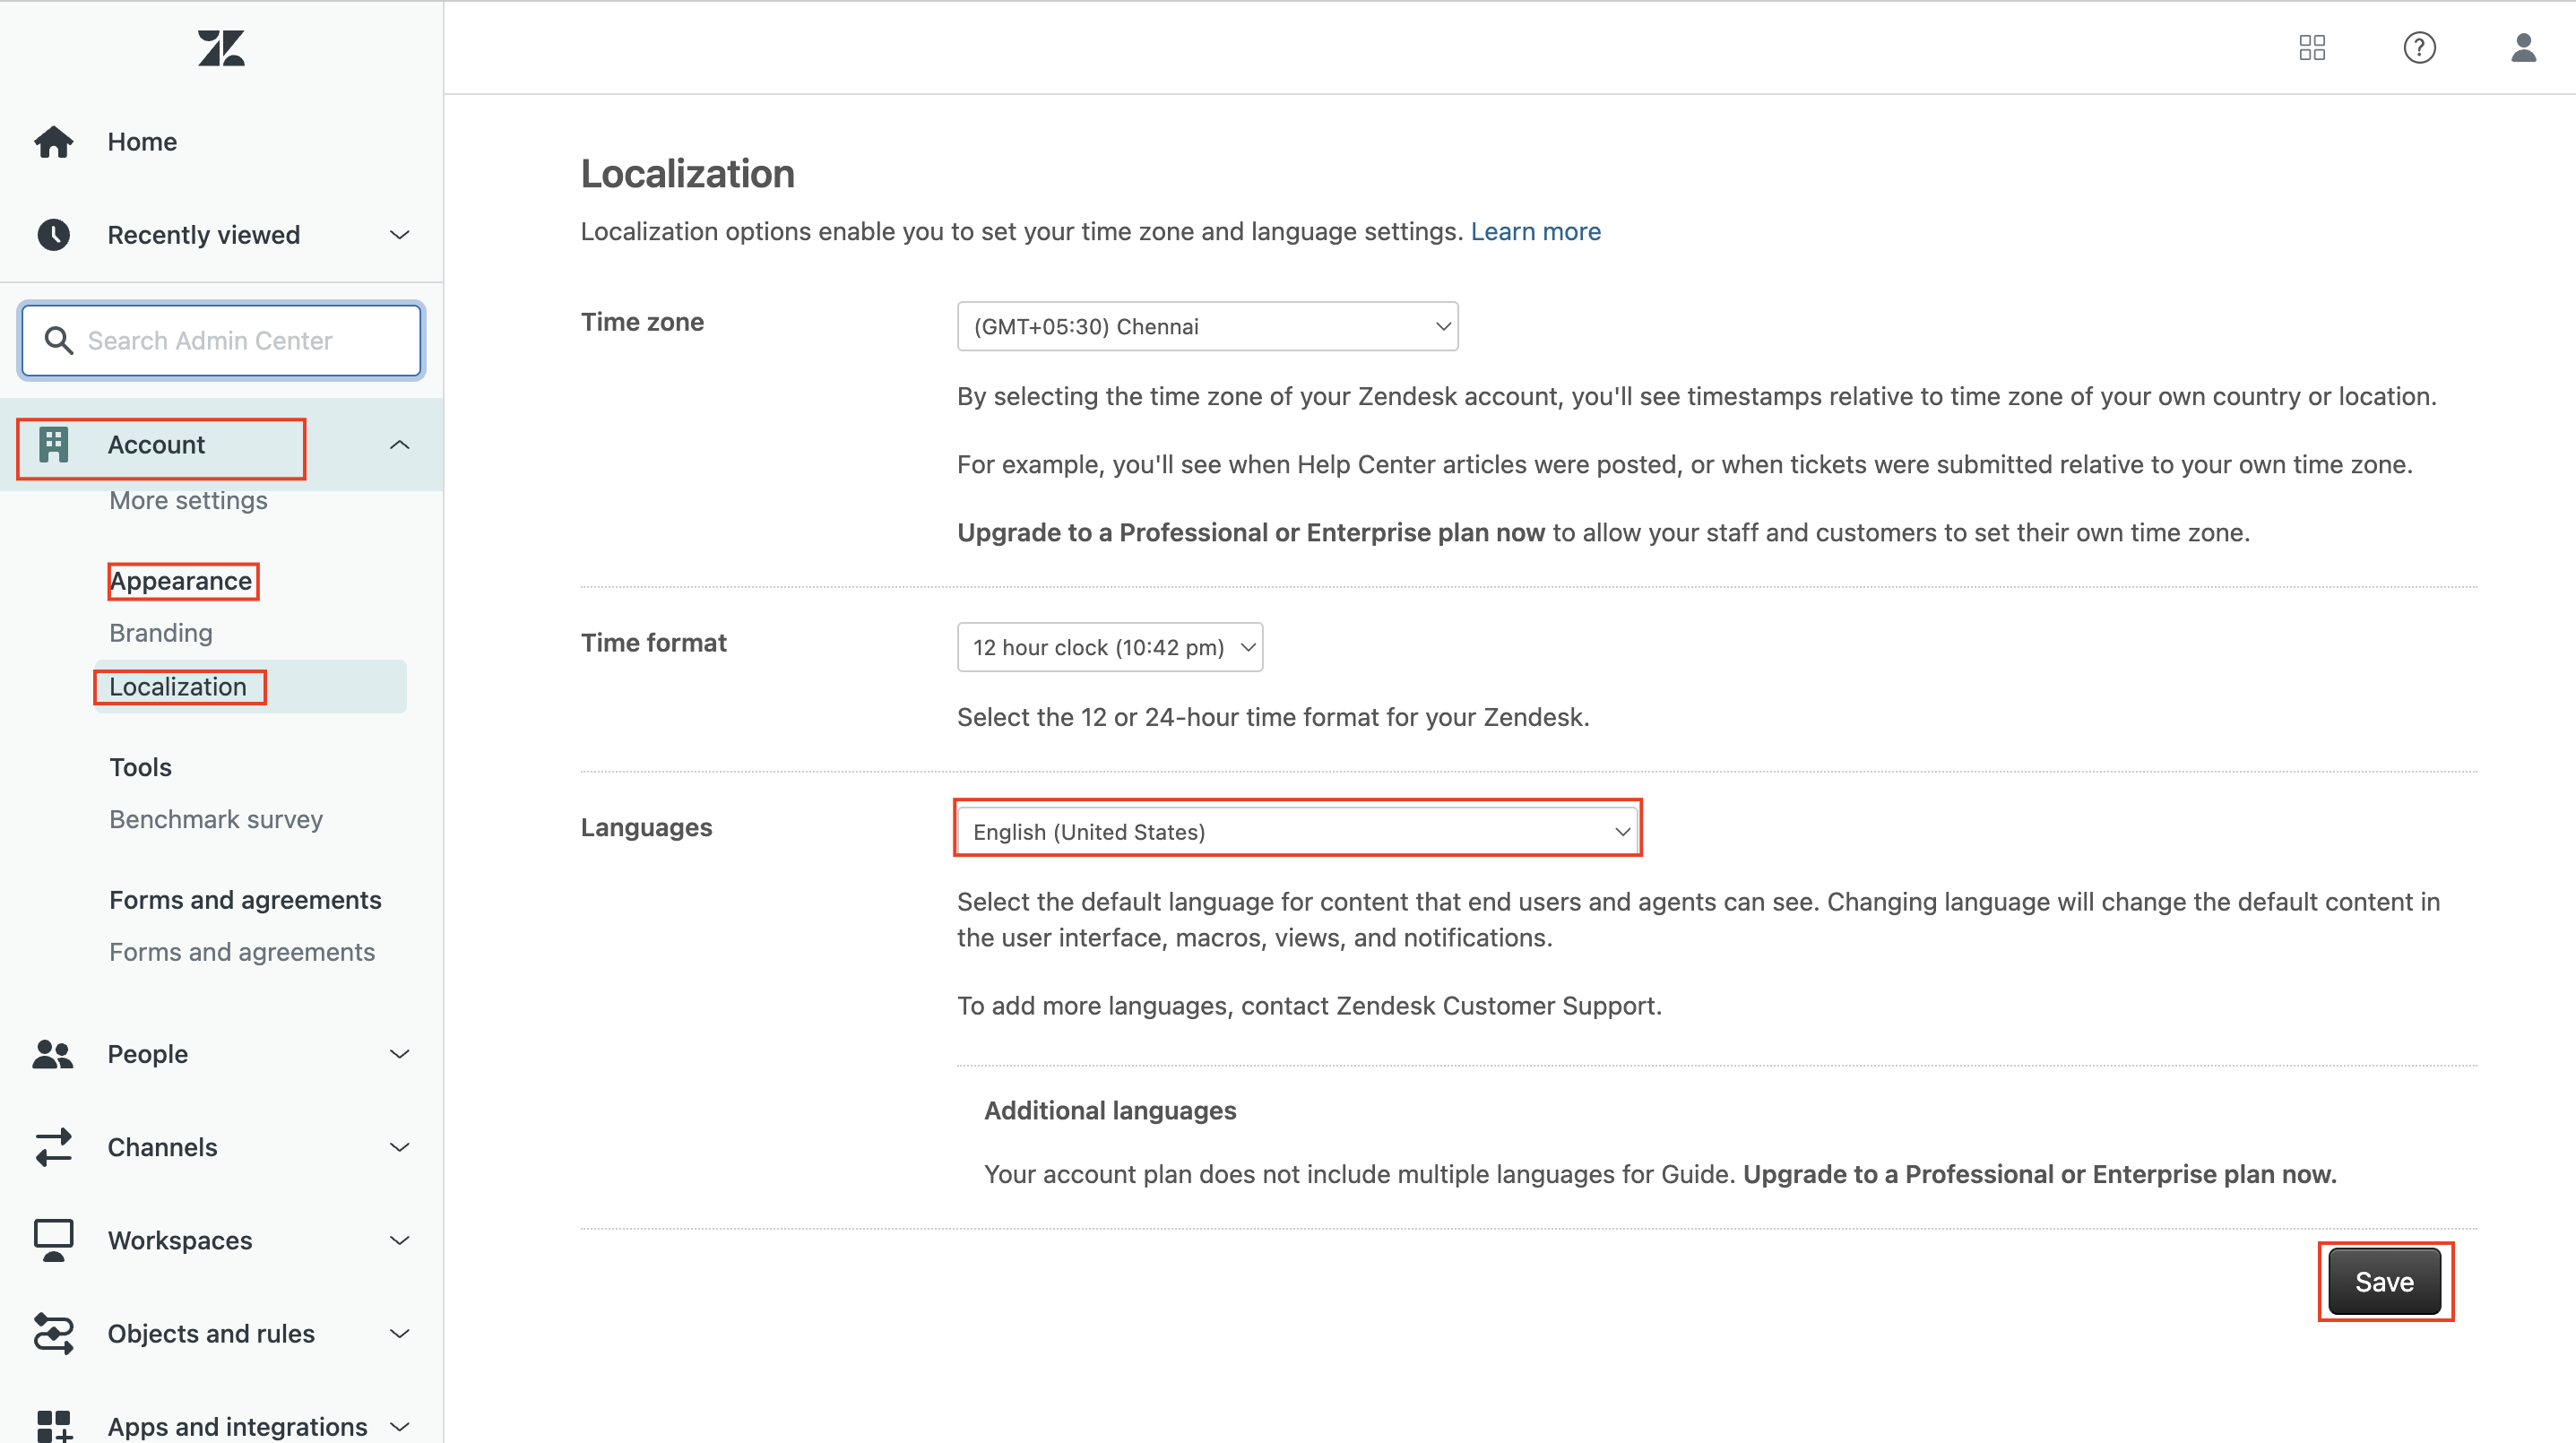
Note:
We accept payload sent in English only, you can follow the steps given below to change the language: On the side-bar, click Account -> Appearance -> Localization -> Under Languages section, select English (United States).
That is it, you are now good to go! Whenever a ticket is created with New or Open status, an incident will be created in Squadcast for it. When the ticket is either Solved or Closed in Zendesk, the corresponding incident will automatically get resolved in Squadcast as well.