Save Filter View
The Save View on the filter builder allows you to save all the applied filters as a quick view option that can be accessed and used by everyone in your Team.
Save View

Once you have a group of filters that you would like to save and use later. Click on the Save View button located on the right of your selected filters.
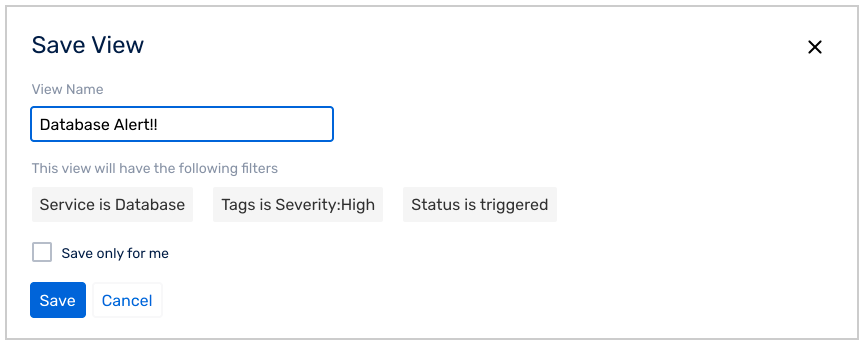
In the confirm modal you will be presented with all the filters that are applied, once you have confirmed that you would like to save them, give the view a name and click the confirm button.
The created view will be visible to all users within the Team. In order to create a personal view, visible only in your account, ensure to click on the Save only for me checkbox before saving the view.
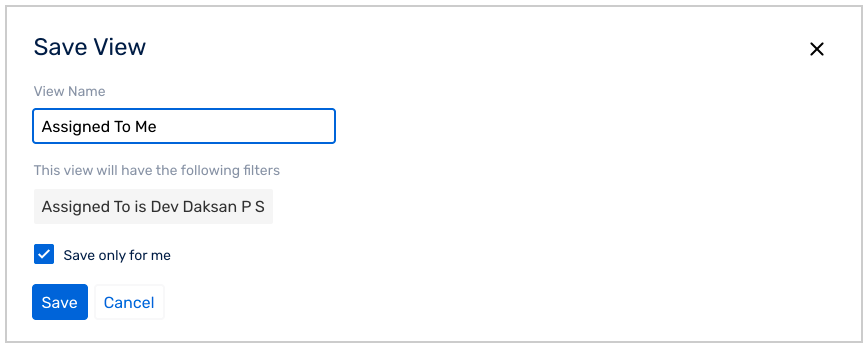
Your view will be saved and automatically applied.
Select / Change View
You can select any view and apply the saved filters anytime from the view dropdown.
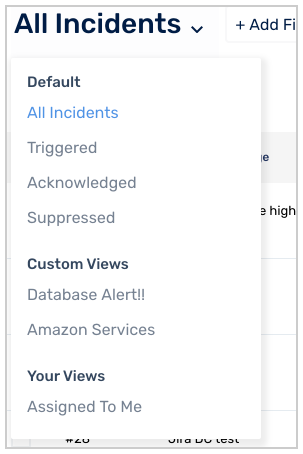
All your saved views will be present under the Custom Views / Your Views section from the primary dropdown. Click on the view that you would like to select and all the filters saved in that view will be automatically applied.

Update View
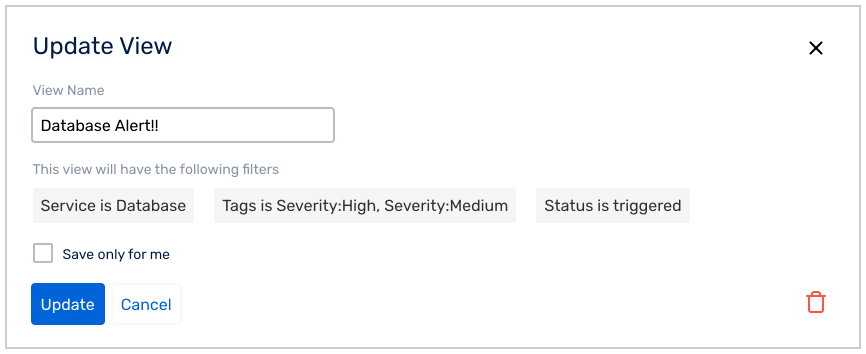
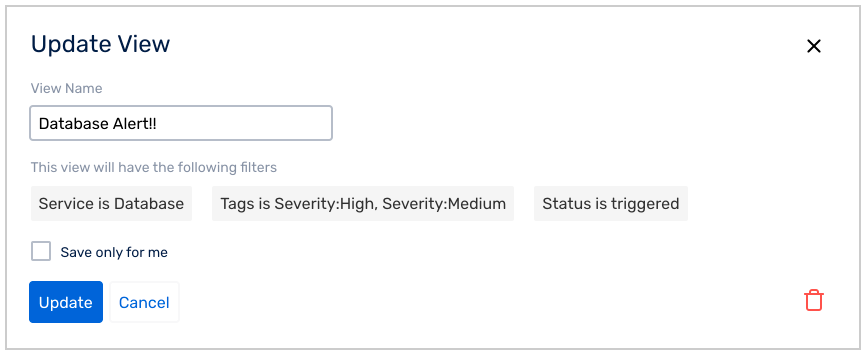
When you want to update the filters saved in a view, first add/remove the filters you would like to update, and click on the Update View button.

Confirm the changes that need to be updated and click on the Update button.
Delete View
In order to delete a view, first select the view you would like to delete from the view dropdown and then click the update button.

Then click on the delete icon in the confirmation modal.
